In this lesson, you will learn how to make an amazing paper heart garland with your own hands. This decoration will perfectly decorate the room for any holiday. You can make this craft even with a child.

Paper heart garland
Total Time: 30 minutes
Step 1: Choose a paper color

Your garland will consist of hearts of two colors – red and pink. Begin by creating red blanks. To do this, make a fold on red paper, then draw two outlines of hearts.
Step 2: Use scissors
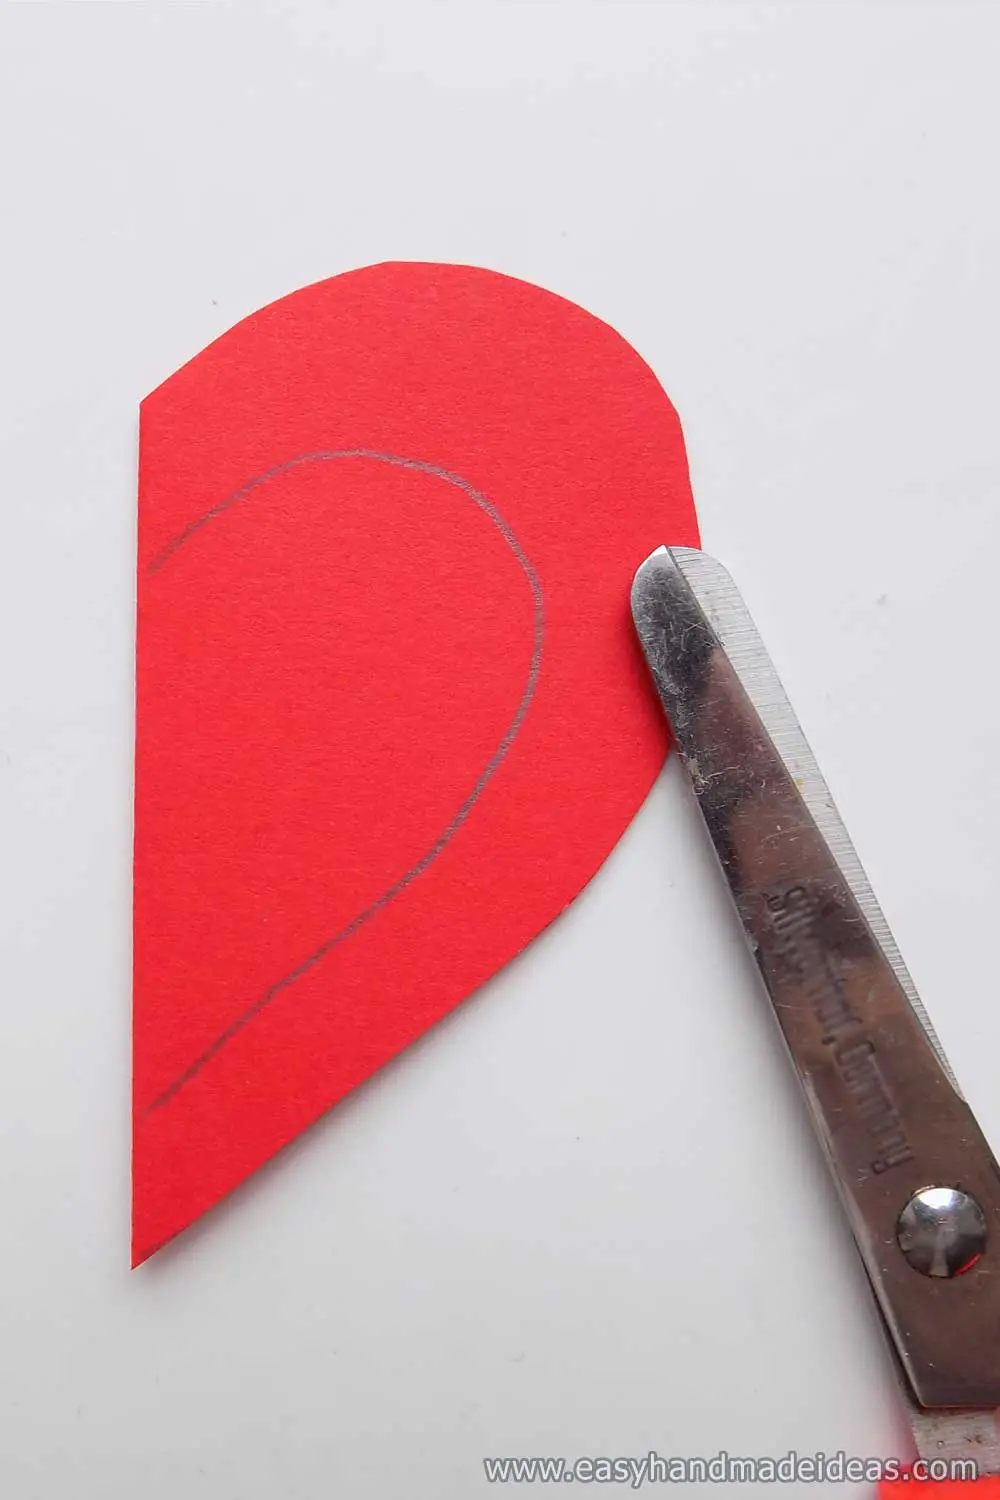
Cut out the red heart along the upper contour.
Step 3: Make 2 hearts from one

Cut another heart along the contour of the resulting blank, it will be smaller in size. As a result, you should have 2 blanks, as shown in the photo.
Step 4: Use the red heart as a template

Cut the same elements from the pink paper. To do this, put a red blank into the fold of the pink paper. Circle it with a simple pencil.
Step 5: Make 2 pink hearts

Cut the lines with scissors. You will get 2 pink blanks.
Step 6: Make the cuts

Begin forming a garland. Cut the prepared hearts at the bottom.
Step 7: Entwine the hearts

Connect the hearts together to form a weave.
Step 8: Use a stapler

Staple the bottom parts of the hearts together.
Step 9: Seal all hearts

Form a garland of the desired length in the same way. Alternate colors in pairs.
Step 10: Use the glue

Add small hearts cut from large blanks. Glue a small red heart to the pink heart and a small pink heart to the large red heart.
Step 11: Finish your craft

Add other details. You should get a garland of hearts like this.
Supply:
- Pink and red paper.
Tools:
- scissors;
- glue;
- stapler;
- pencil.

This decoration is well suited for Valentine’s Day, girl’s room decorating or even for a wedding.