What can you make from a simple square of paper? Almost anything if you use the Origami technique. In this lesson, you will make origami paper fish.
Step-by-Step Tutorial

Origami Paper Fish
Total Time: 20 minutes
Step 1: Fold the sheet of paper

Mark the diagonal fold on the square blank. Fold the sides to the fold at an angle.
Step 2: Work with the other side

Turn the sheet to the other side and fold the bottom corner up.
Step 3: Make a blank according to the sample
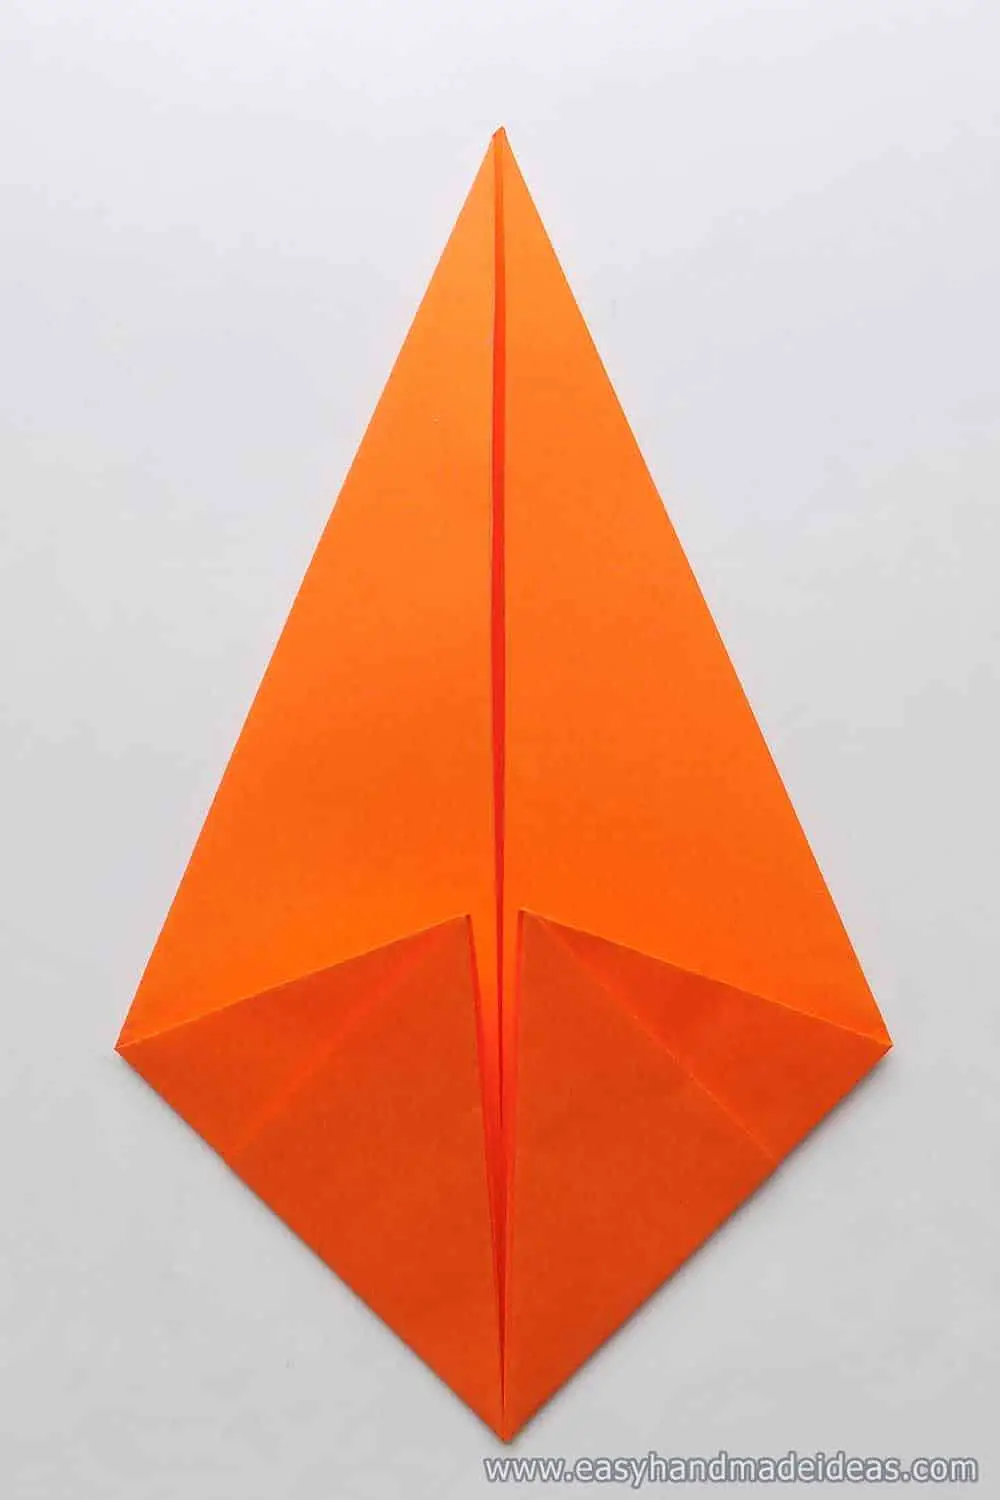
Turn it over again and fold the bottom corners of the resulting rhombus to the center line. This is the front part of the fish.
Step 4: Start making fins
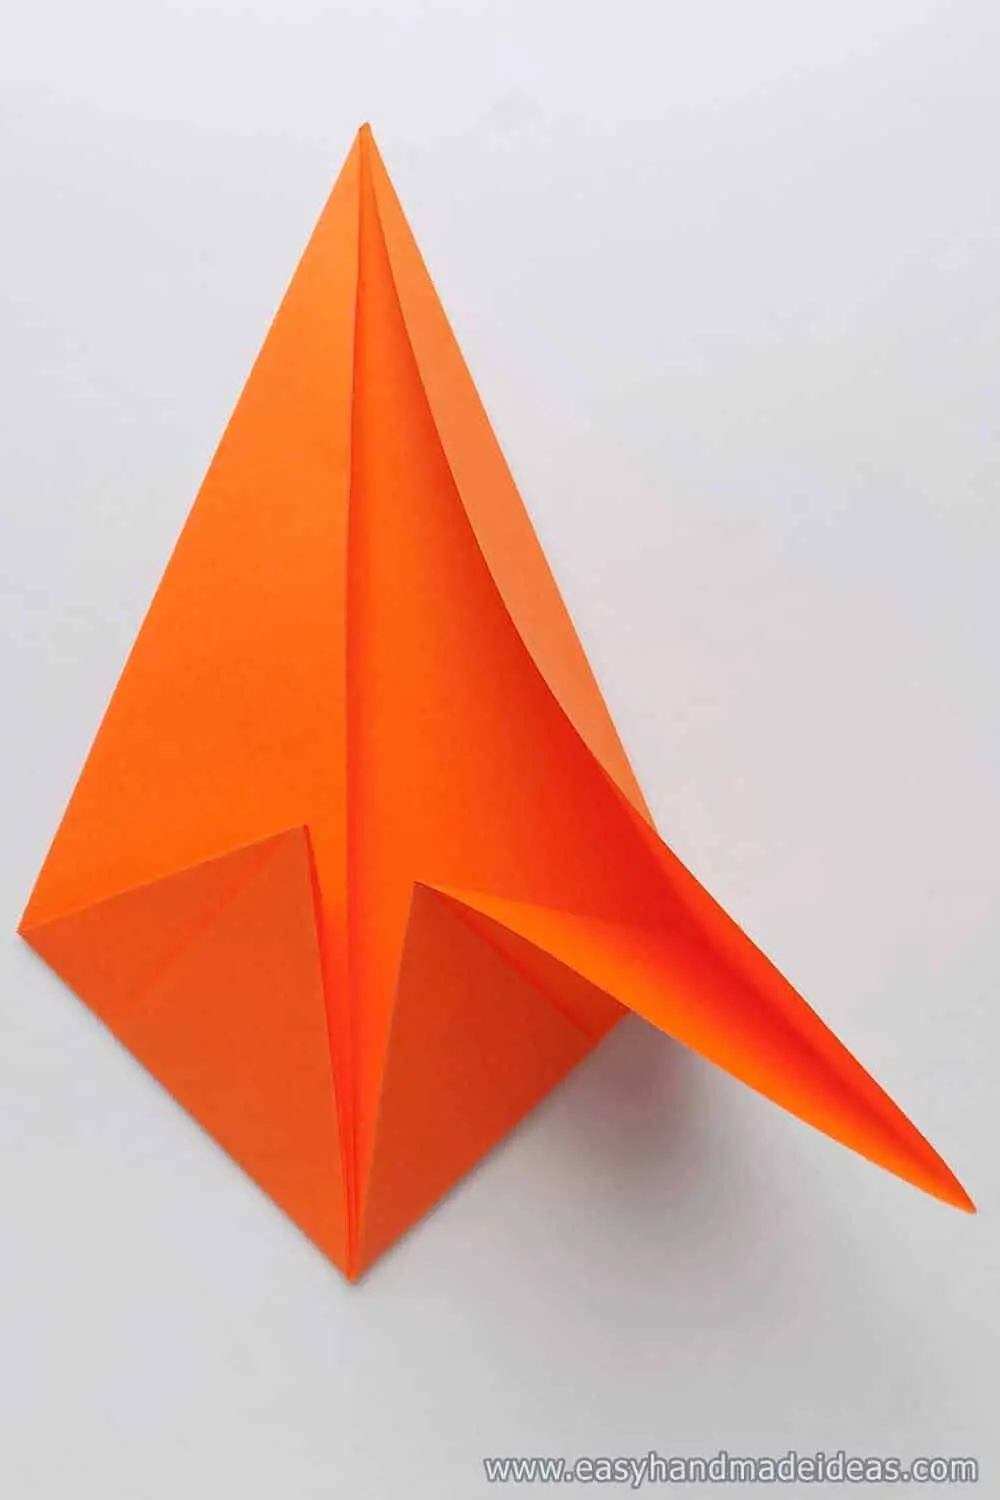
Straighten the curved corner as shown in the photo.
Step 5: Complete making the fin

Press the corner. You have created one of the fins.
Step 6: Make a second fin

Do the same with the other side of the paper sheet.
Step 7: Turn the fish over

This is what your fish should look like from the front.
Step 8: Cut out the tail for the fish

Use a pair of scissors. Cut 1 cm from the back of the piece along the center line. Then fold the sides to create the tail fin. Make a mouth in the front of the fish by cutting out a small corner.
Step 9: Decorate the origami craft
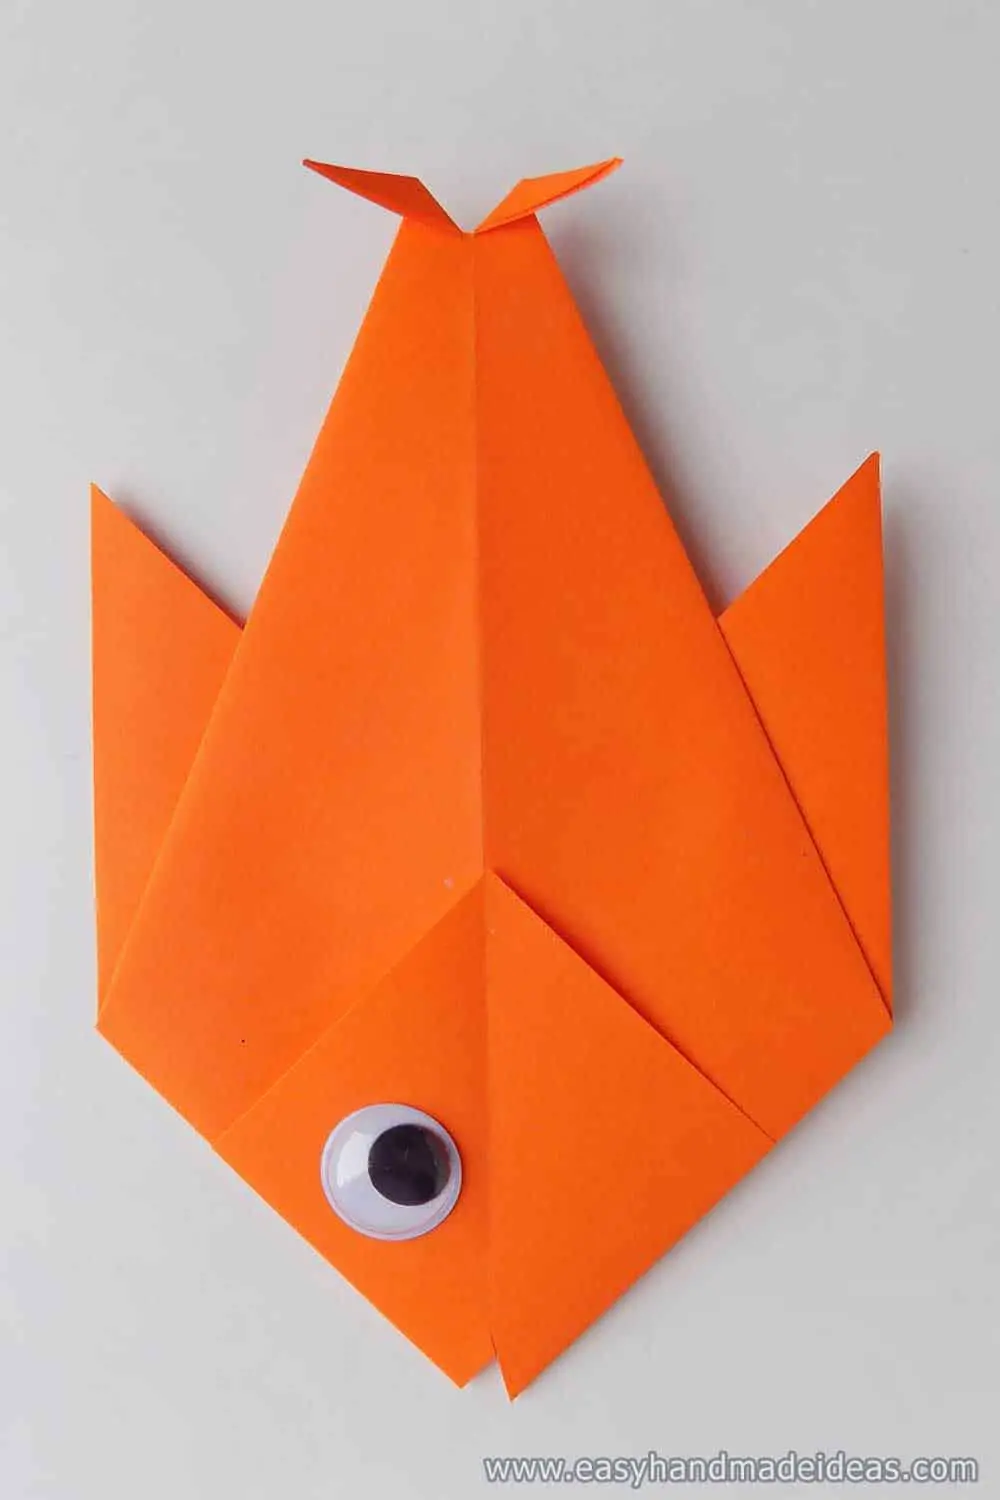
Add a plastic eye. You should get the same orange fish as in the photo.
Supply:
- square of orange paper;
- plastic eye.
Tools:
- Scissors.

Make some fish and play fishing with your child. This interesting idea will appeal to any child.
