I suggest you consider my variation of a craft how to make origami bee. You can start working with a child on today’s craft with a story about these insects. And only after that try to make a bee from paper according to the suggested master class.
Instructions for Easy Origami Bee
Origami Bee
Total Time: 15 minutes
Step 1: Prepare materials and tools

Prepare the necessary materials and tools.
Step 2: Make a triangle from the square

The first thing to note is that you do not need a square for the bee, only a triangle. So fold your blank diagonally and cut it with scissors. You will end up with 2 triangles, but you only need one.
Step 3: Make a square from a triangle

Unfold this triangle with the white side up. The side bottom-corners of the triangle you need to fold it to the top.
Step 4: Make wings for the bee

Now fold the same corners down again, but at a slight angle. These will be the pieces for the bee’s wings.
Step 5: Fold the upper corner

Fold the upper part towards you. You’ll use it to make a bee’s head.
Step 6: Fold the upper corner three times

You will need to divide this folded piece into 3 parts. To do this, unfold the folded upper corner and fold it into thirds.
Step 7: Fix the blank with glue

Next, glue the folded down corner.
Step 8: Make the sides of the bee

You need to form the sides of your craft. To do this, fold them to the other side and fix them with glue.
Step 9: Turn the handicraft over

This is what our bee will look like from the other side. Here you need to fold her wings a little and fix them with glue.
Step 10: Color the bee

Now it’s time to use a black marker. Paint the front part of the craft completely with it, it is the head of the bee. After that, carefully lift the wings and draw stripes.
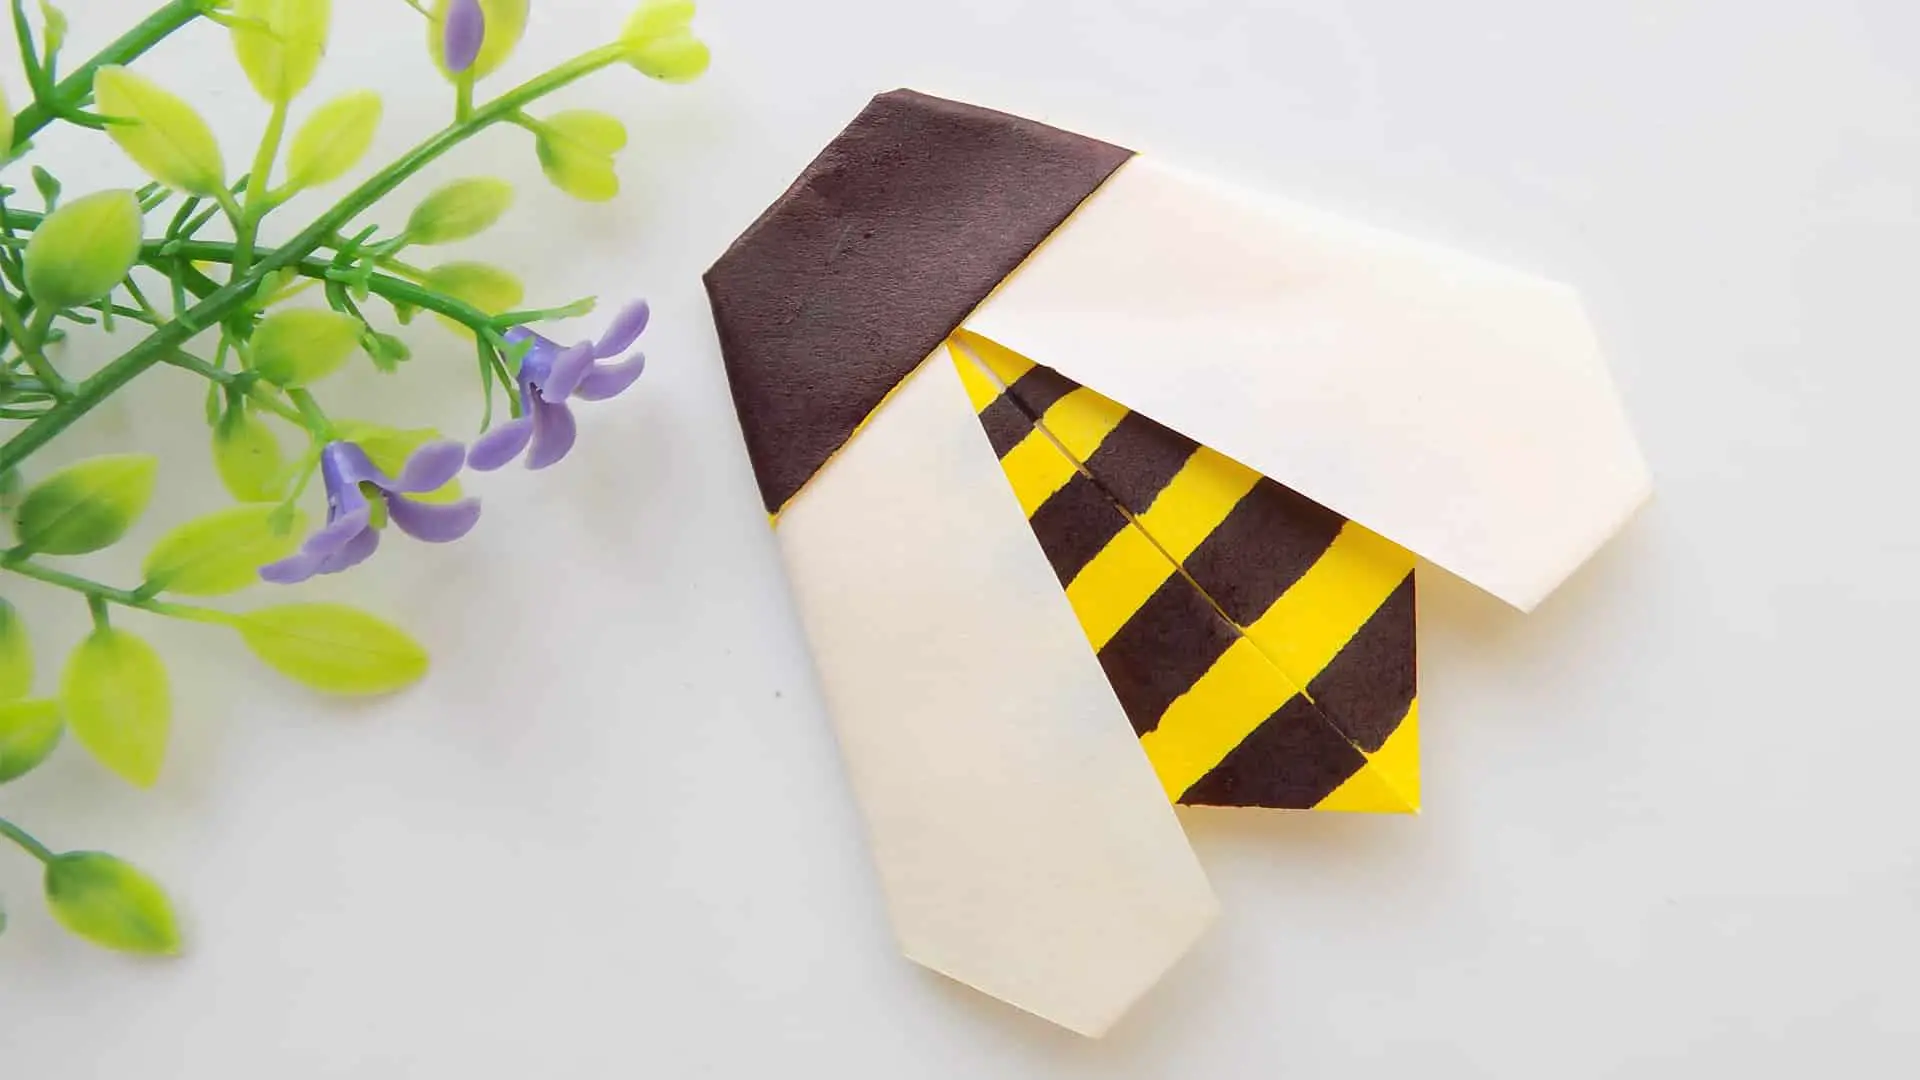
Step 11: Enjoy your results
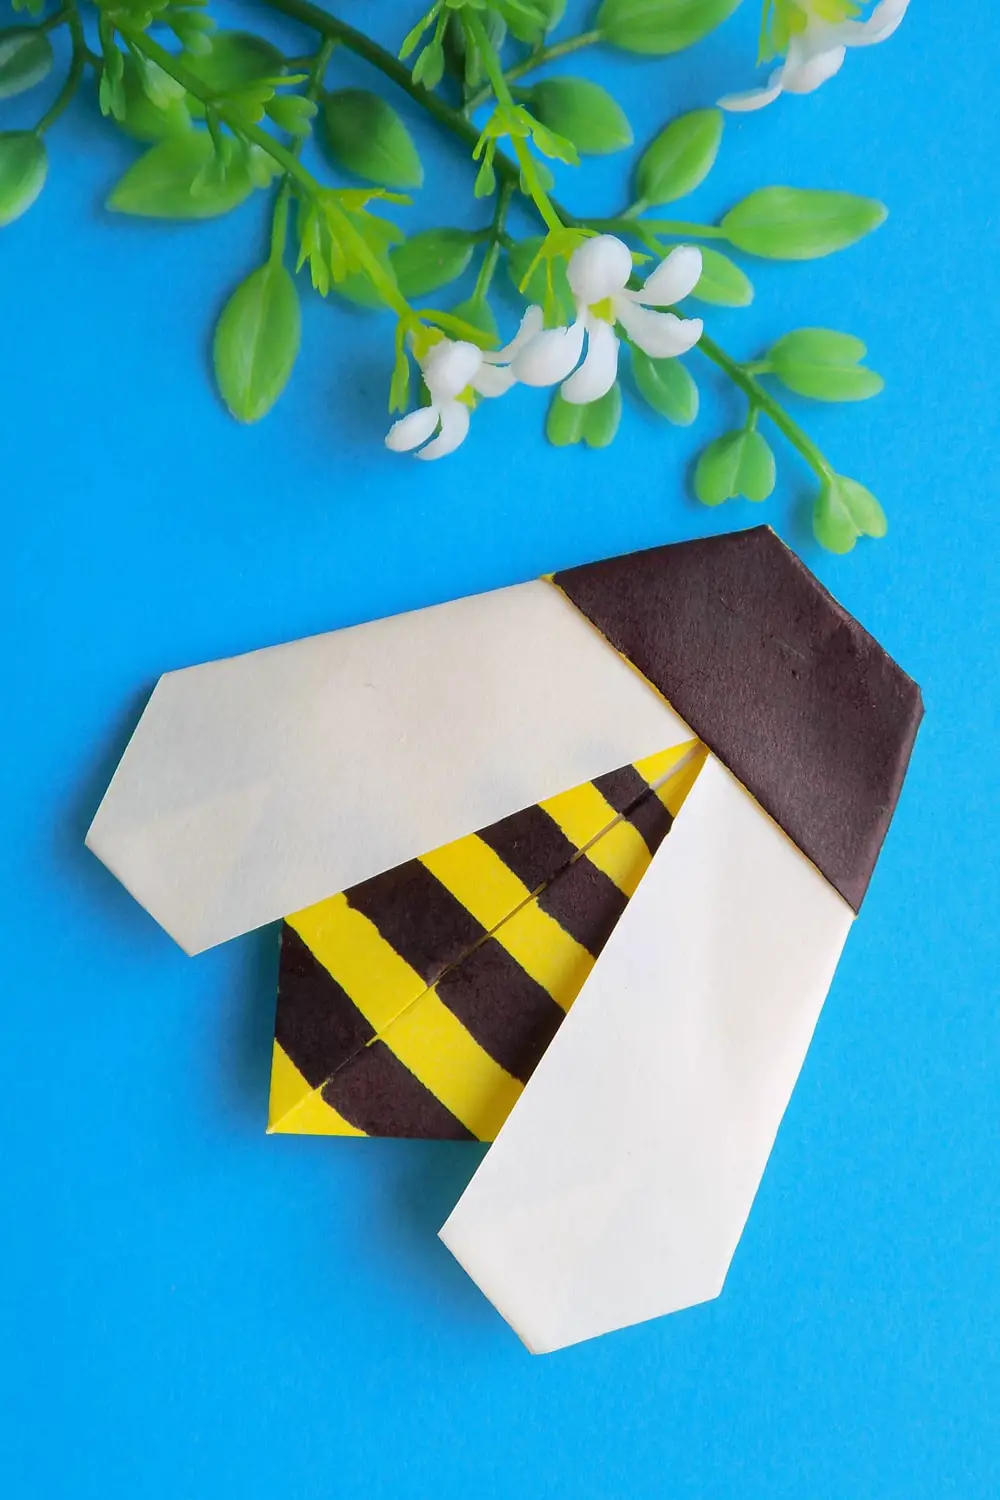
You will get such a bee from paper, as on the photo.
Supply:
- a square of yellow one-sided paper.
Tools:
- scissors;
- glue stick;
- black marker.
I offer you a life hack! Make the same craft, but with red paper. And instead of stripes, draw black dots with a marker. This is a little hack to make an origami ladybird using the same method as the bee.
