The delicate work of creating crafts from tight paper strips is known as quilling. Based on my tutorial, you can make an openwork snowflake in this technique. Consider my instruction, how to make a quilling snowflake.

Quilling snowflake
Total Time: 30 minutes
Step 1: Get the materials and tools for quilling
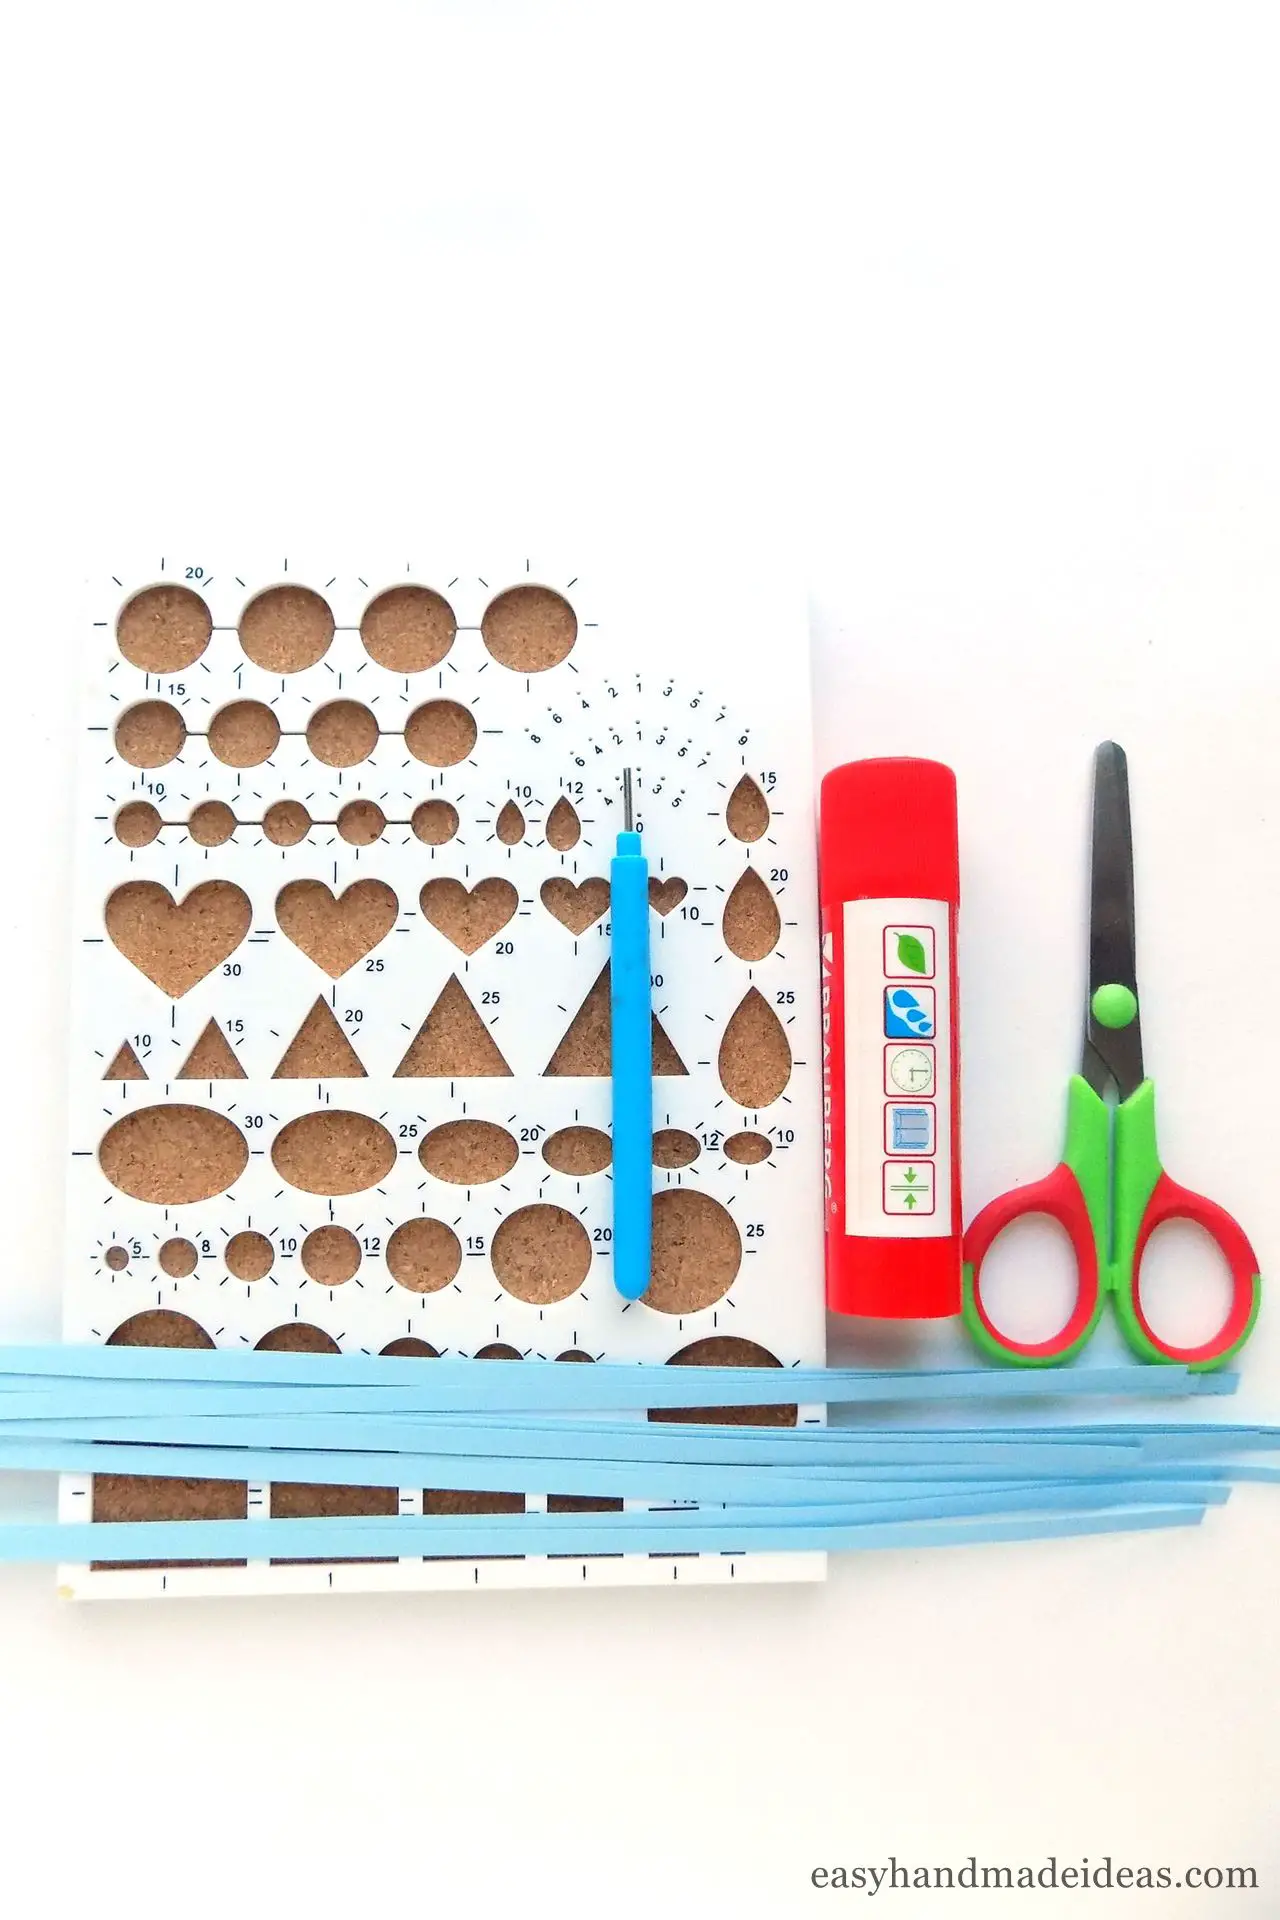
Prepare the quilling strips in the color you want. I used blue color and you can choose any color you want. Quilling in different shades of the same color is very beautiful. If you don’t have a quilling tool, replace it with a toothpick.
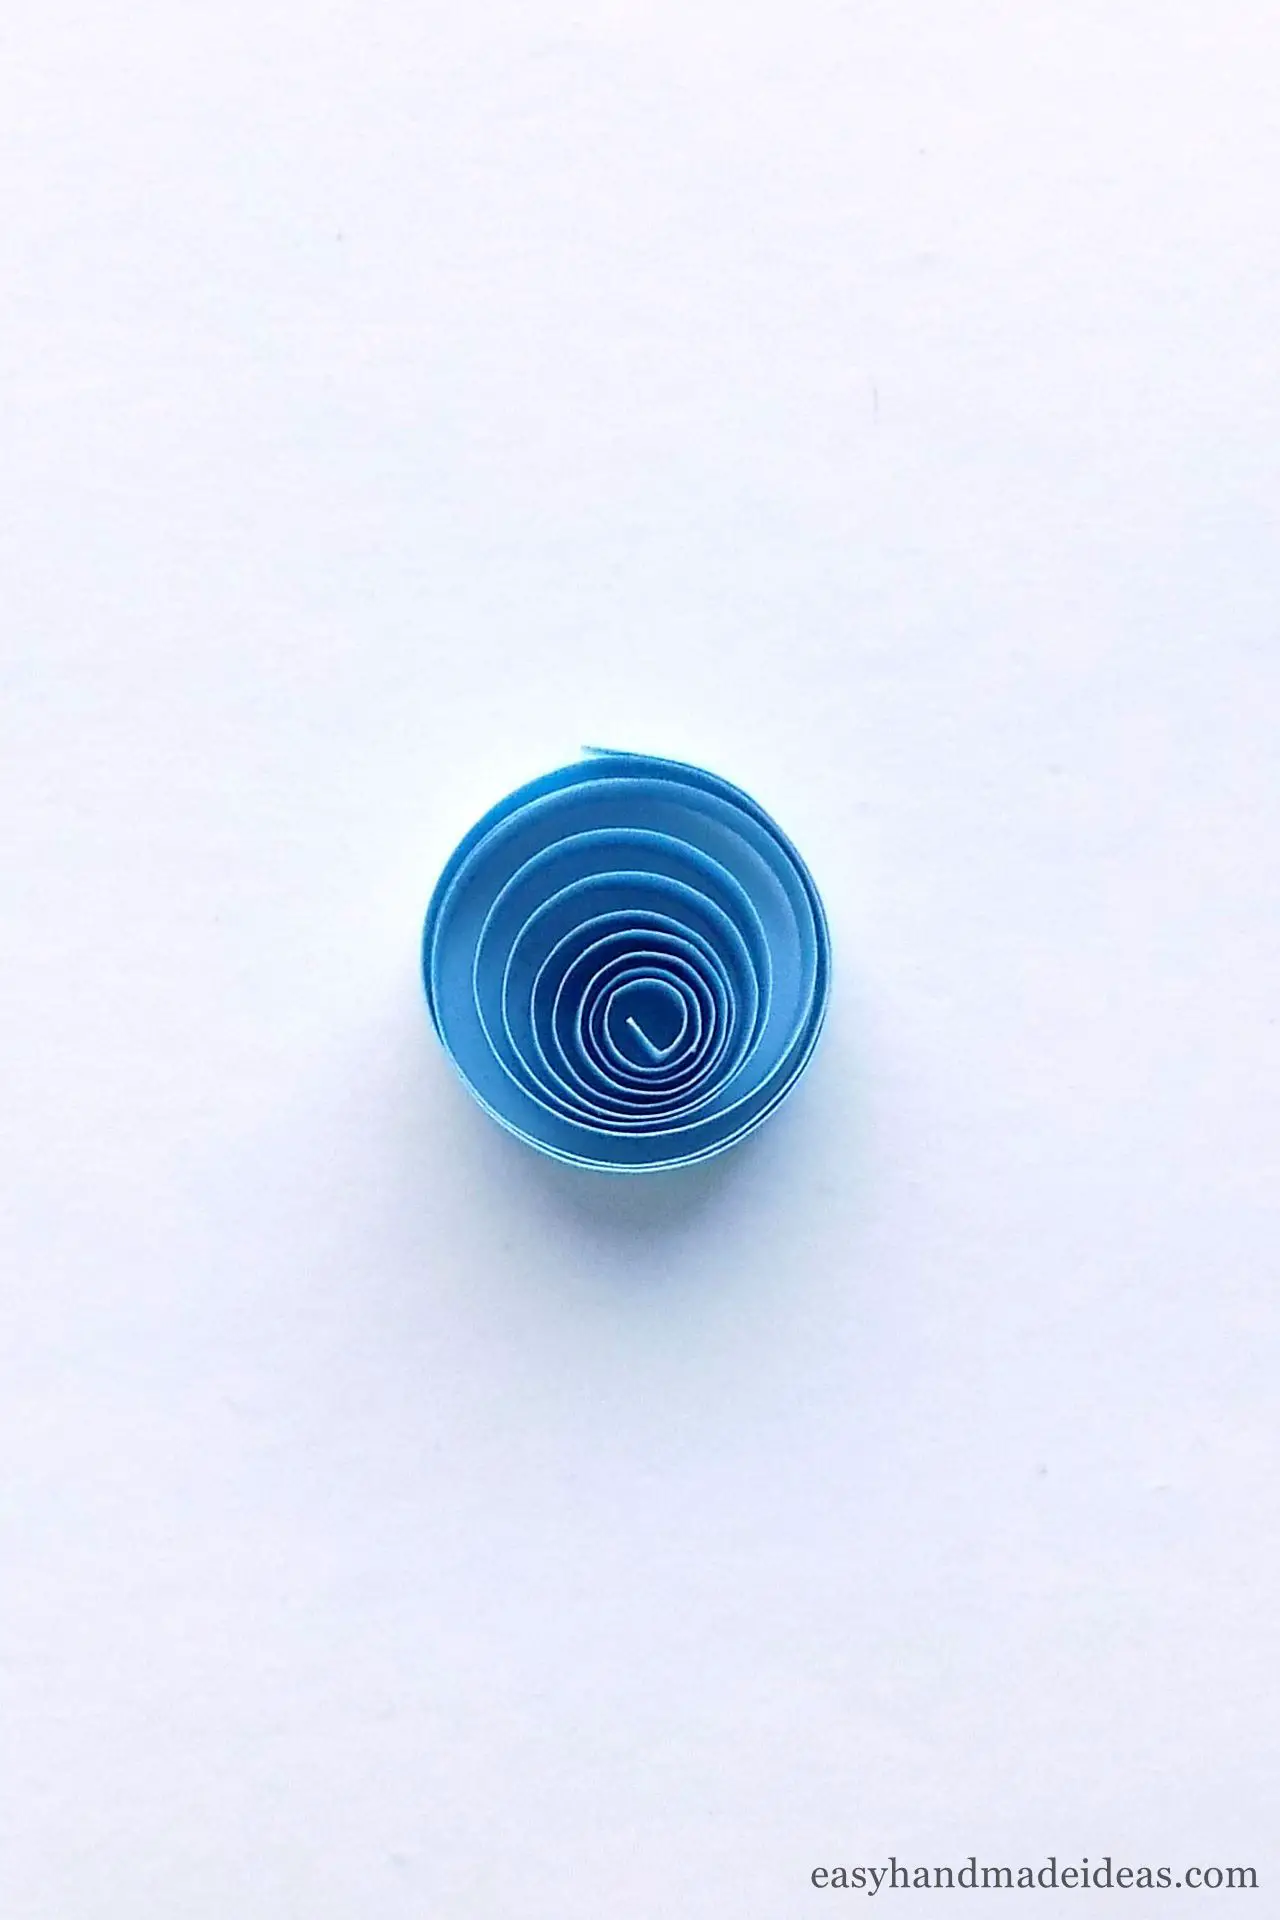
Step 2: Creating the center of the snowflake
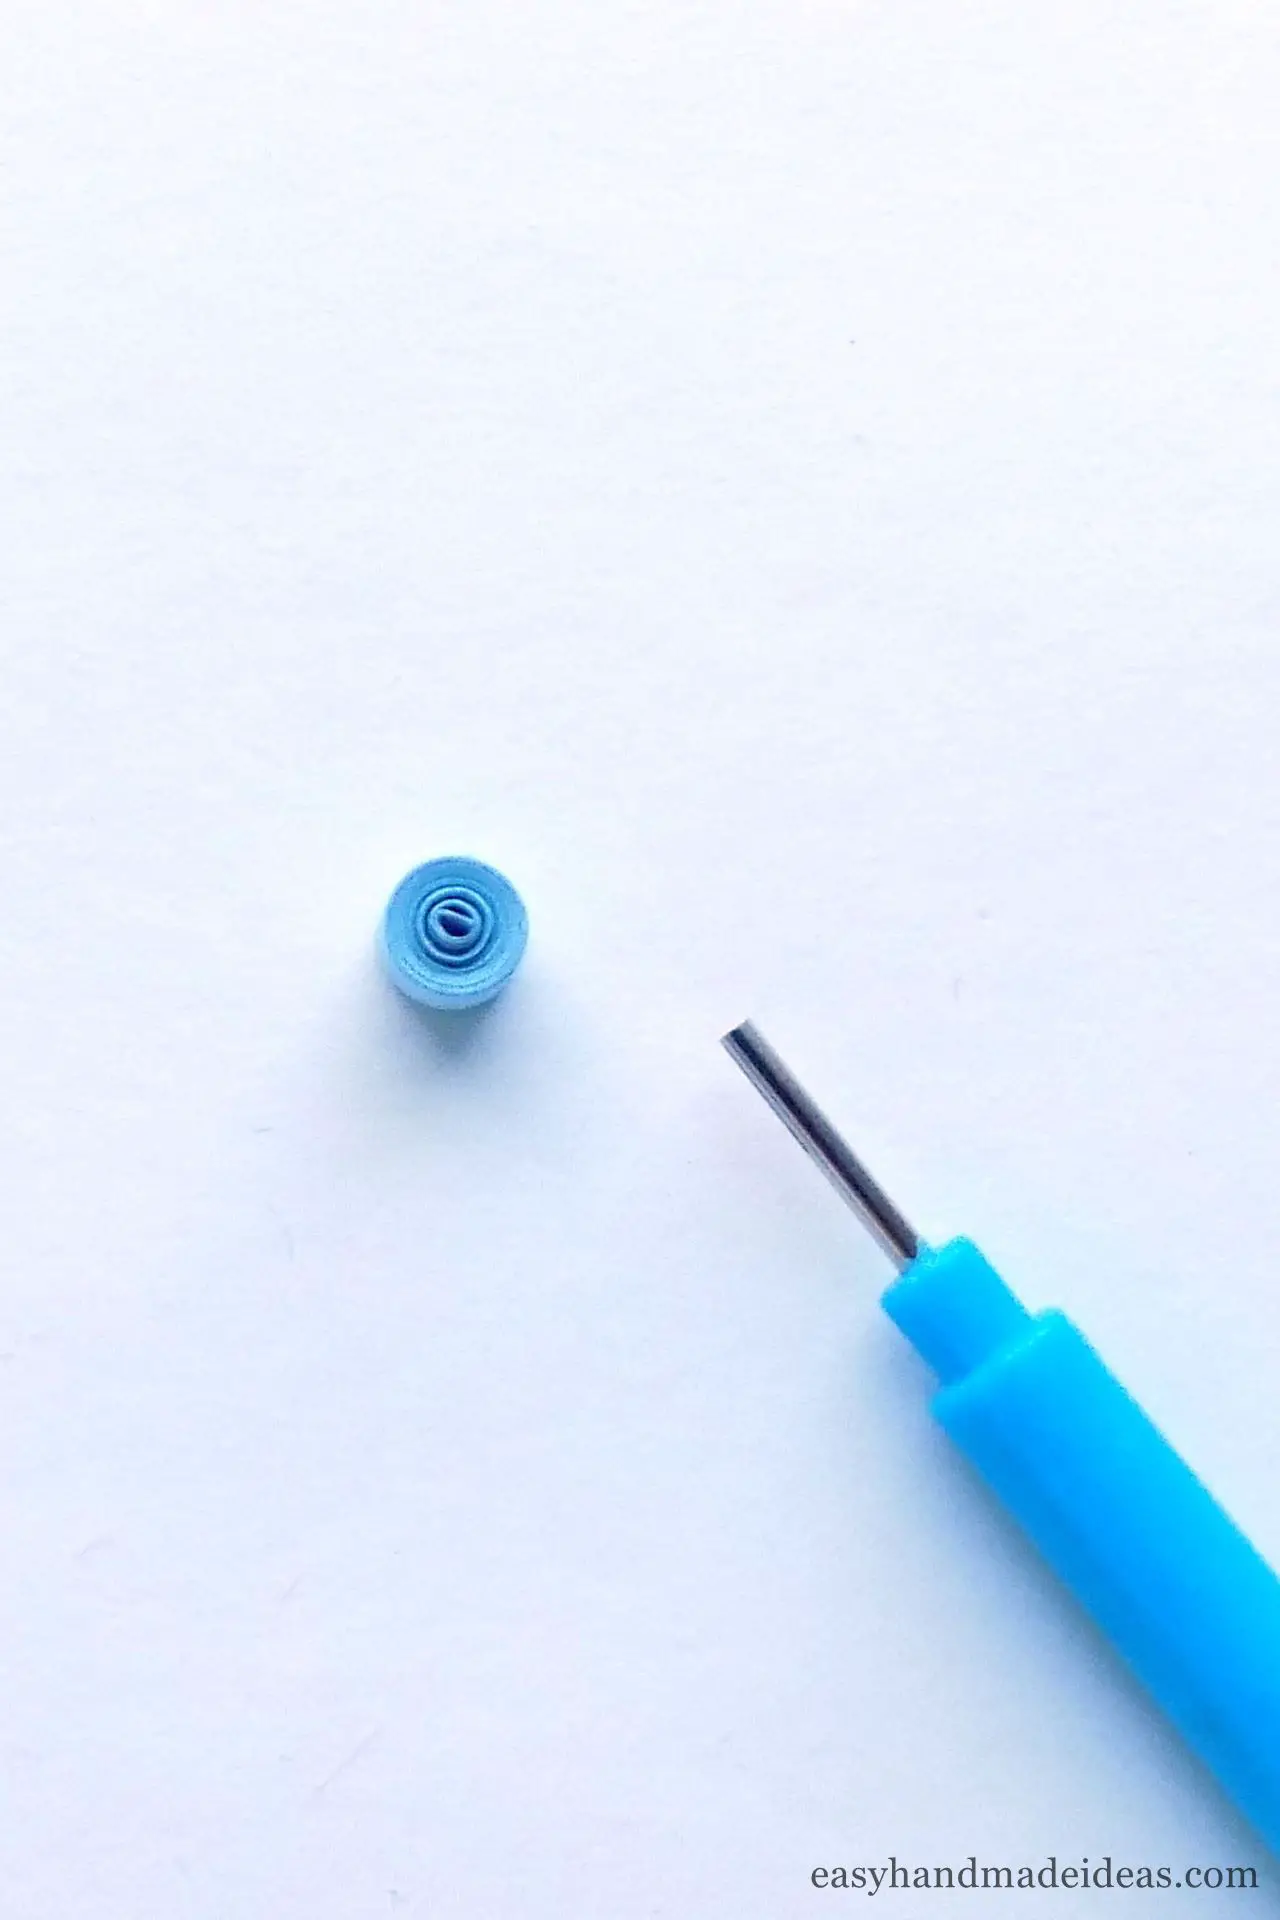
Start your craft by forming the center of the snowflake. To do this, take one paper quilling strip and roll it into a tight roll or what’s called a coil. It is more convenient to do this with a quilling tool, if you do not have it, then an ordinary toothpick will do. Fix the tip of this tight coil with a drop of glue.
Step 3: Roll 7 tight coils
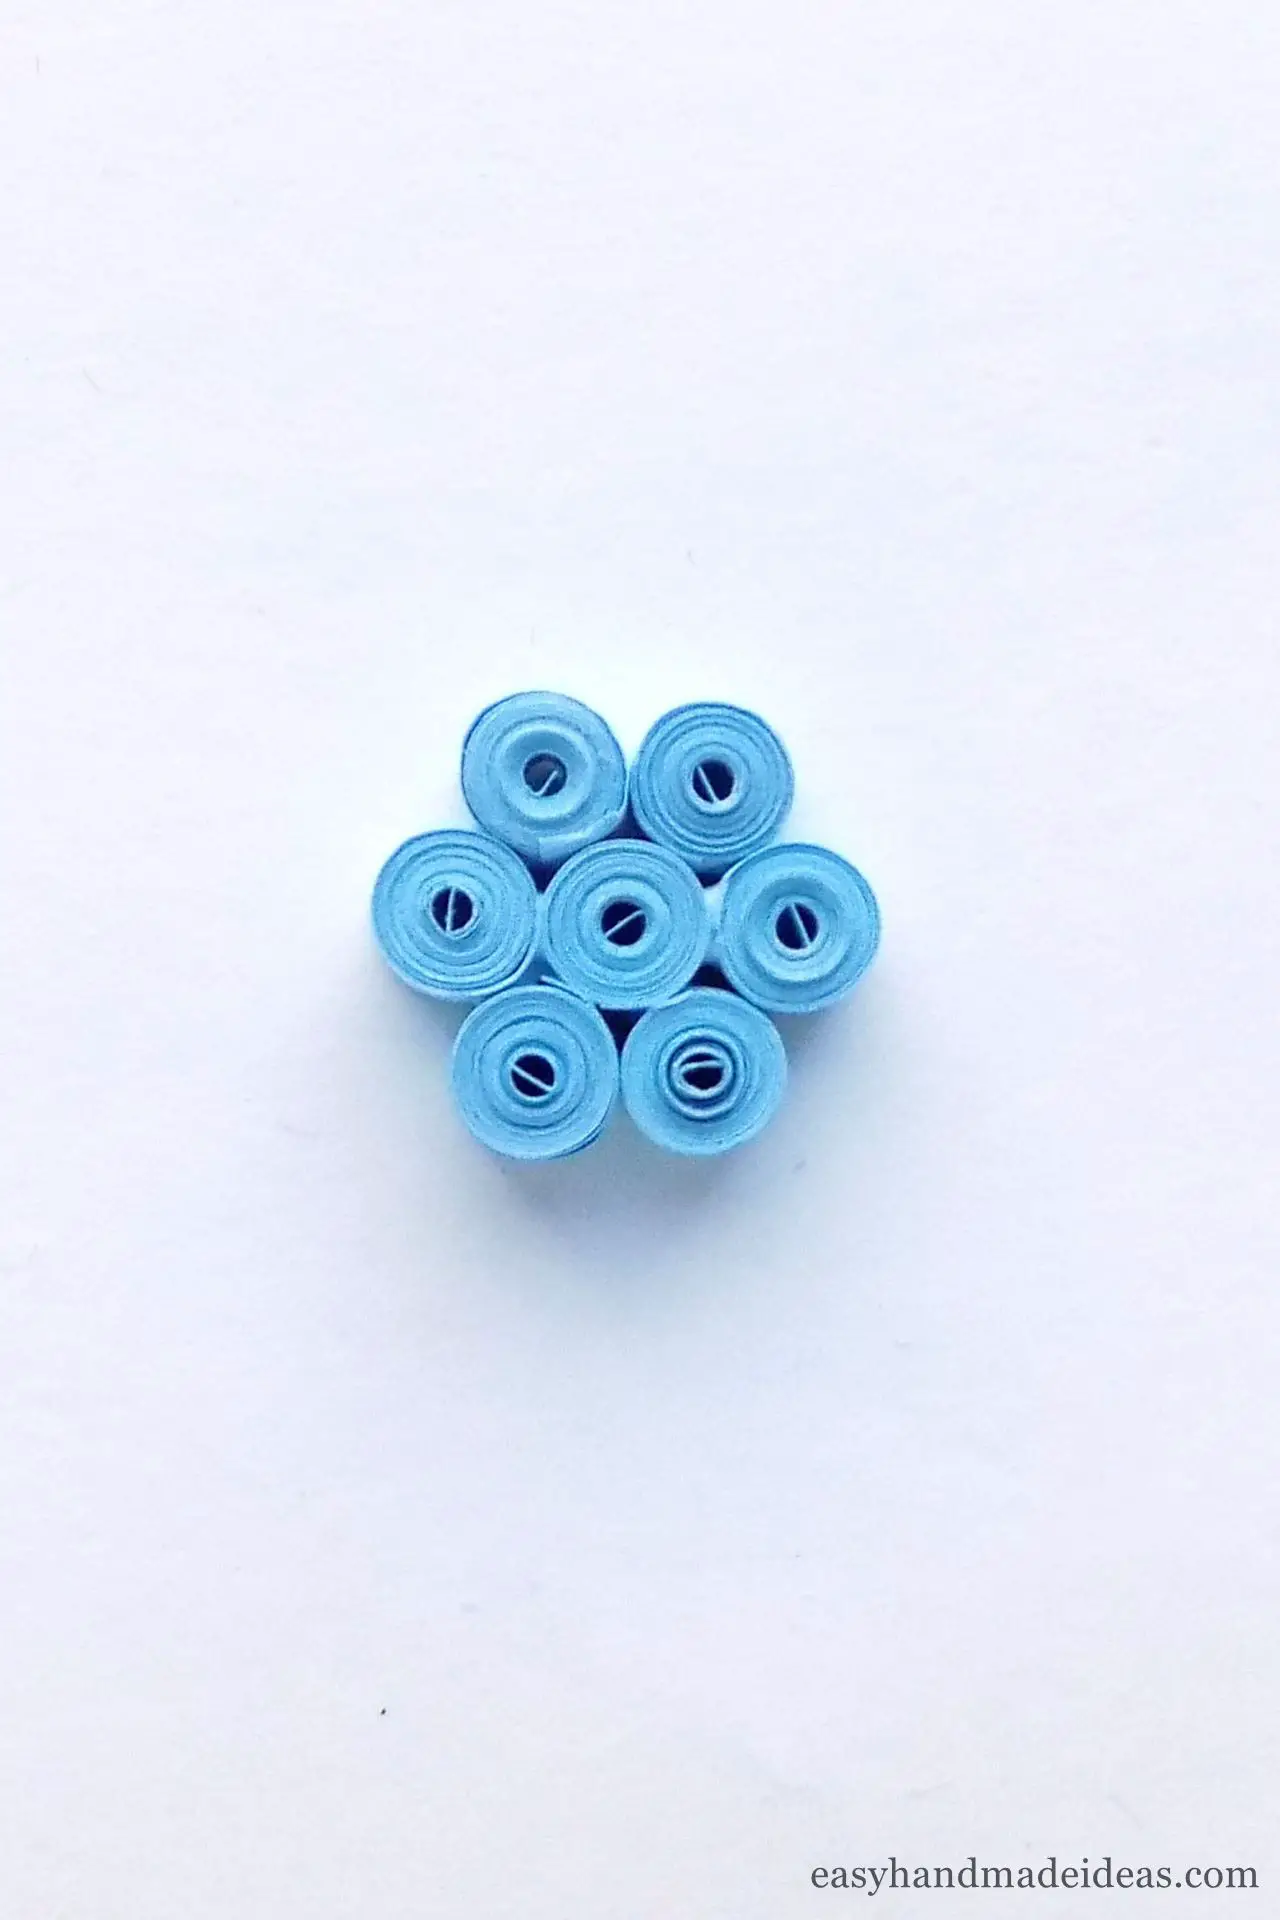
Form a total of 7 of these tight coils and then glue them together. This will be the center of the snowflake.
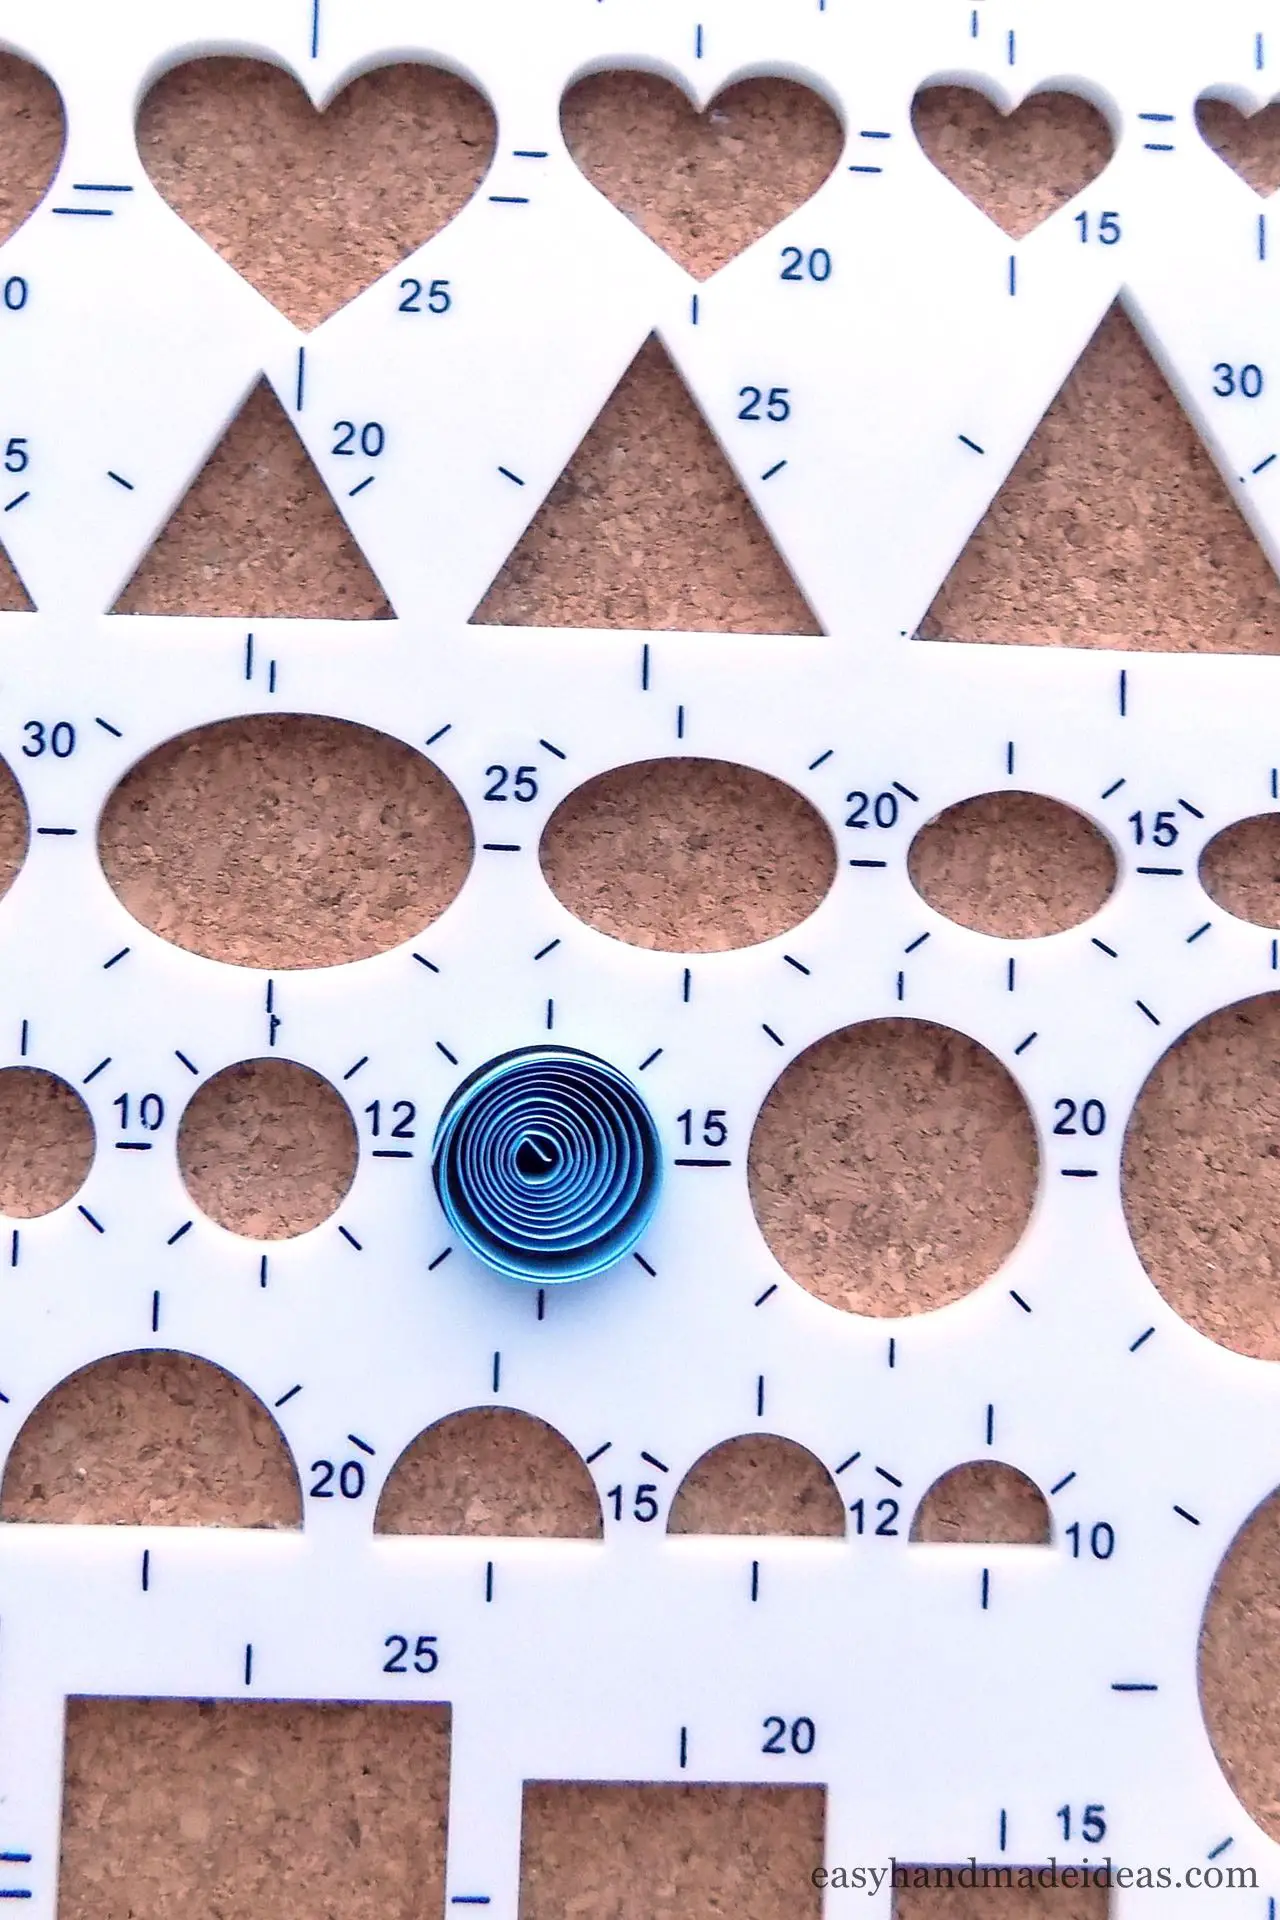
Step 4: Shape a loose coil
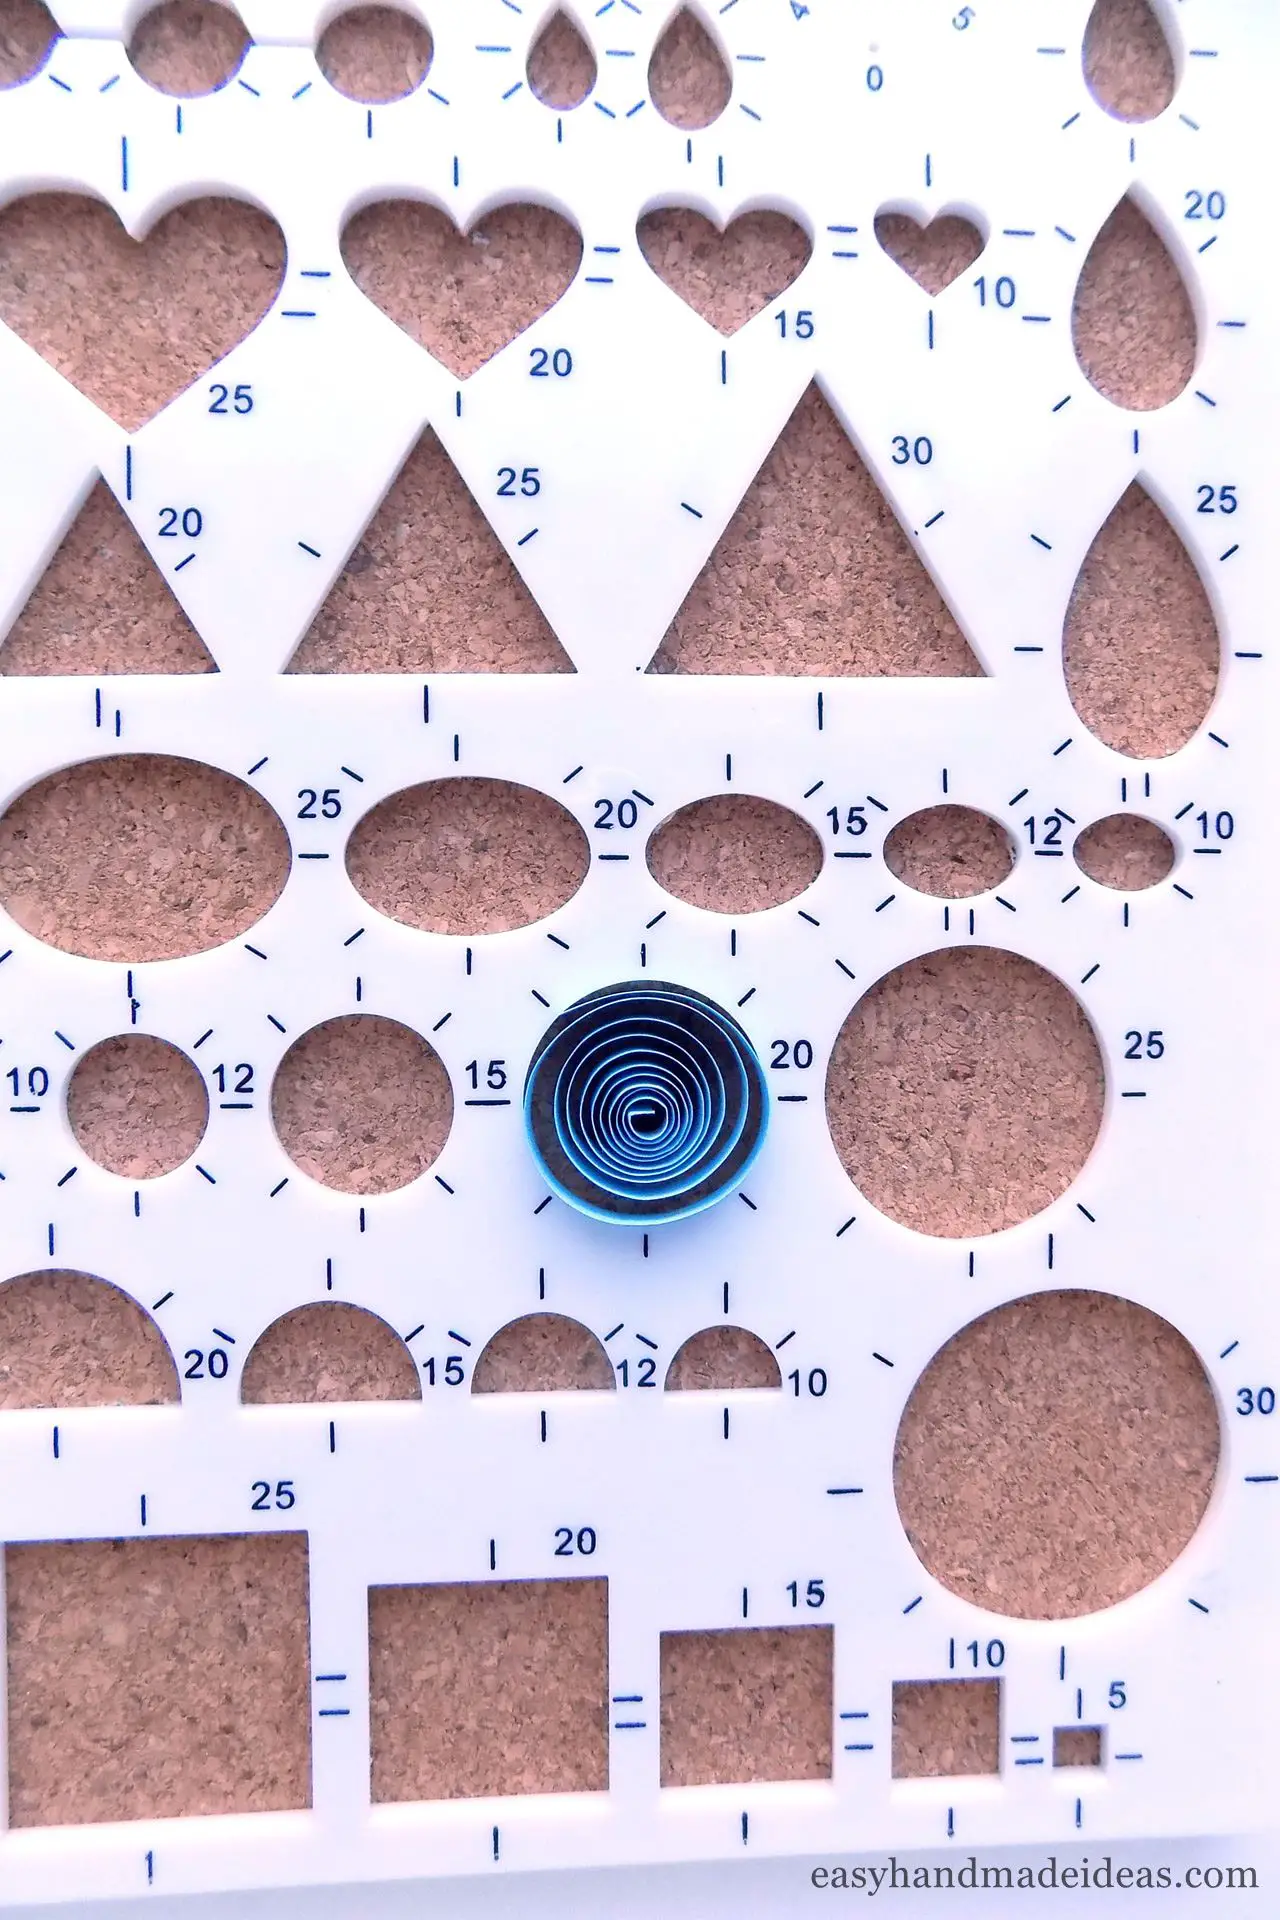
Next, create the snowflake’s arms. Roll another strip and place it in a 20 mm cell on the quilling board.
Step 5: Make a loose coil with a size 20
Then pull this out of the quilling board and fix the tip with glue.
Step 6: Make a quilling eye shape

Gently use your fingers to squeeze it on both sides so that the center of the element remains in the middle. You should have an quilling eye shape.
Step 7: Make a loose coil with a size 15
Roll another strip and place it in the cell of a 15 mm quilling board.
Step 8: Roll 2 loose coils
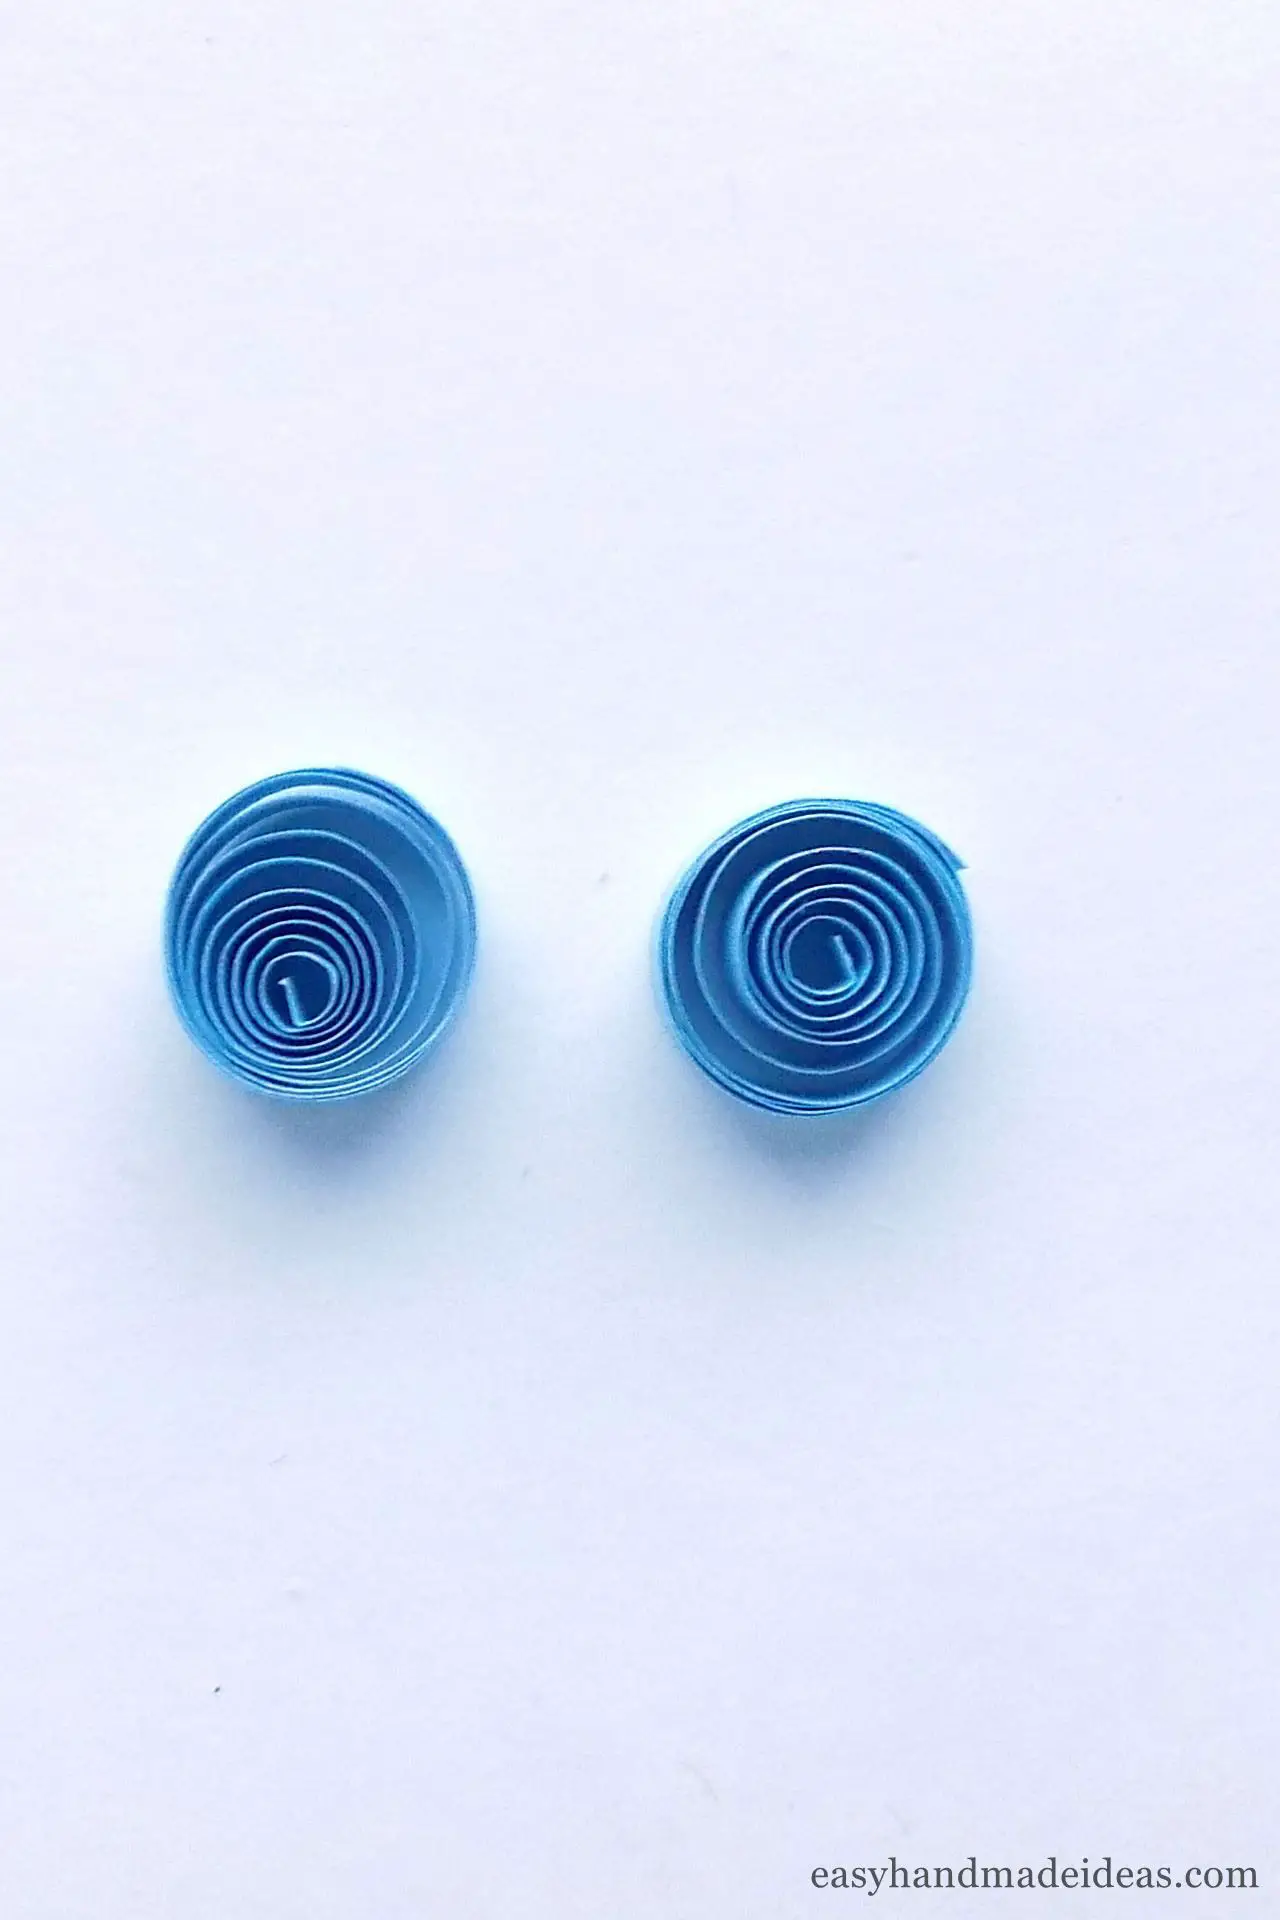
Make 2 loose coils, remembering to fix the ends with glue.
Step 9: Shape the teardrop
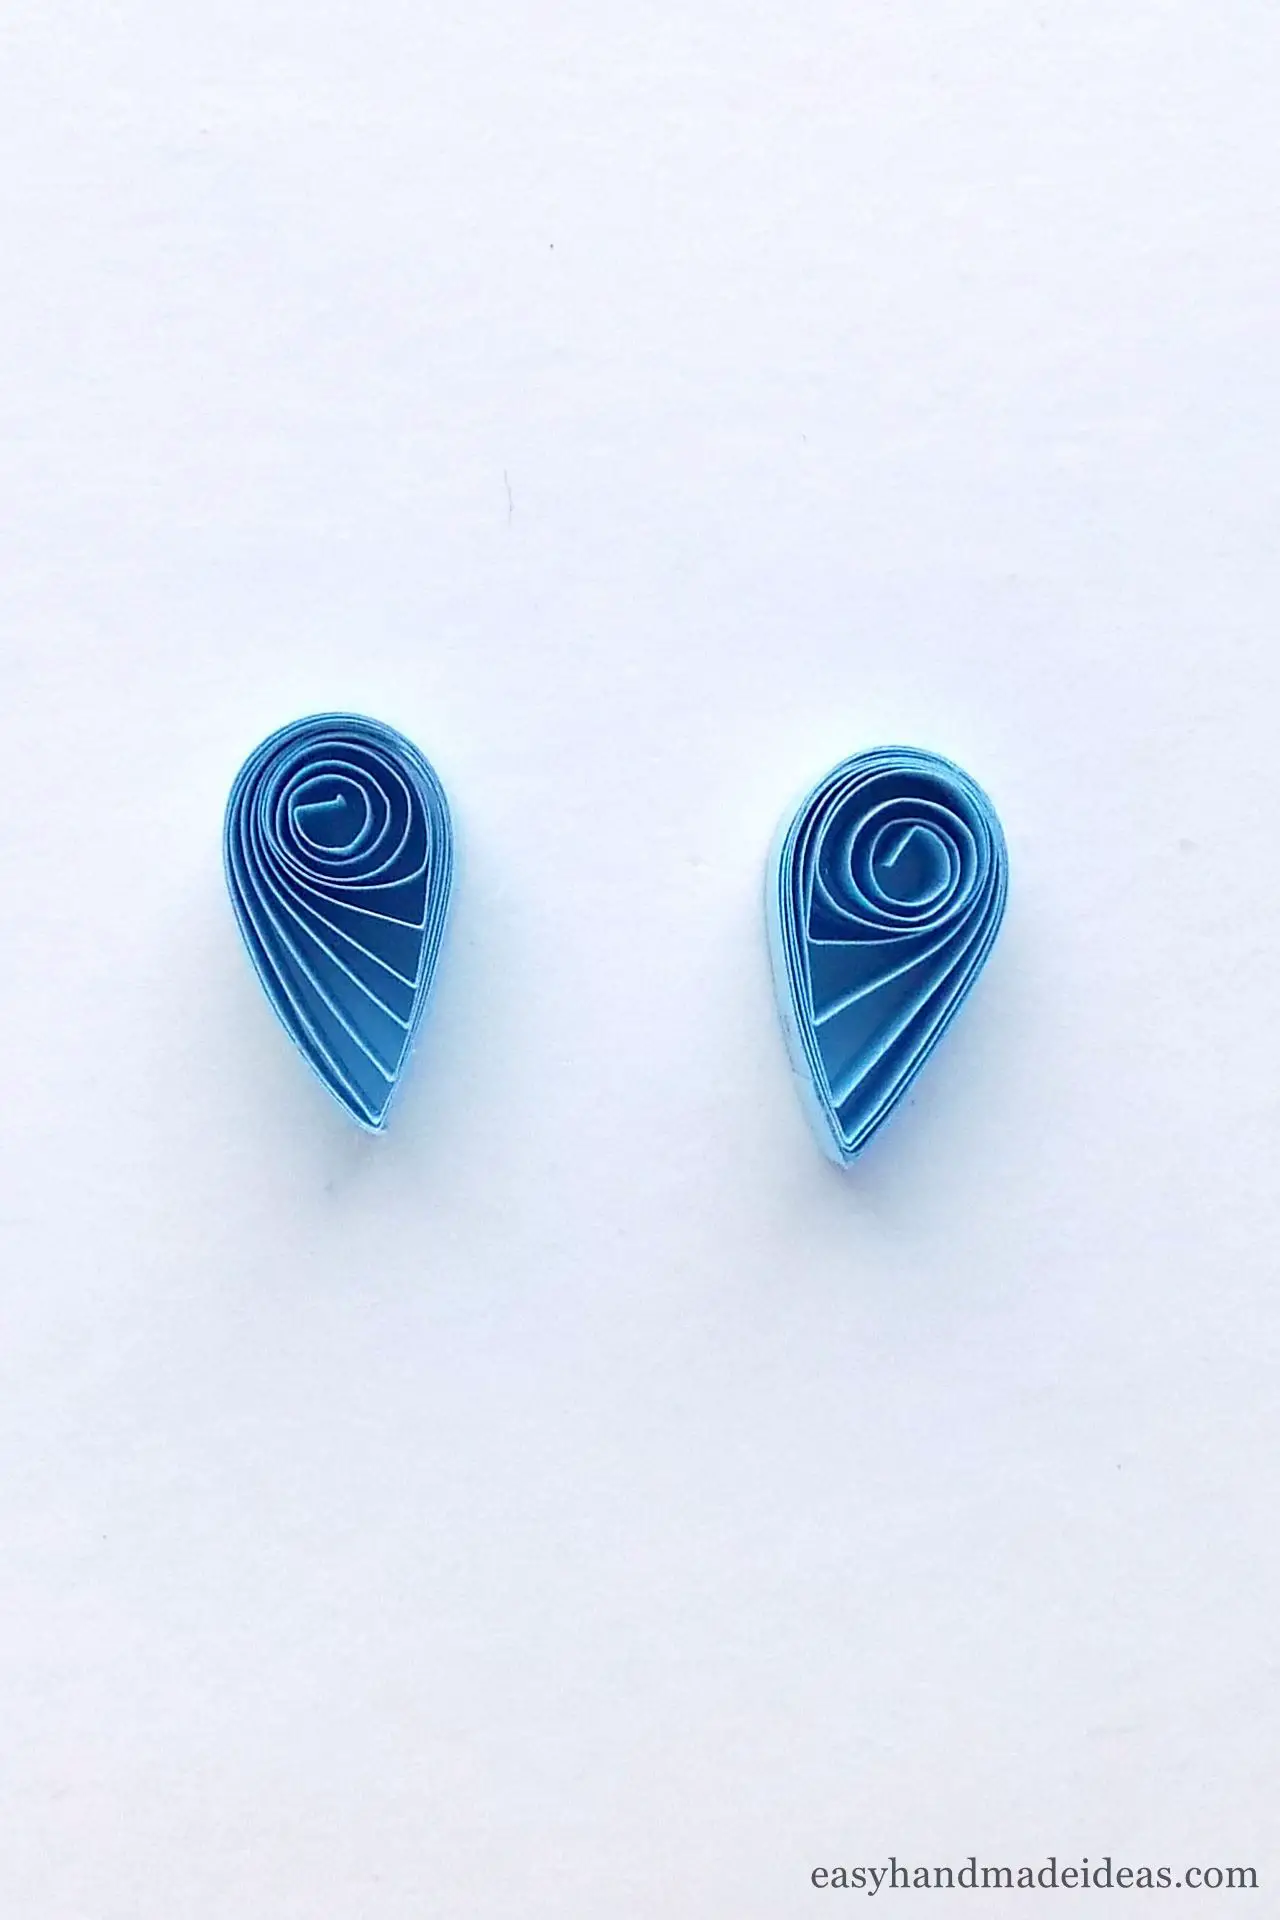
To make the loose coils into a teardrop shape, pinch each coil on one side only.
Step 10: Glue 2 teardrops and 1 quilling eye shape together
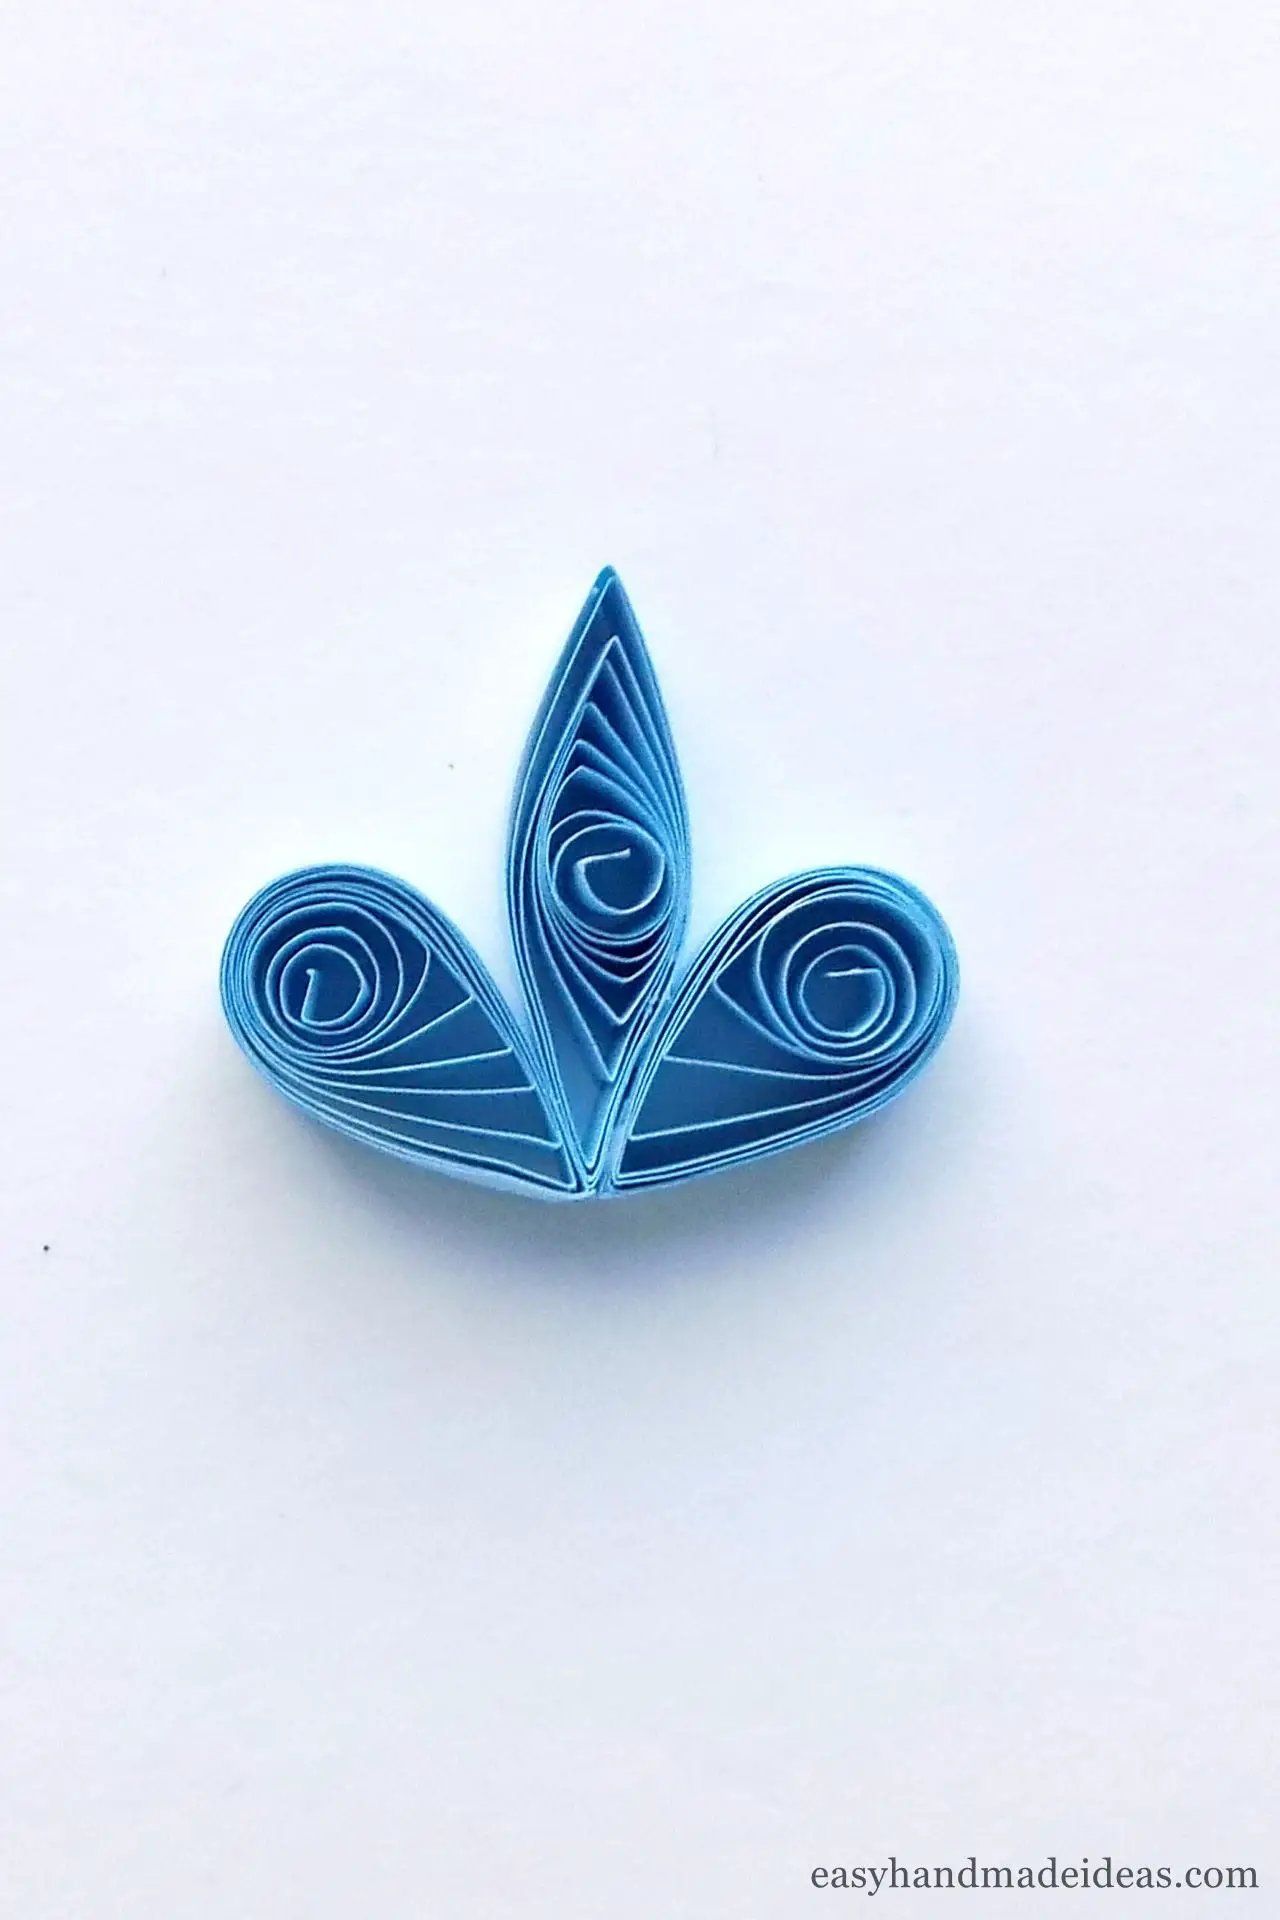
Glue the teardrops to the sides of the quilling eye shape made from a 20mm diameter coils. This will be the first arm of your future snowflake.
Step 11: Repeat the previous step 6 times
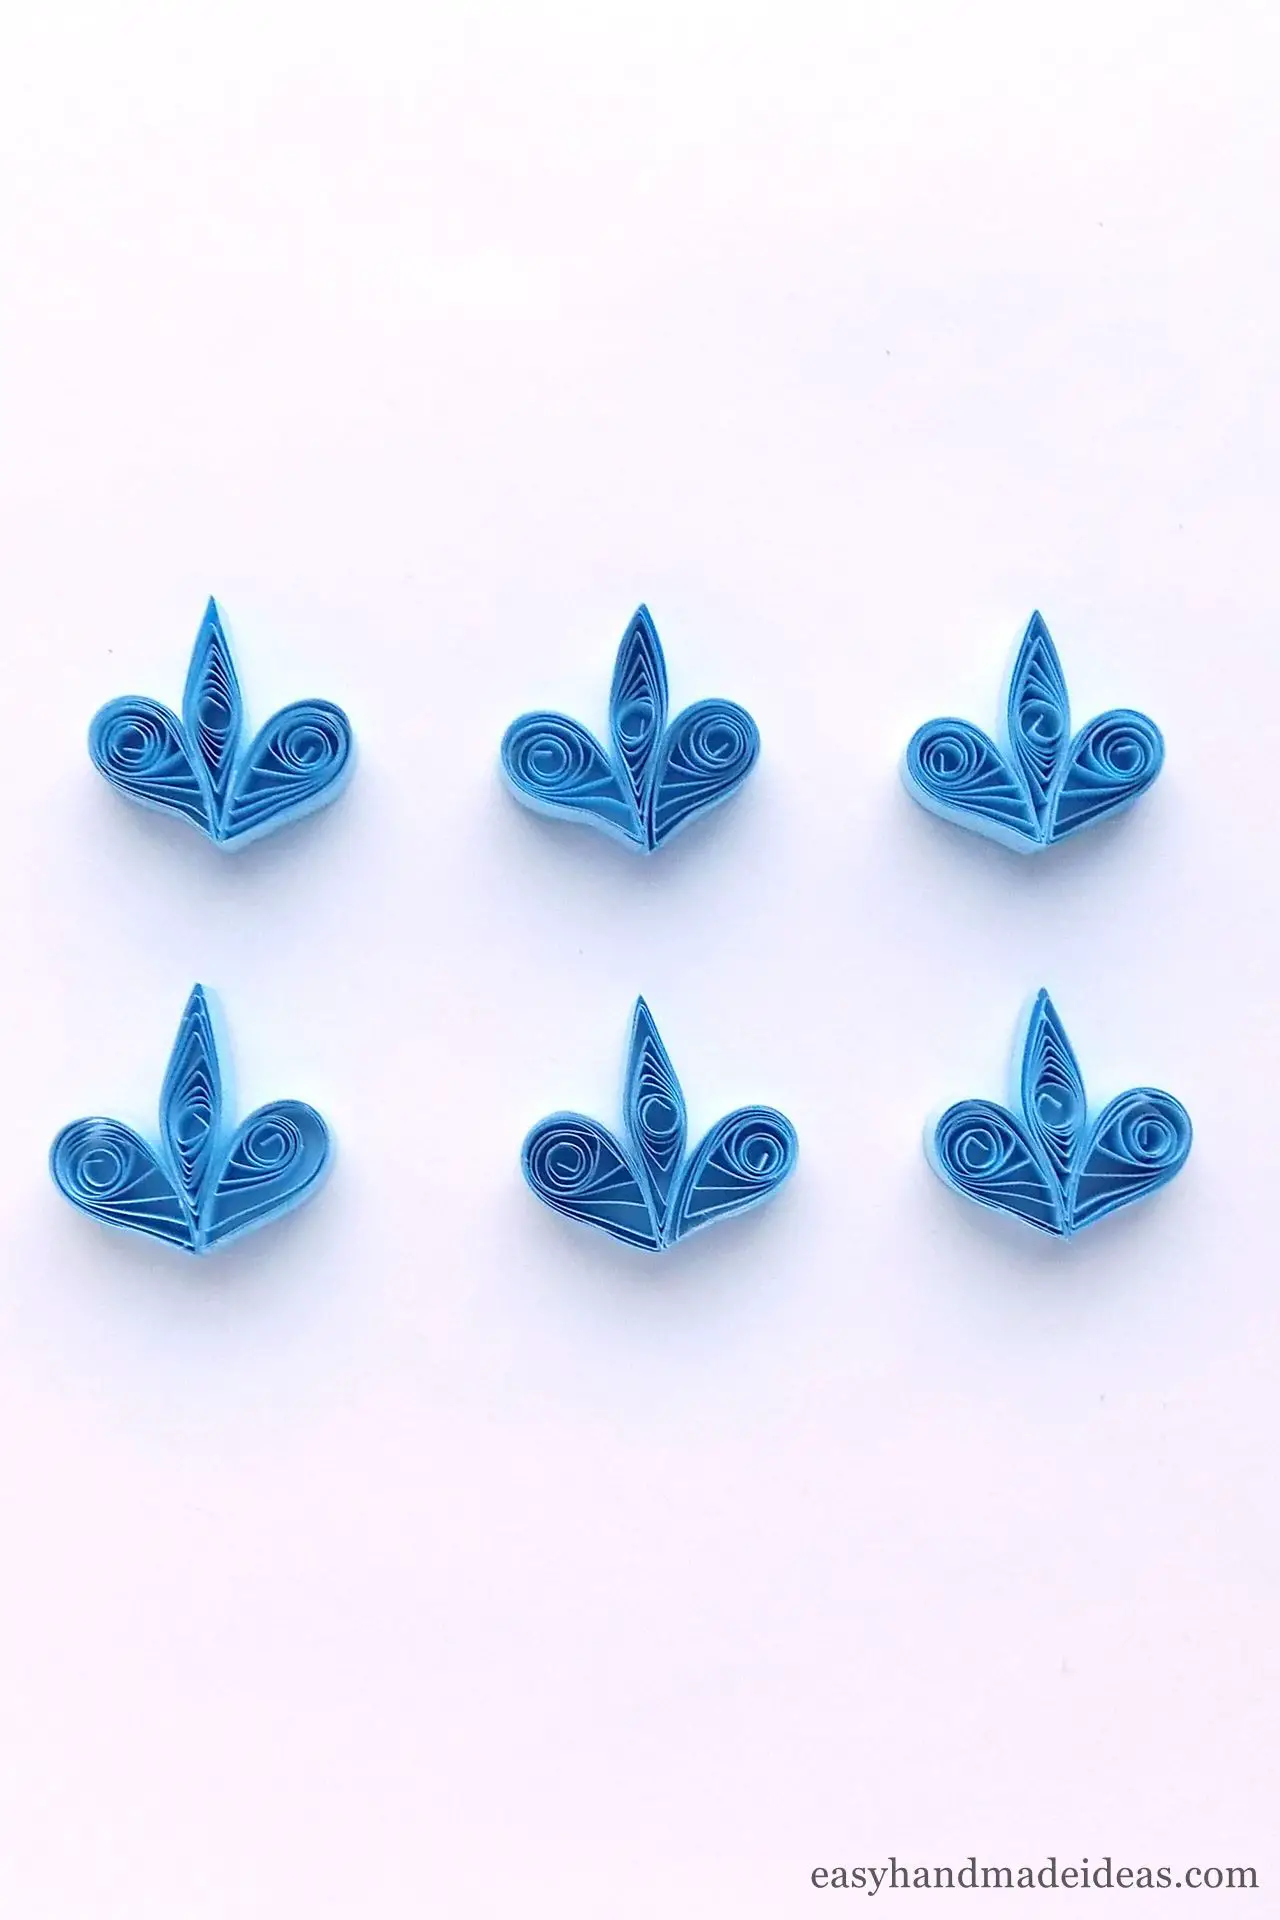
Make a total of 6 of these snowflake arms from loose coils.
Step 12: Assembling the snowflake
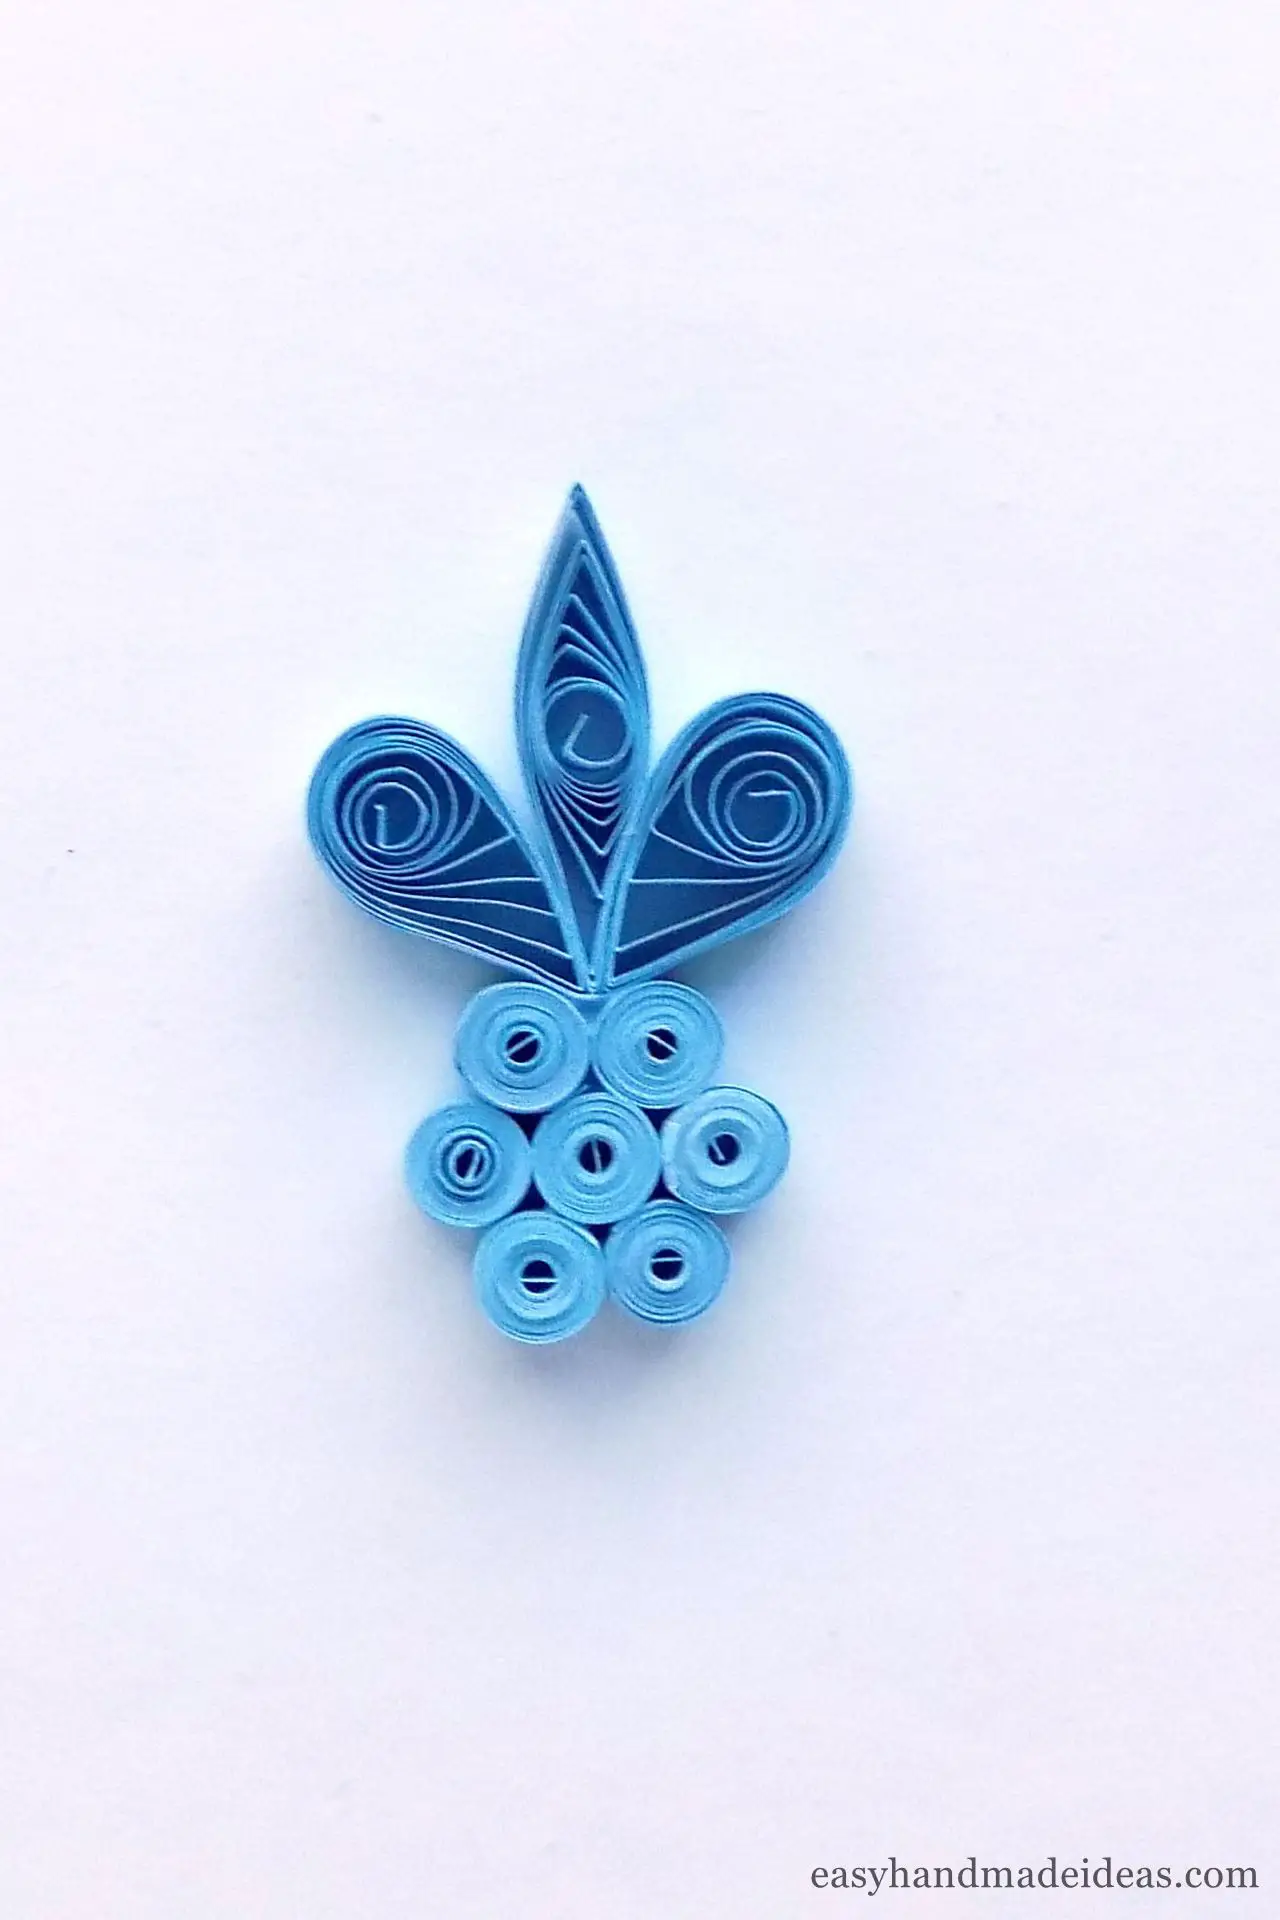
Next, glue the bottom of one snowflake arm and attach it to the previously made center of the snowflake made of tight coils.
Step 13: Glue all the pieces together
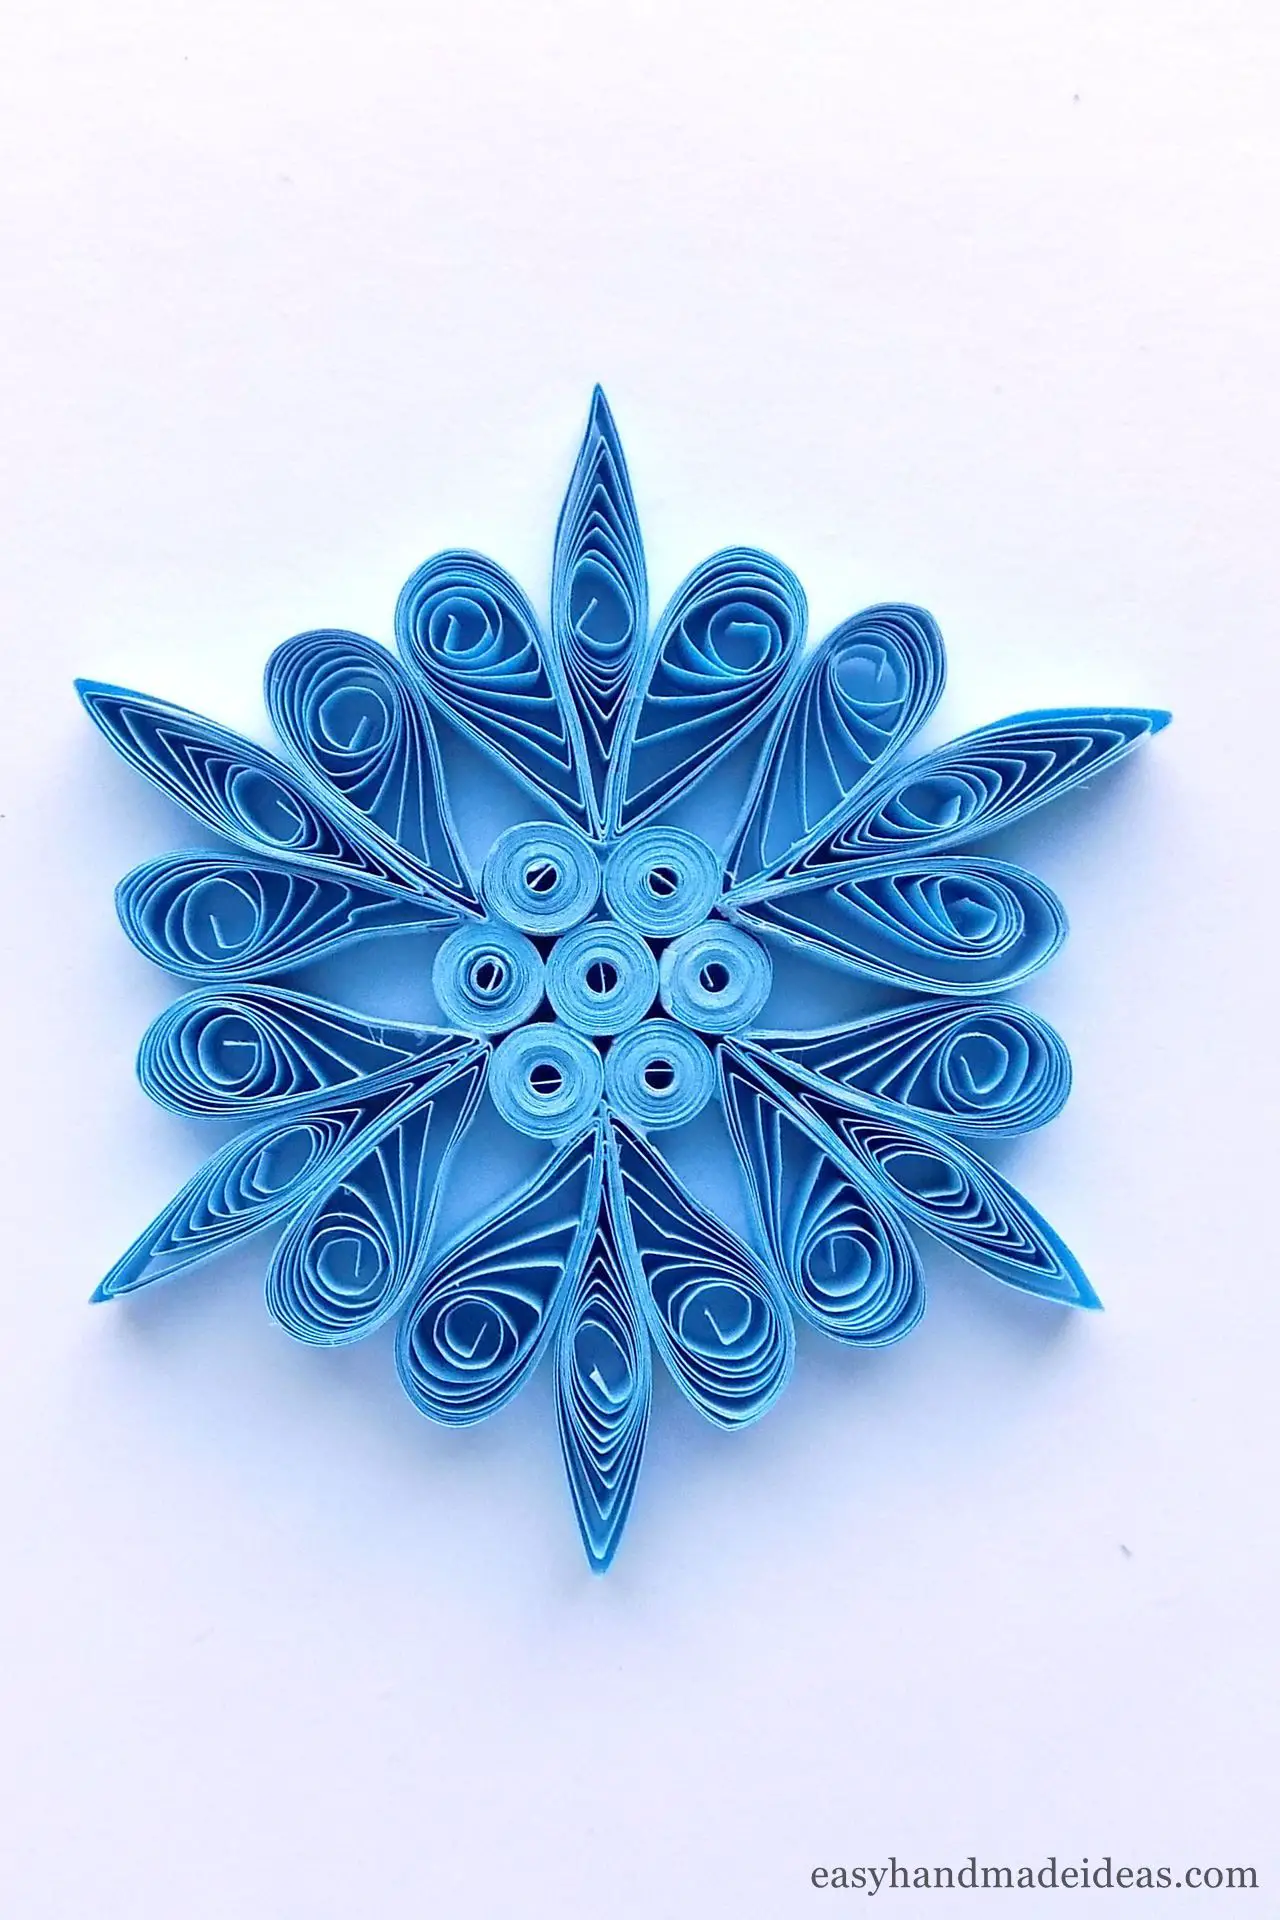
Glue the other snowflake arms in the same way. You should already have a quilling-style snowflake.
Step 14: Use rhinestones for decoration
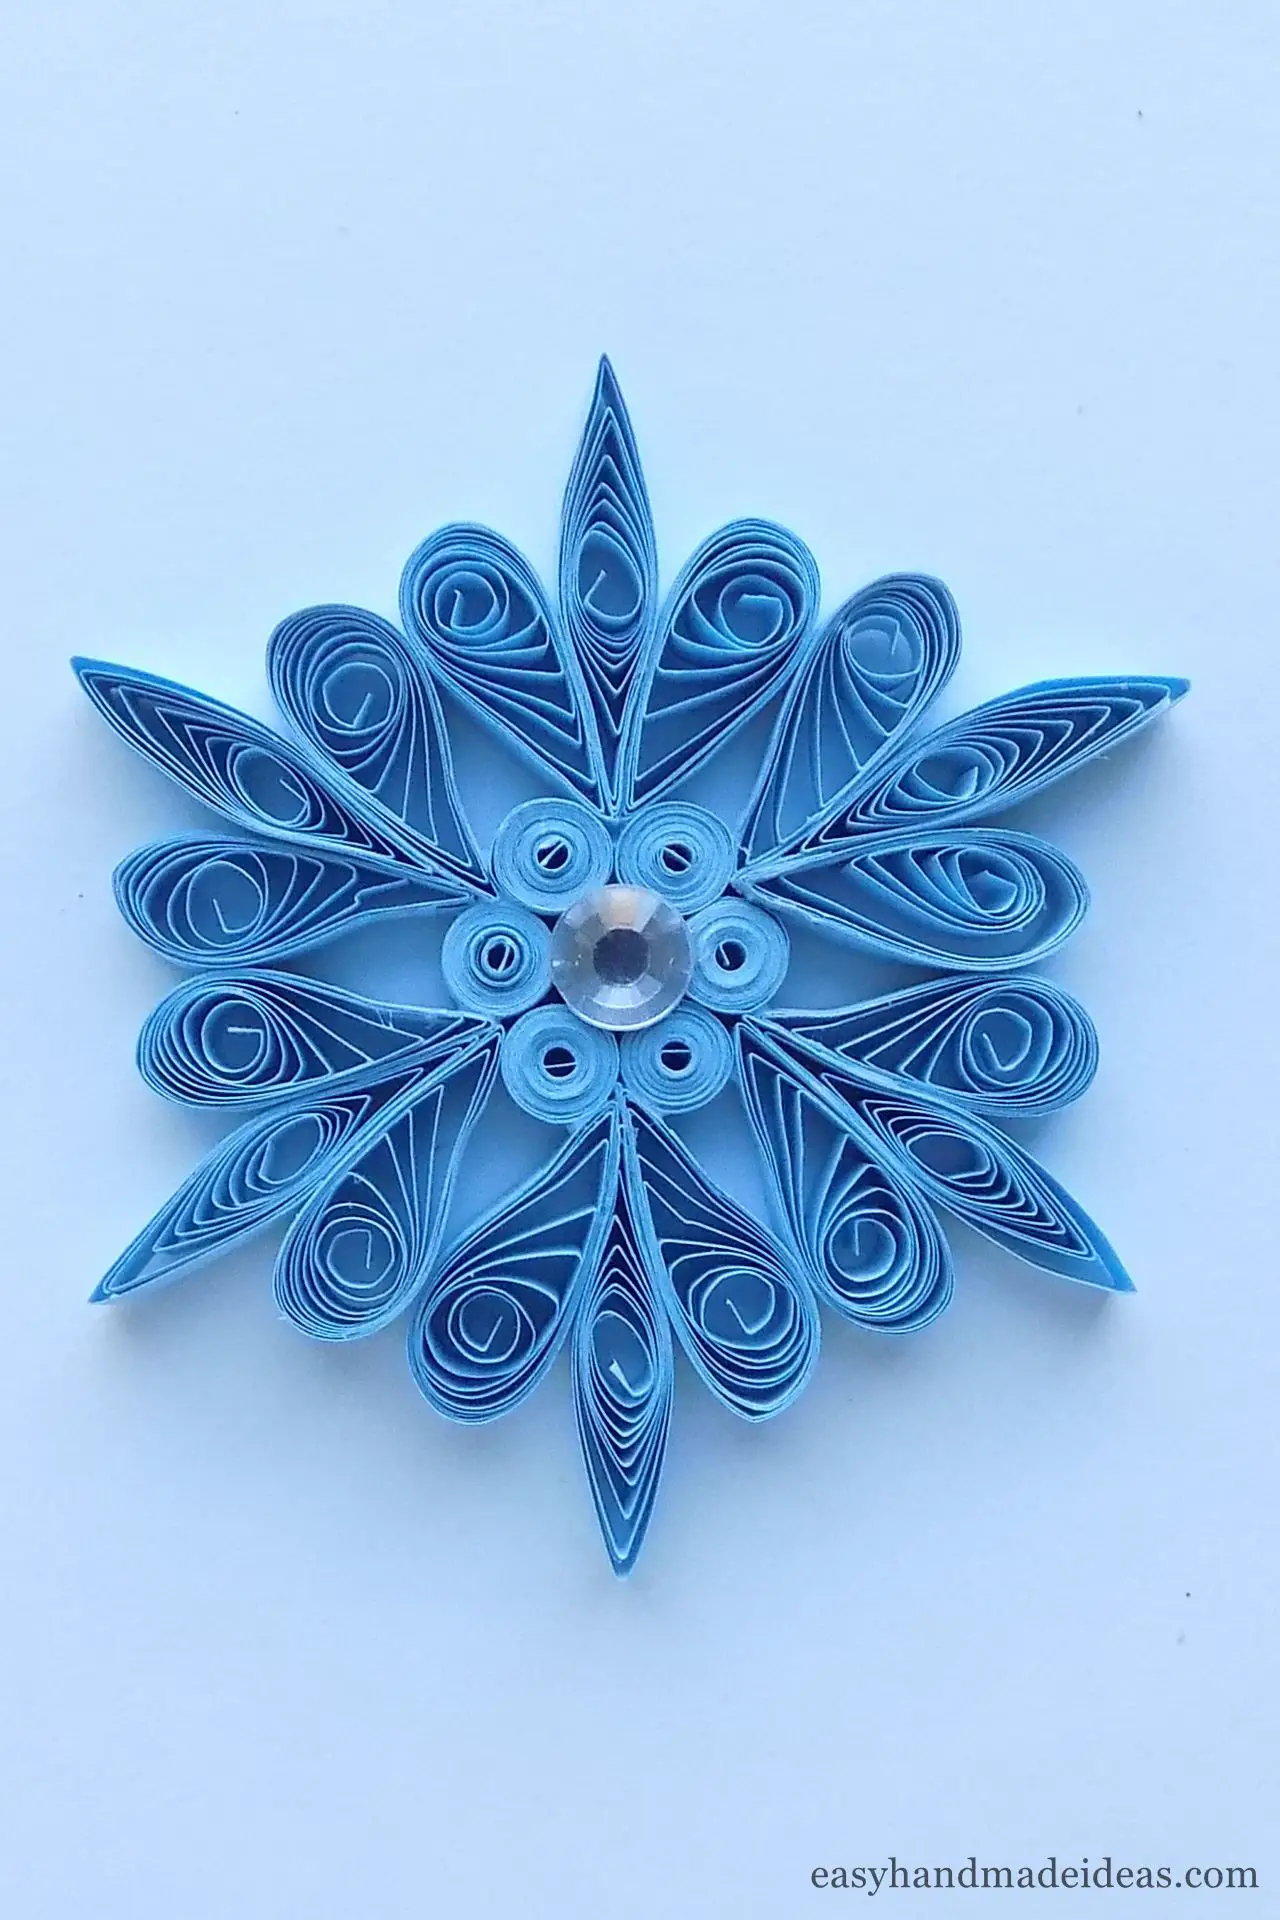
If you want, you can decorate the snowflake by adding a shiny rhinestone in the center.
Supply:
- blue color quilling paper strips.
Tools:
- quilling board;
- glue;
- quilling tool;
- scissors.
Such openwork snowflakes will be a wonderful decoration for your Christmas tree, if you hang them on a thin thread or string.
