In this master class I will show you how to make a simple quilling flower from thin paper strips. You will learn how to roll the strips into special shapes: tight coil, teardrop coil and marquise coil or eye shape.
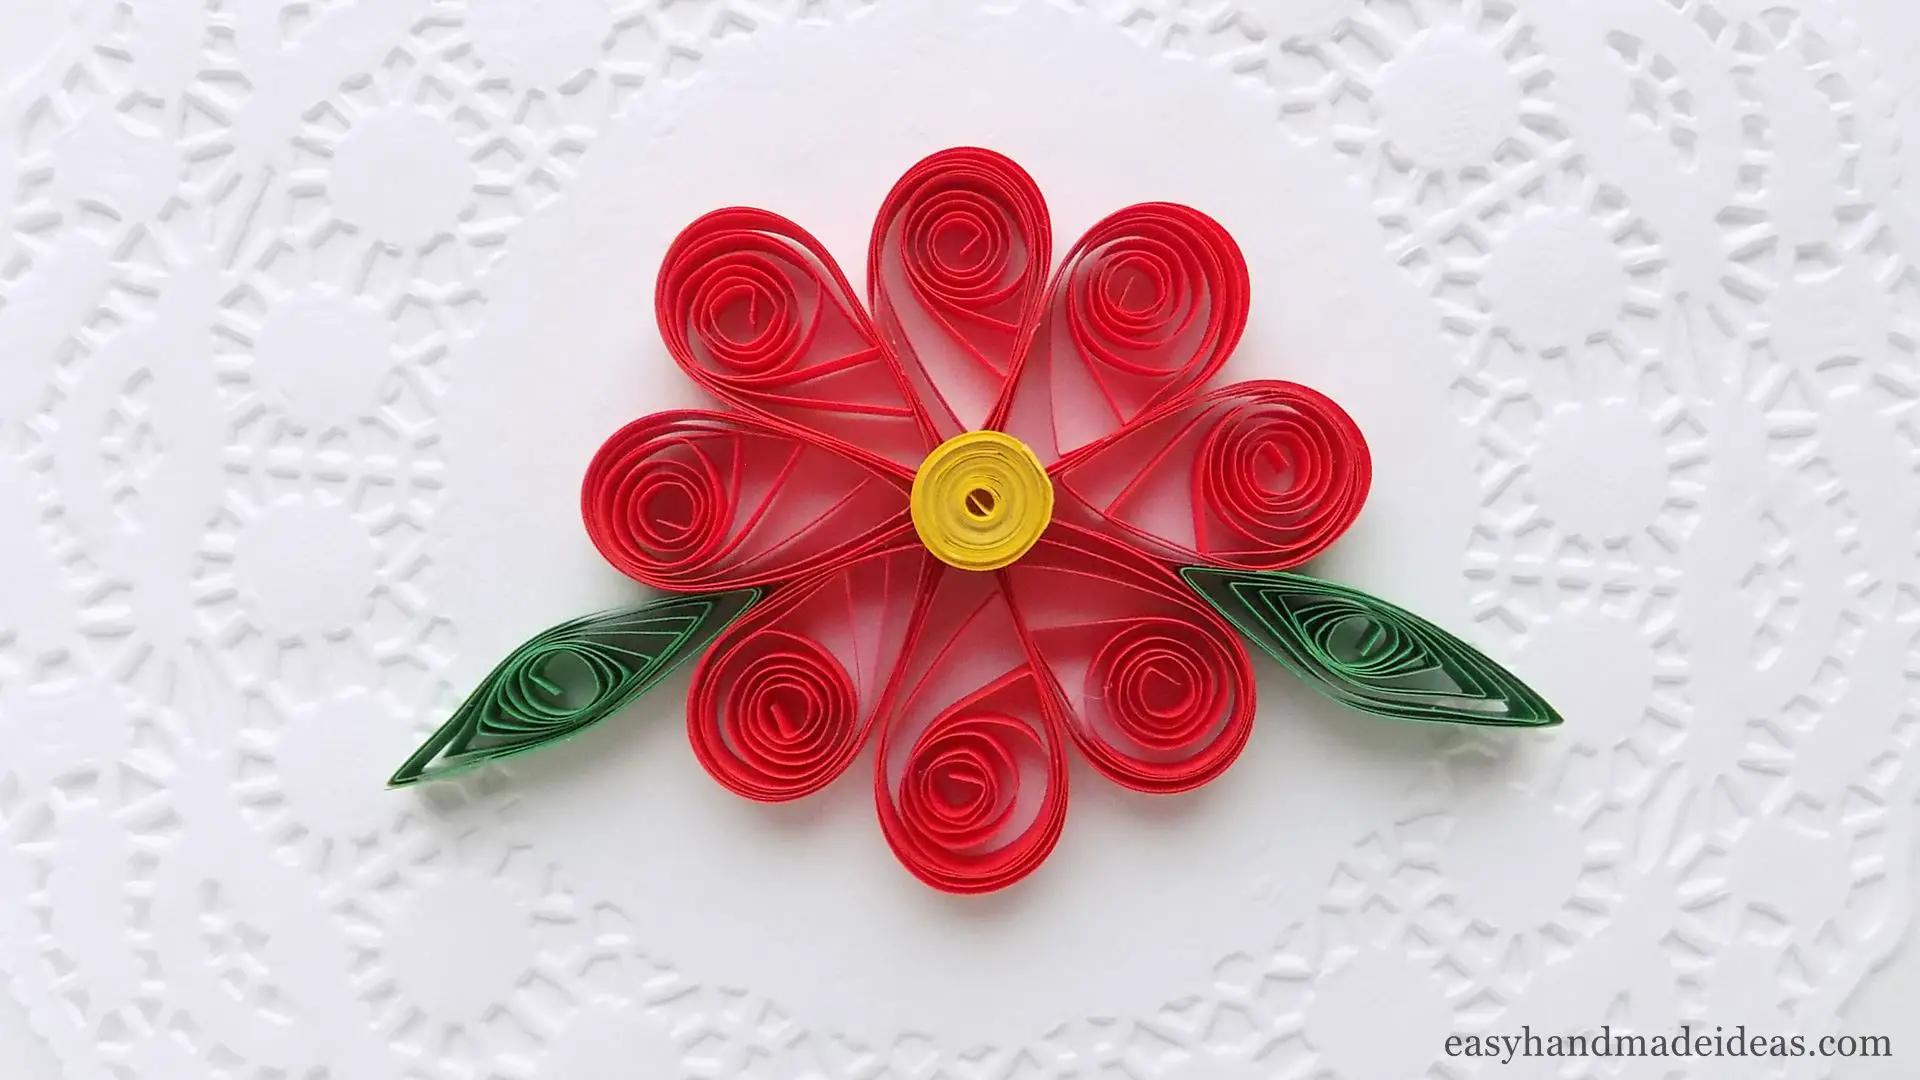
Simple quilling flower
Total Time: 30 minutes
Step 1: Prepare materials and tools
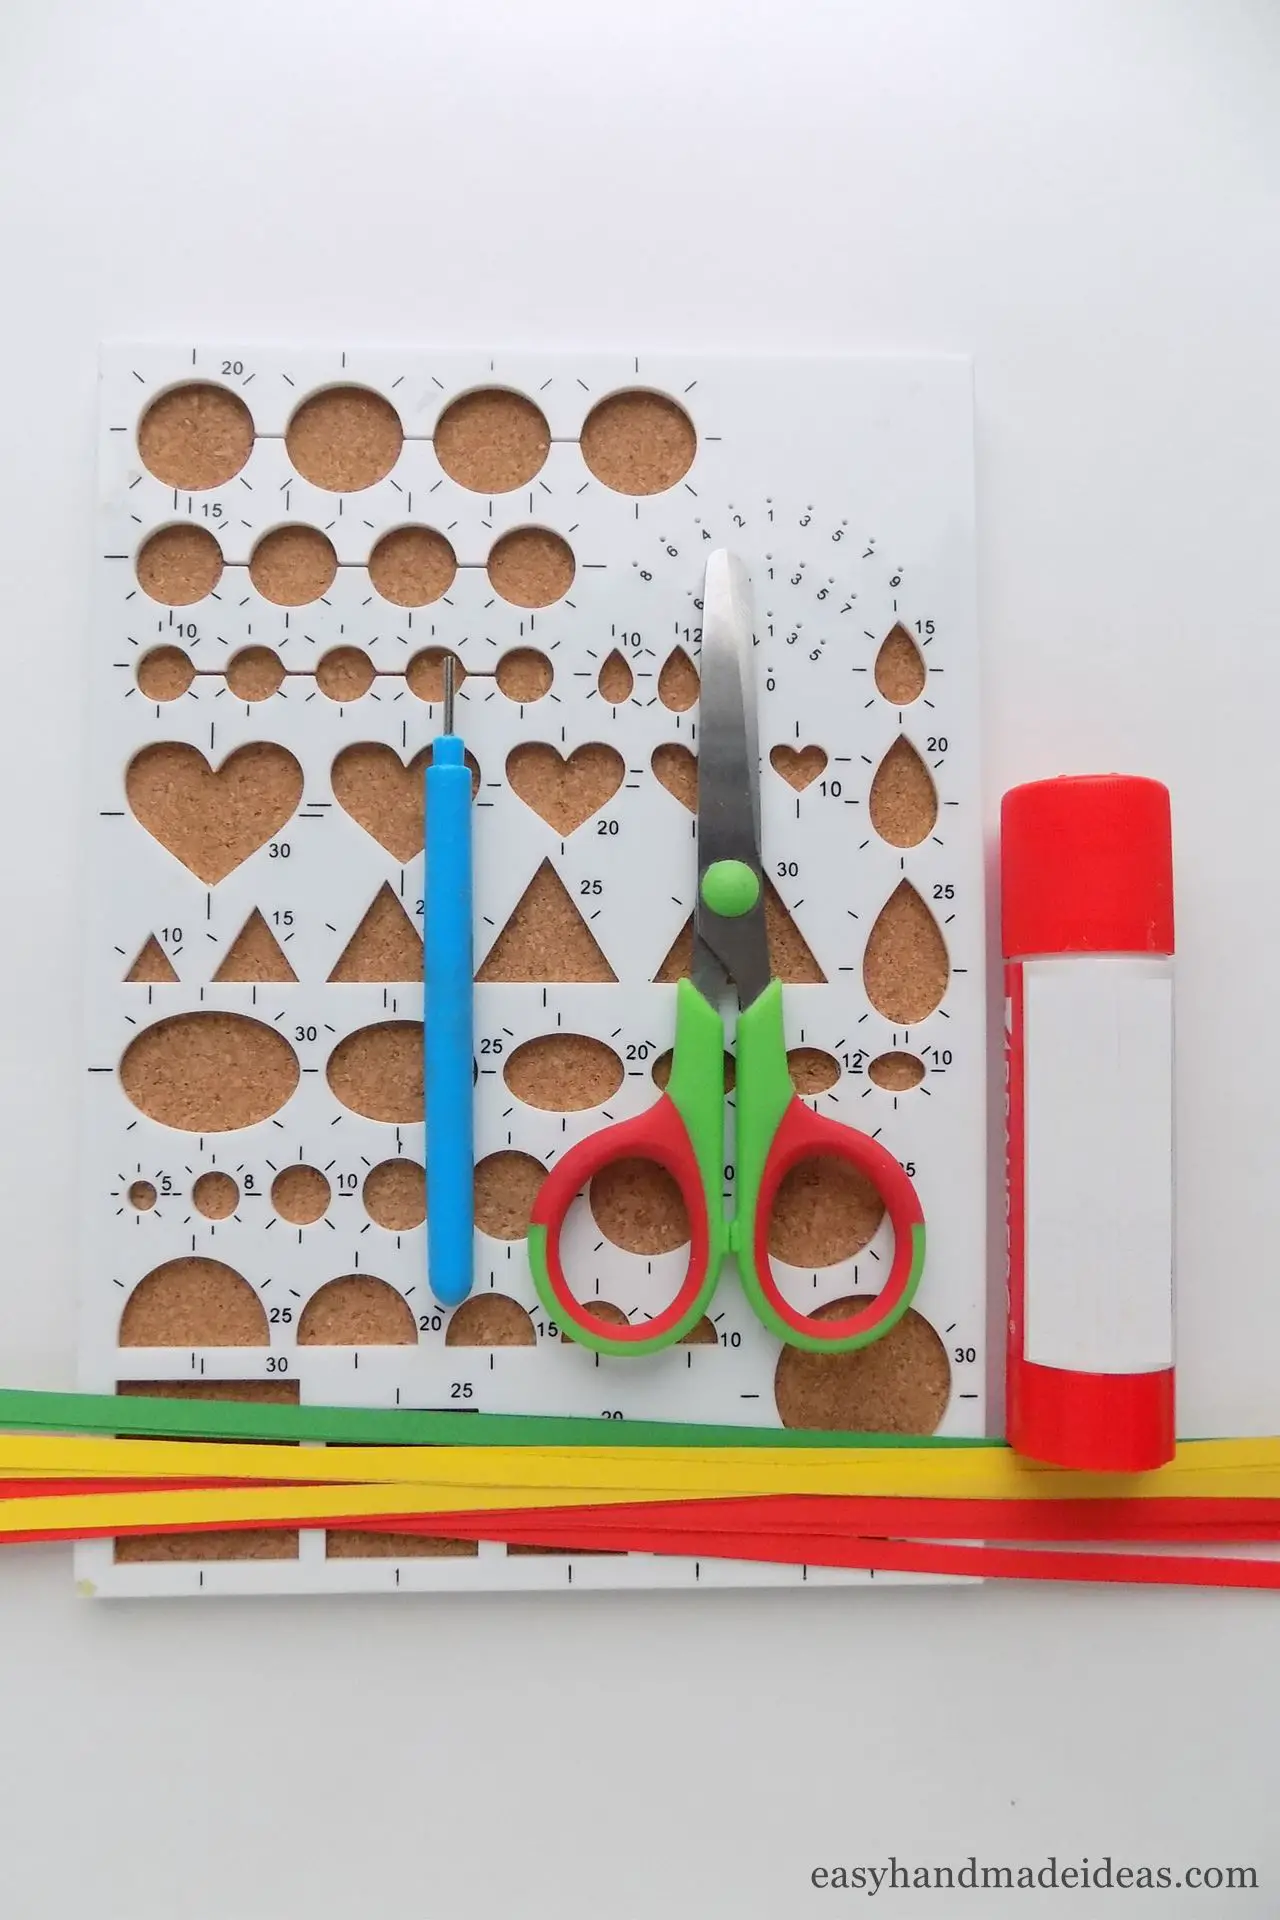
My example uses the classic flower colors: red, yellow, and green, but you can choose strips of absolutely anything else.
Step 2: Make a red loose coil
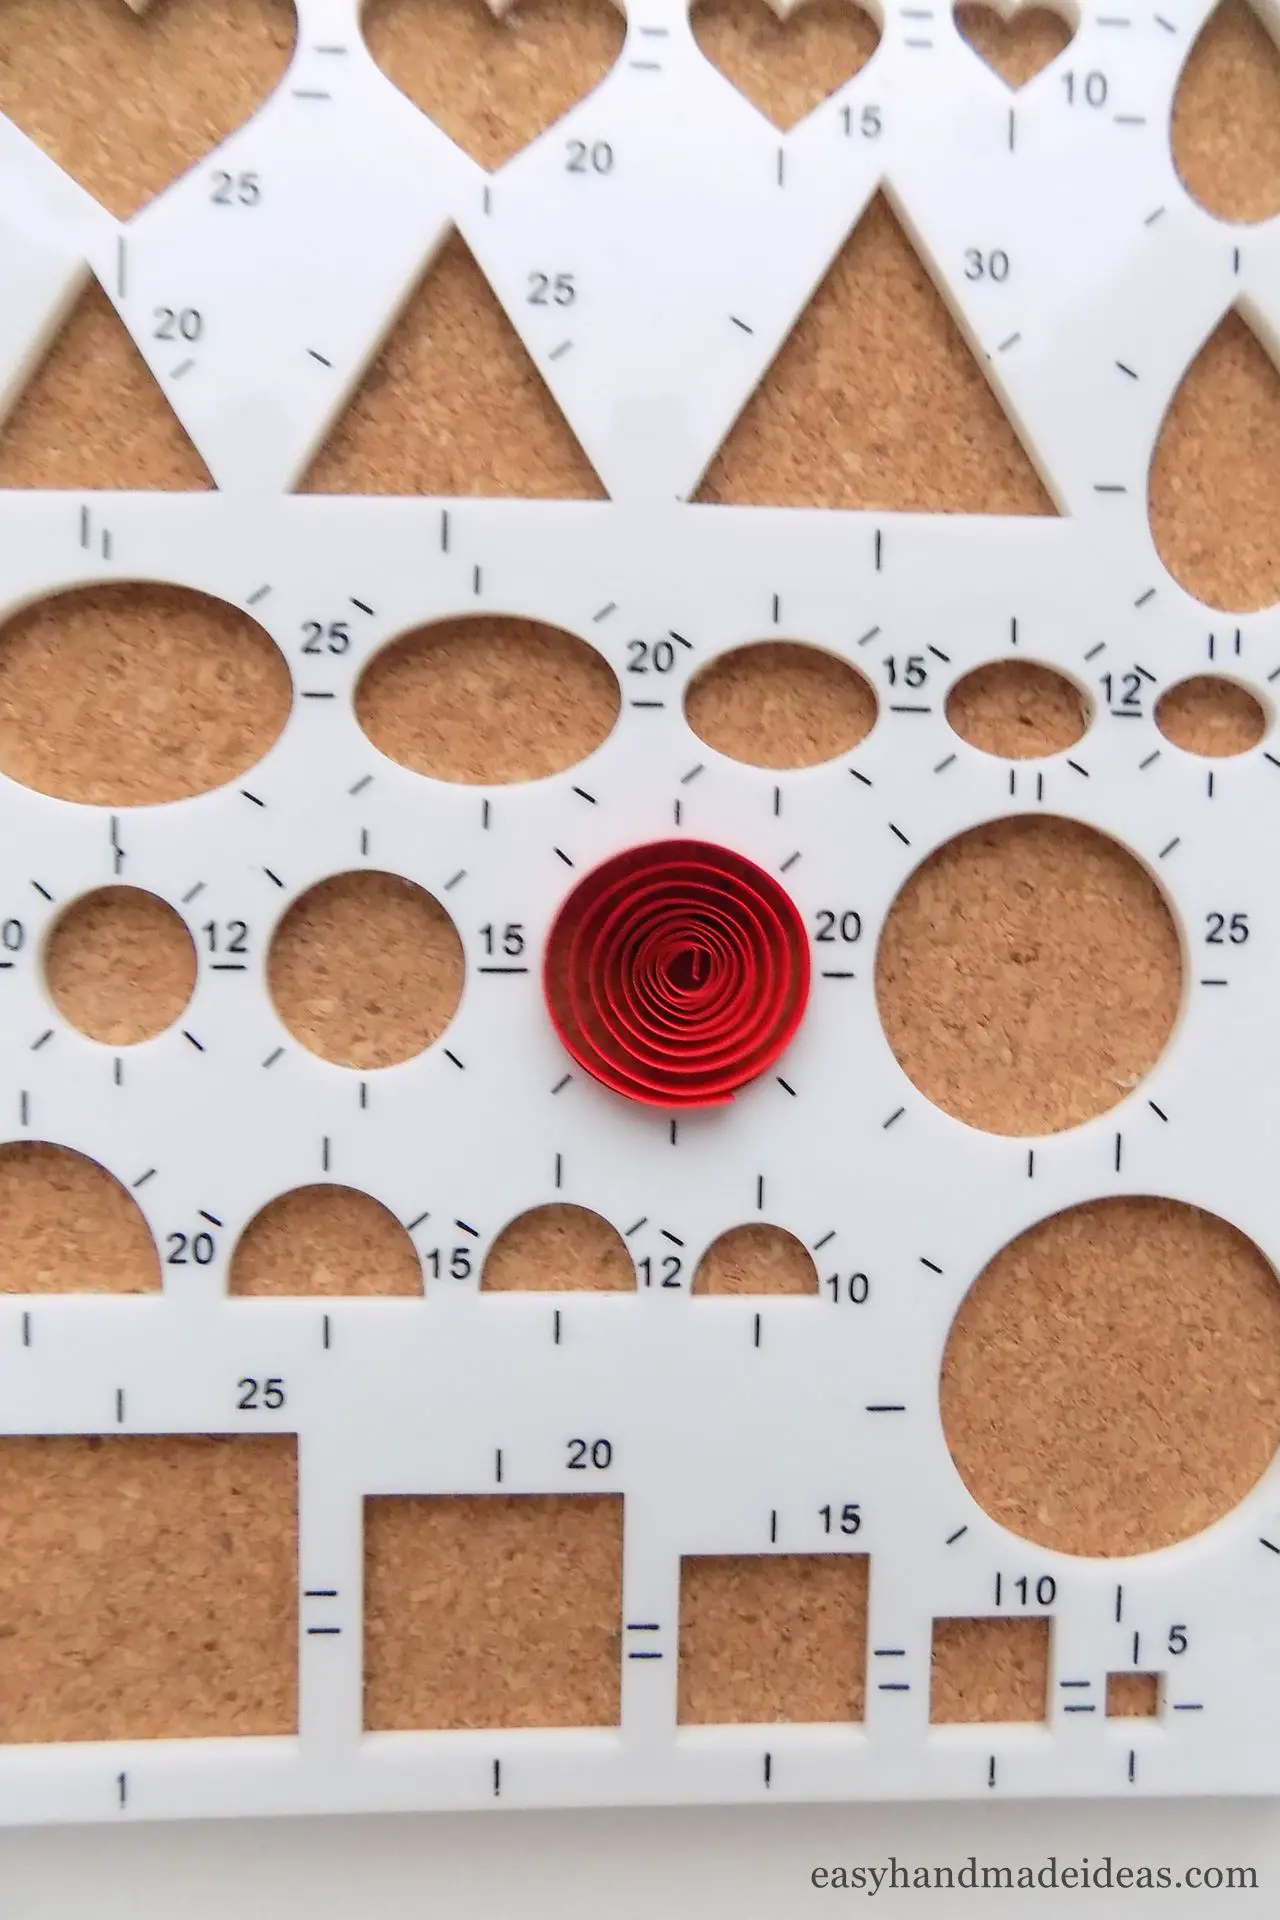
Take the red strip and roll it up, then insert it into the quilling board to form a 20mm (0,7874 ″) diameter loose coil.
Step 3: Fix the tip of the strip
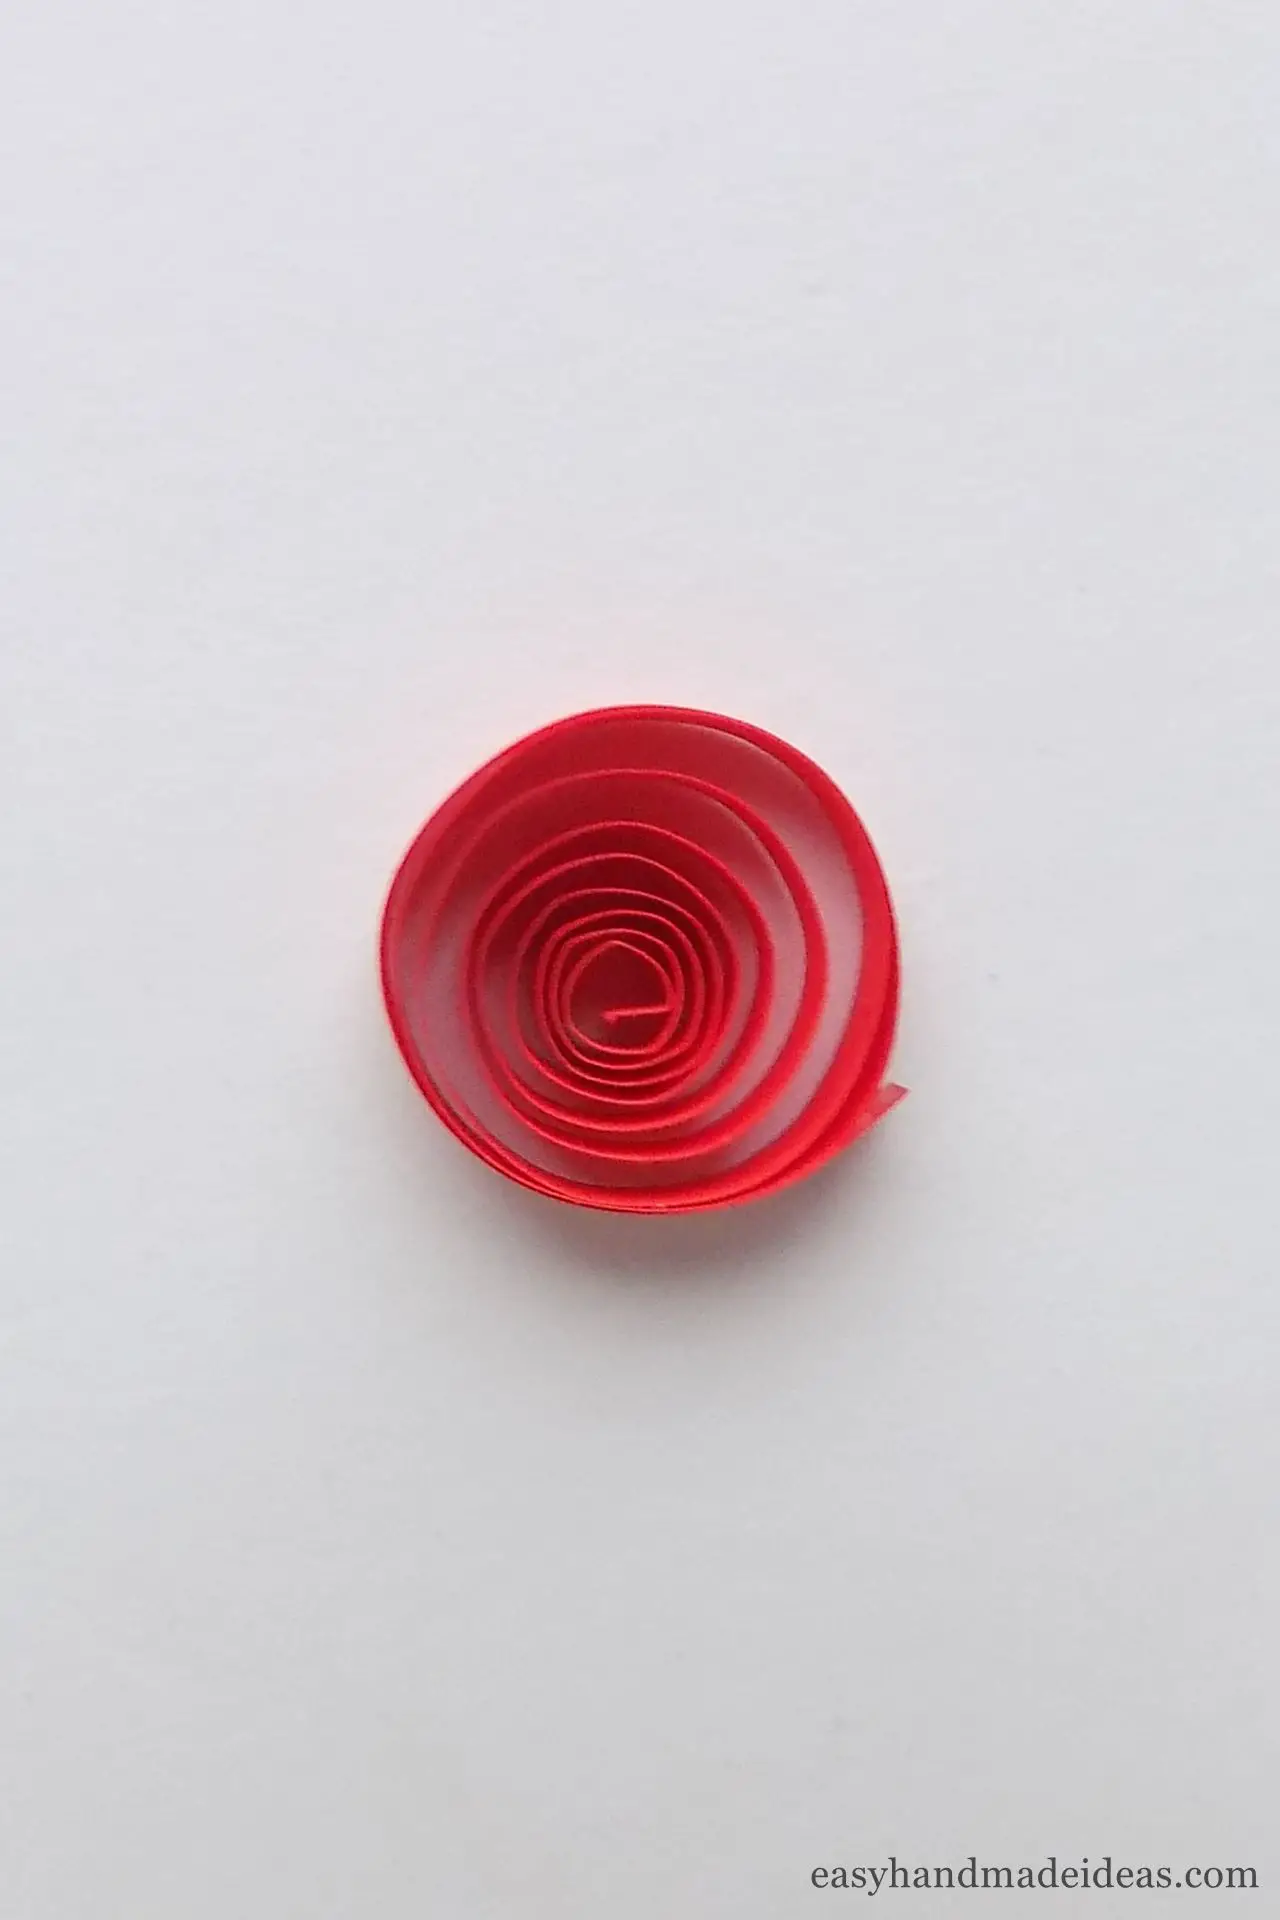
Take the loose coil out of the quilling board and fix the tip with glue.
Step 4: Create a flower petal
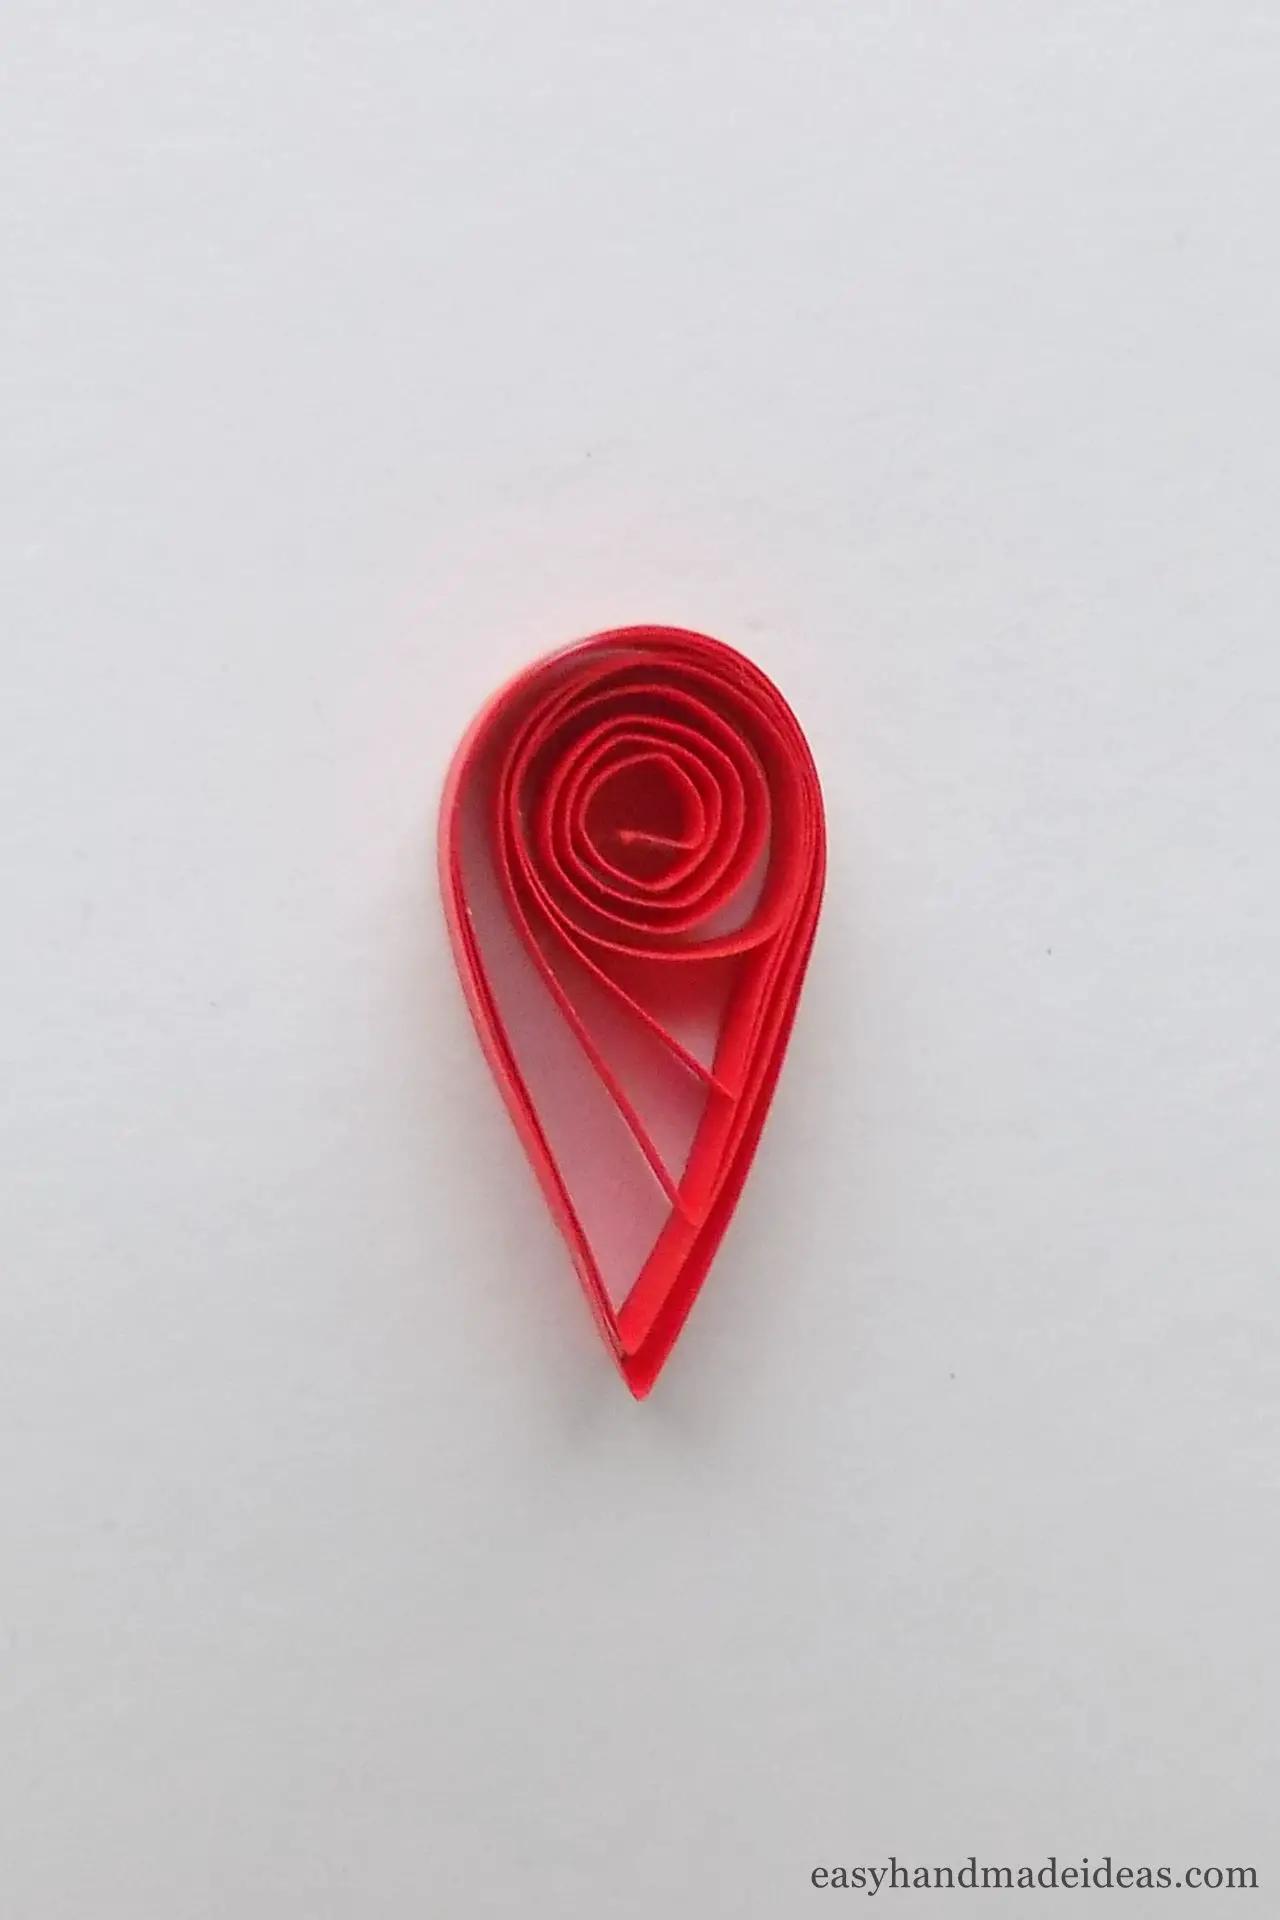
To make a petal, gently pinch the loose coil on one side with your fingers to create a marquise coil or eye shape.
Step 5: Make 8 petals
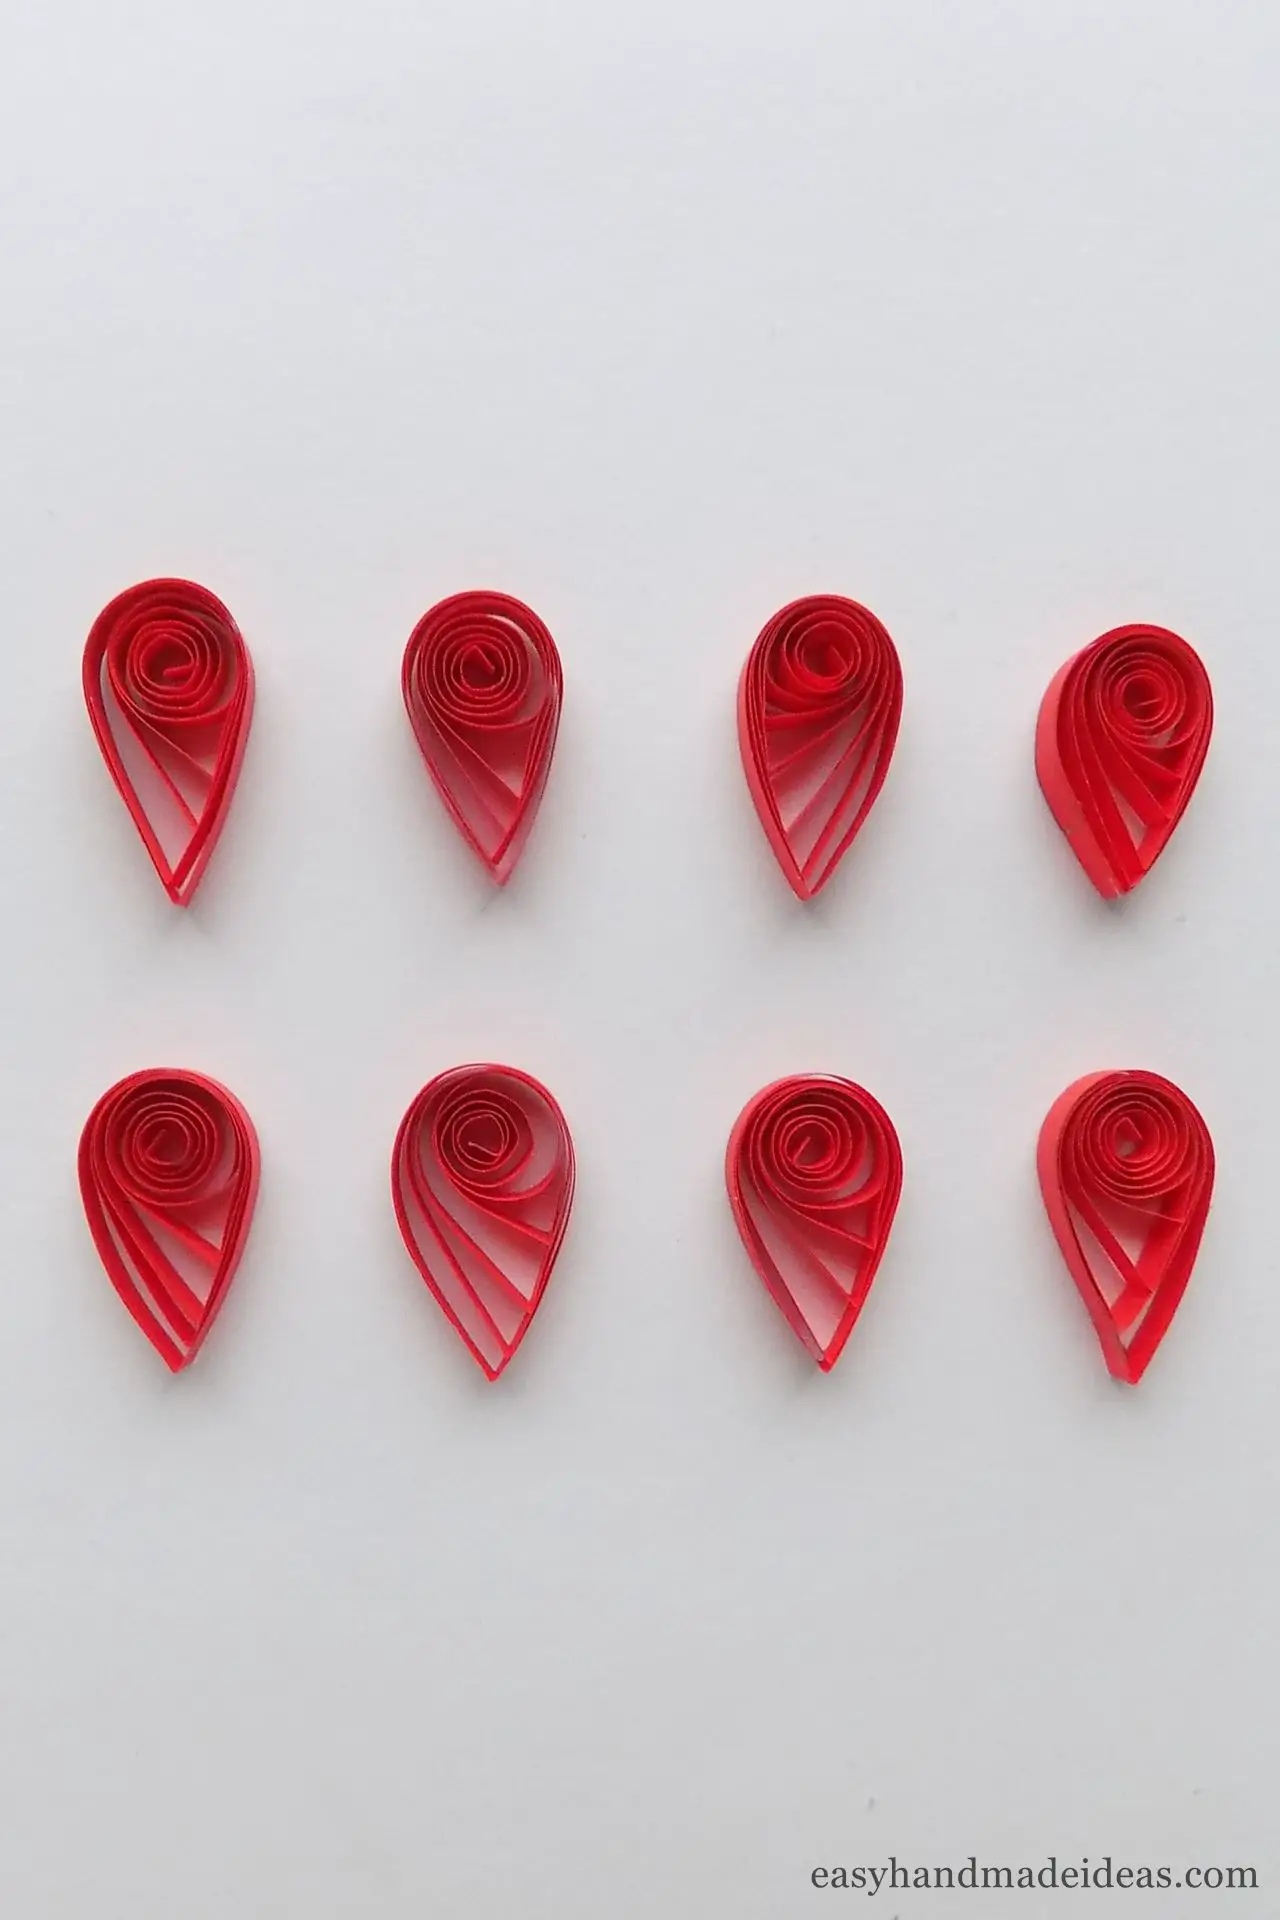
Based on the previous steps, repeat the process so that you end up with 8 petals for your future flower.
Step 6: Make a green loose coil
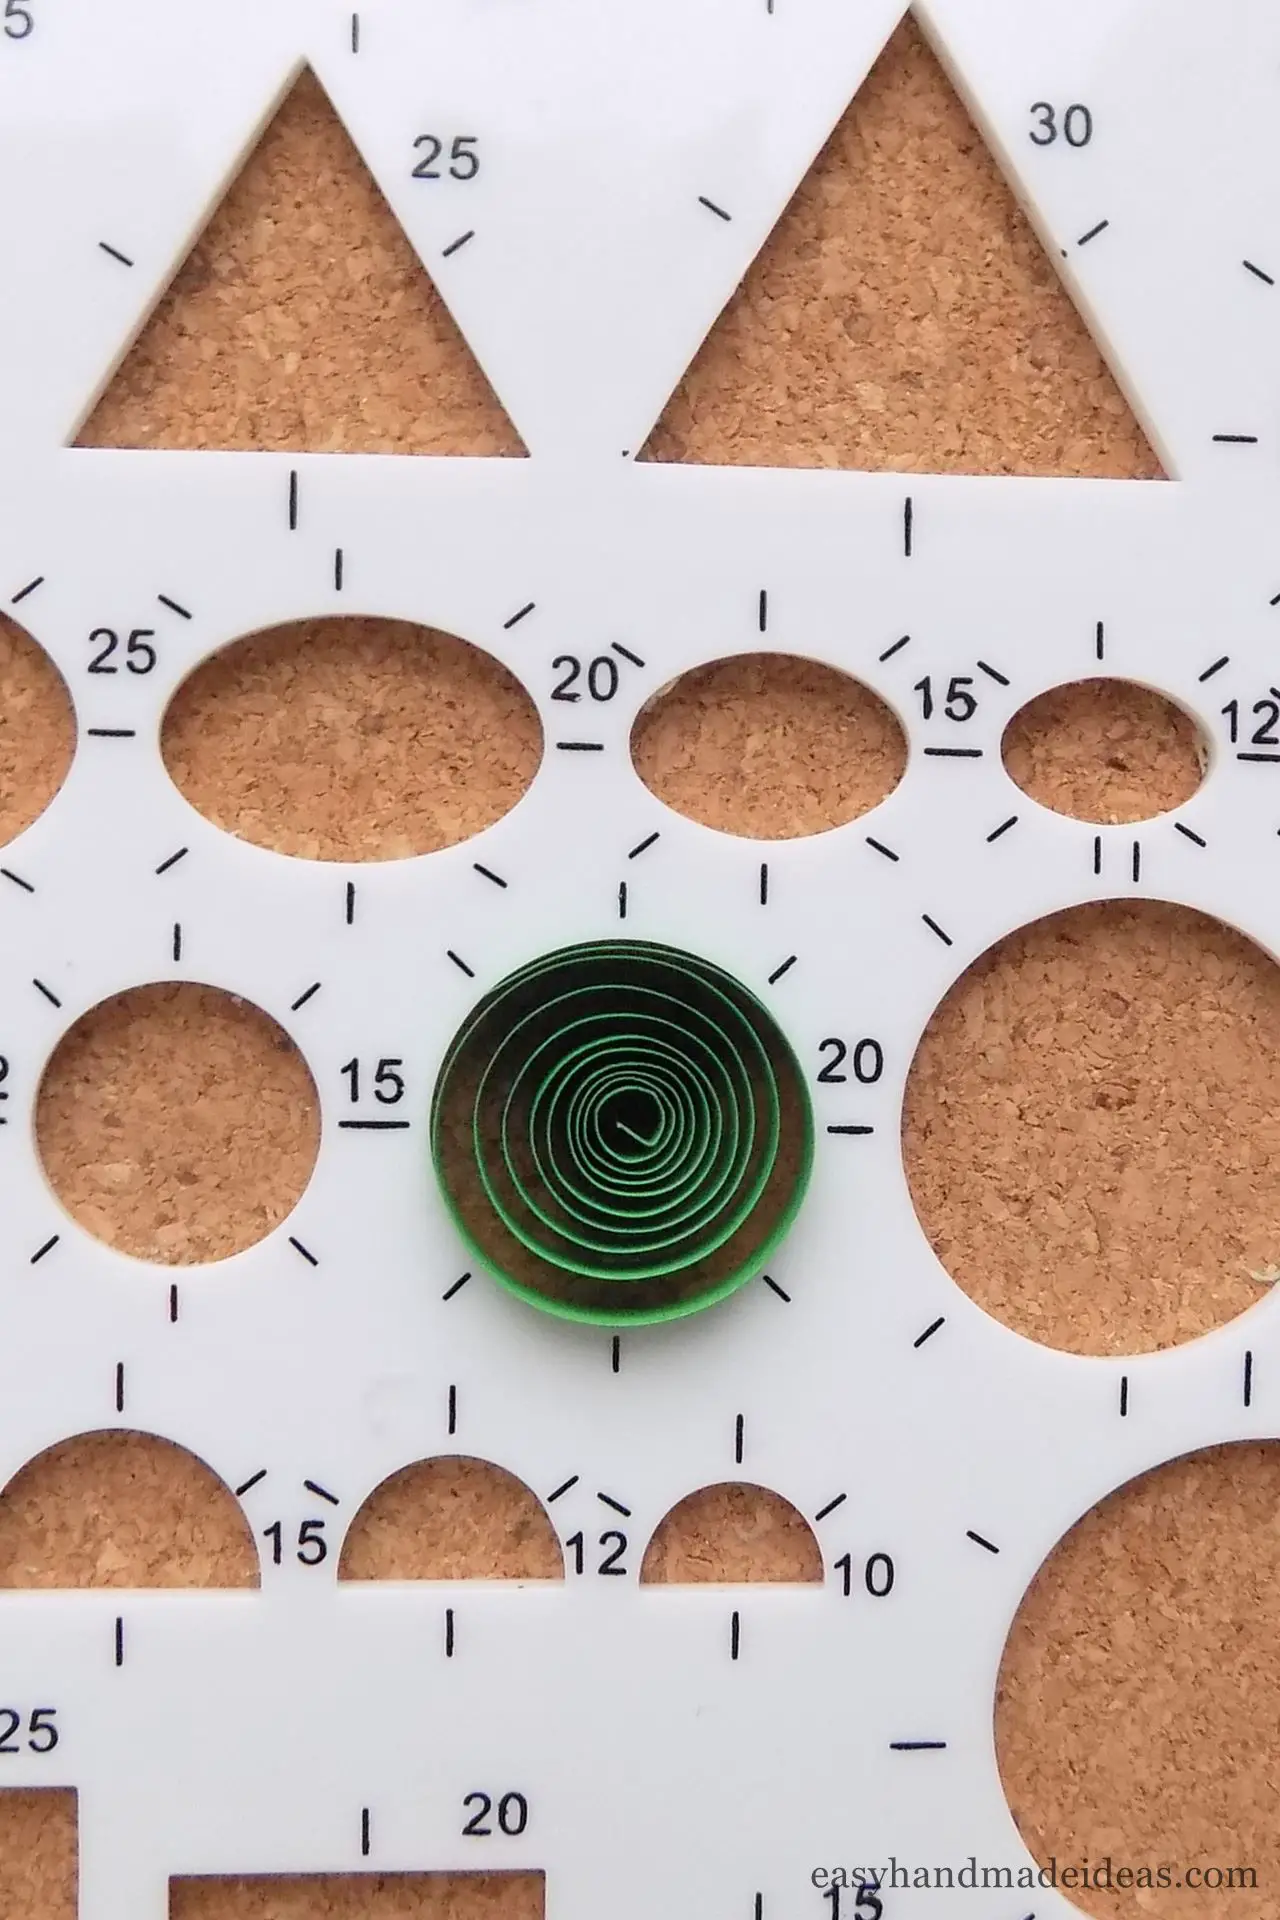
Take the green quilling paper strips and roll it with the quilling tool, then place it into a 20mm (0,7874 ″) diameter quilling board.
Step 7: Fix the tip of the green coil
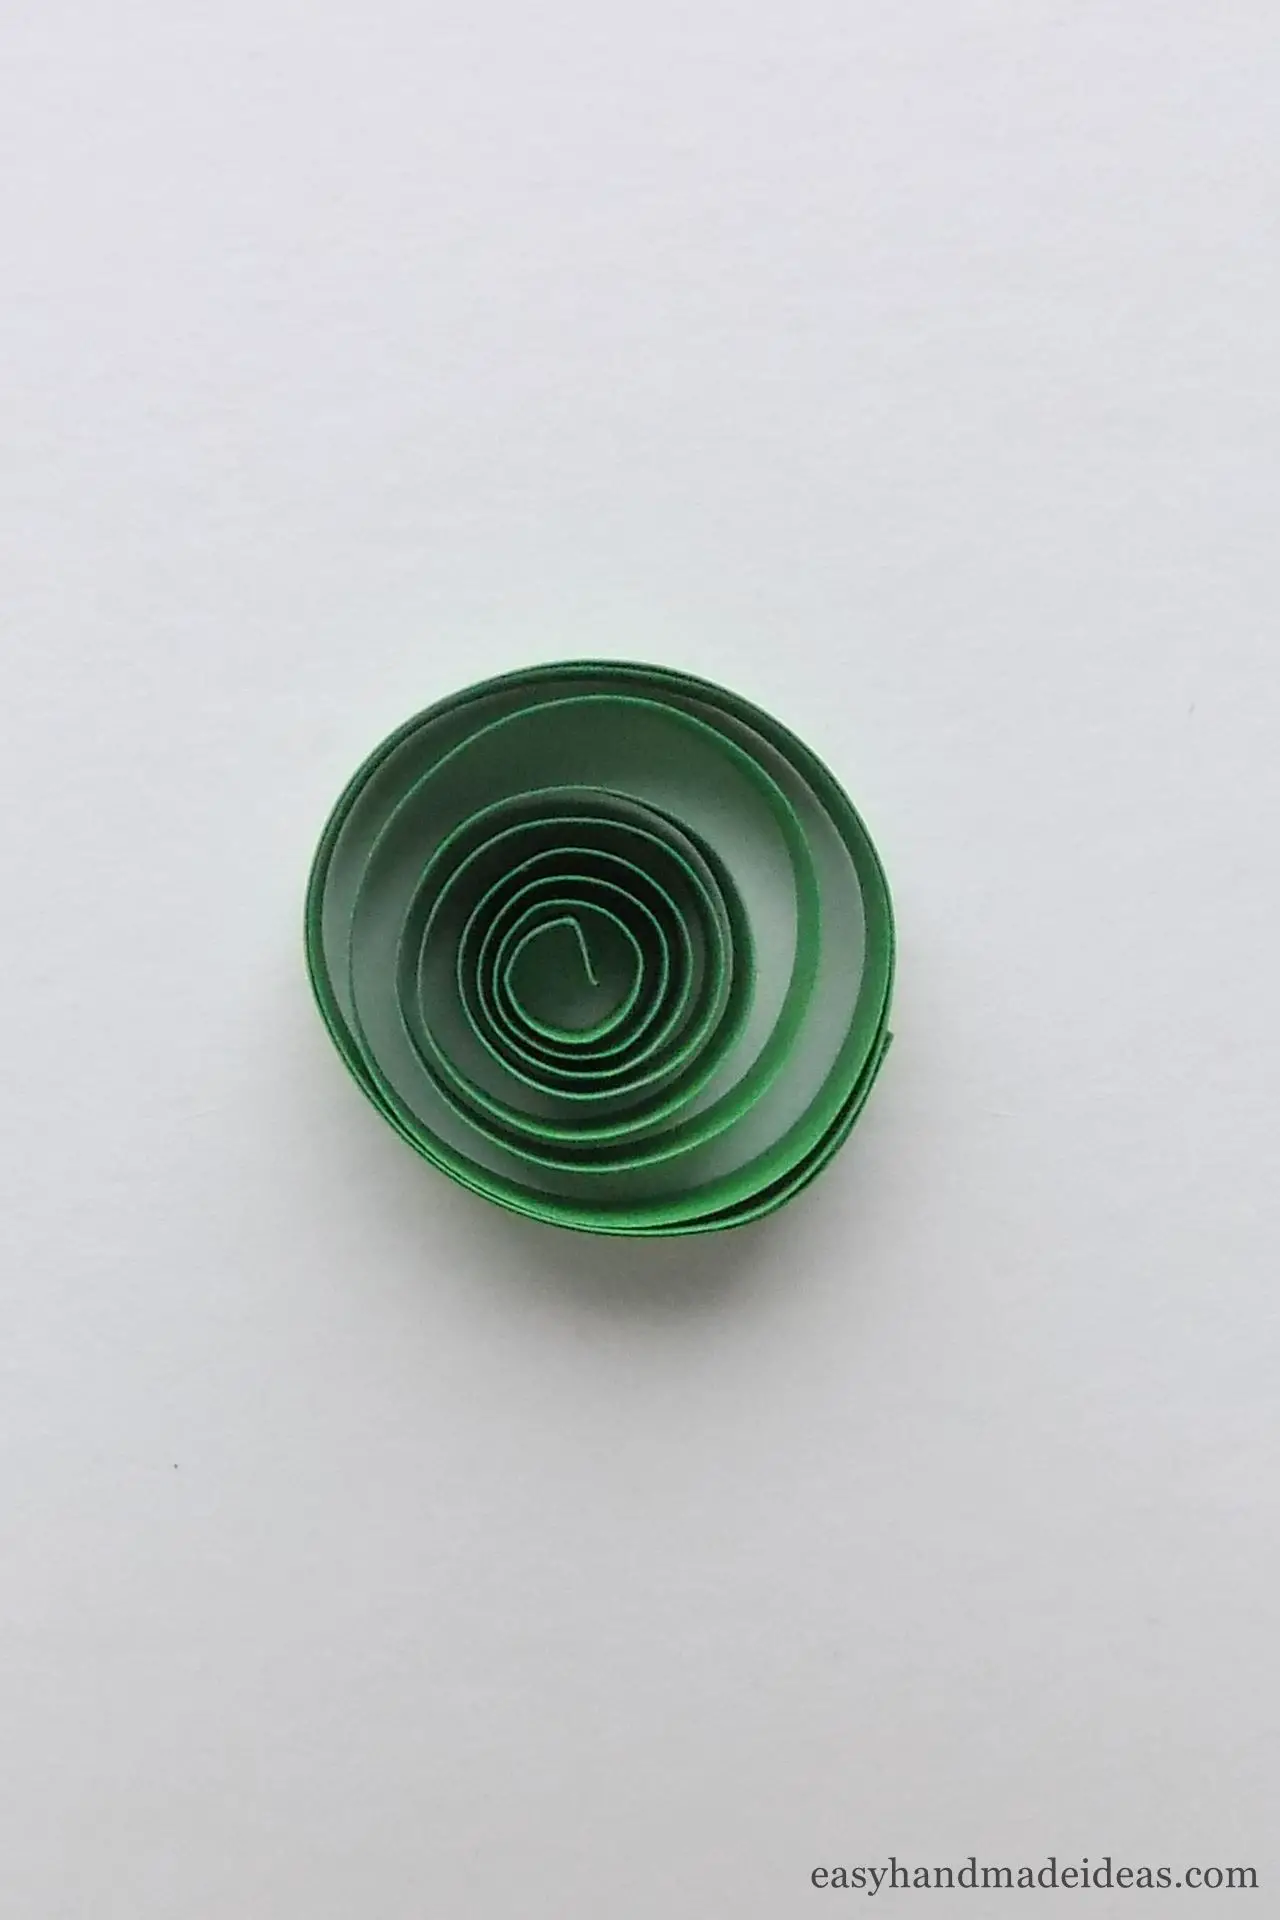
Take out the completed coil and glue the tip of the strip.
Step 8: Creating a flower leaf
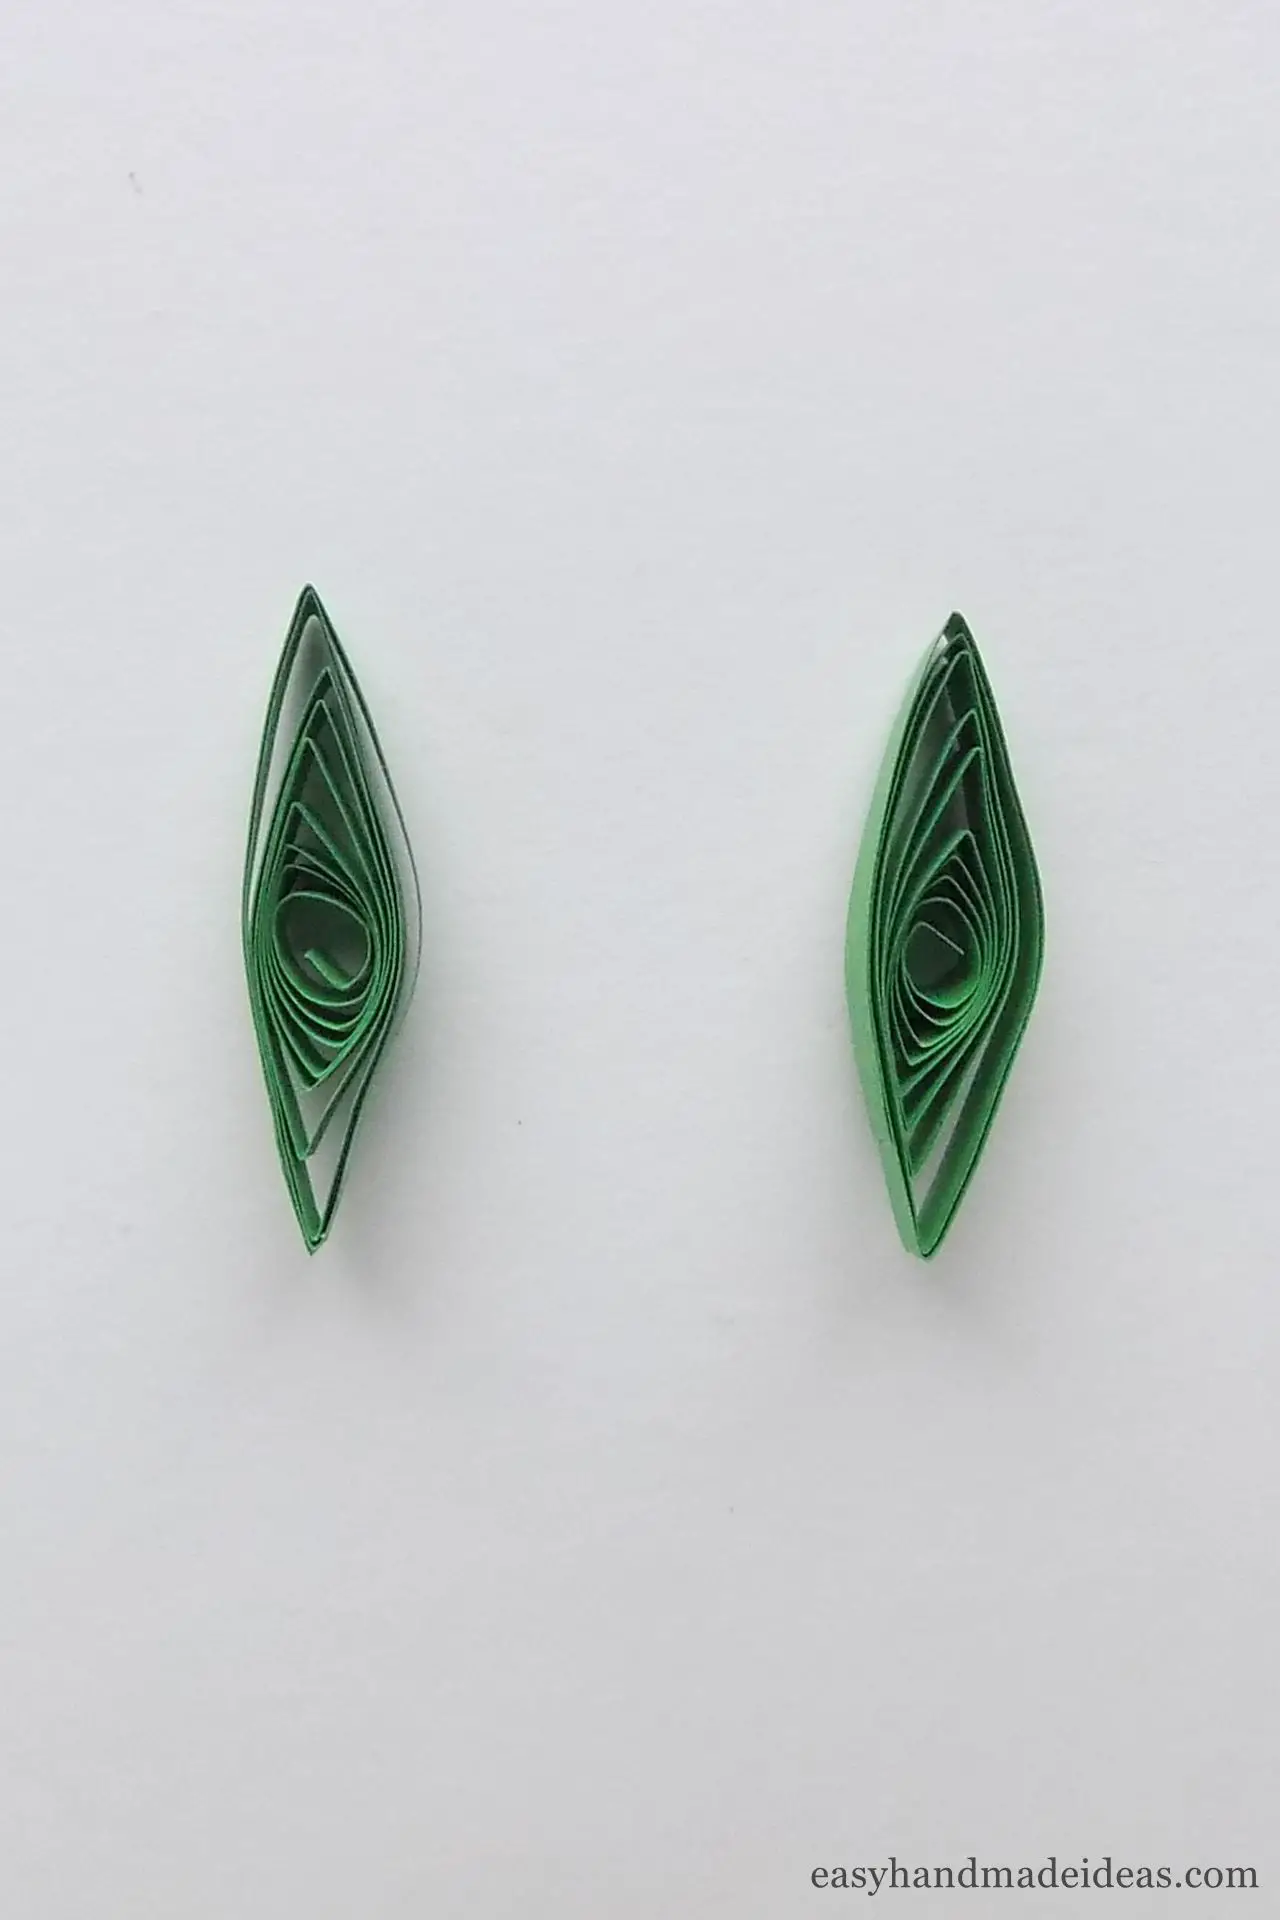
To make a leaf, gently pinch the circle from both sides. The center of the circle should stay in the middle. You should get a marquise coil as a result. Make 2 green leaves in this way.
Step 9: Creating the core of the flower
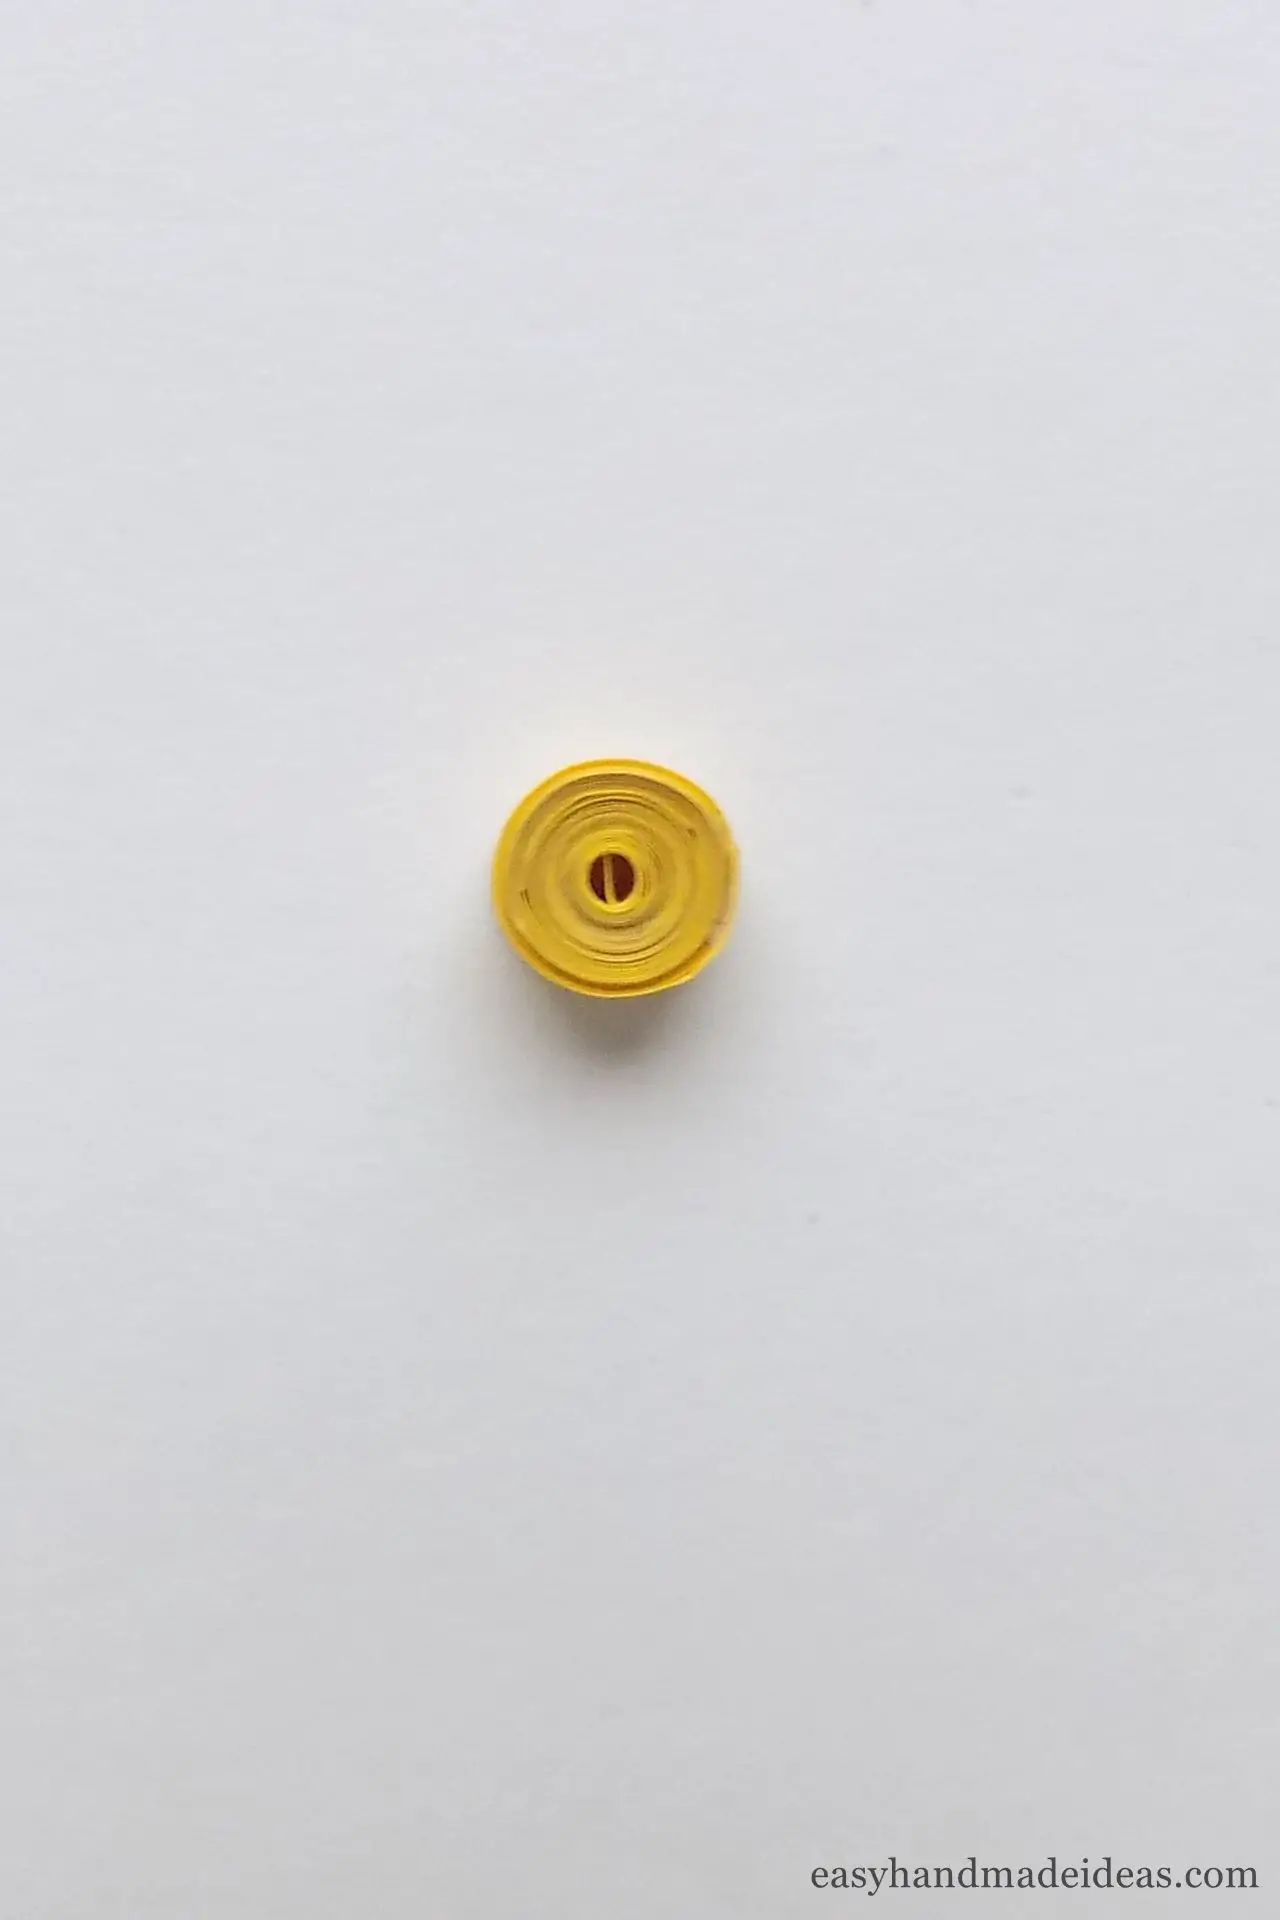
Glue 2 strips of yellow color one after another. Then roll them into a tight roll. Be sure to fix the tip with glue.
Step 10: Assembling the flower
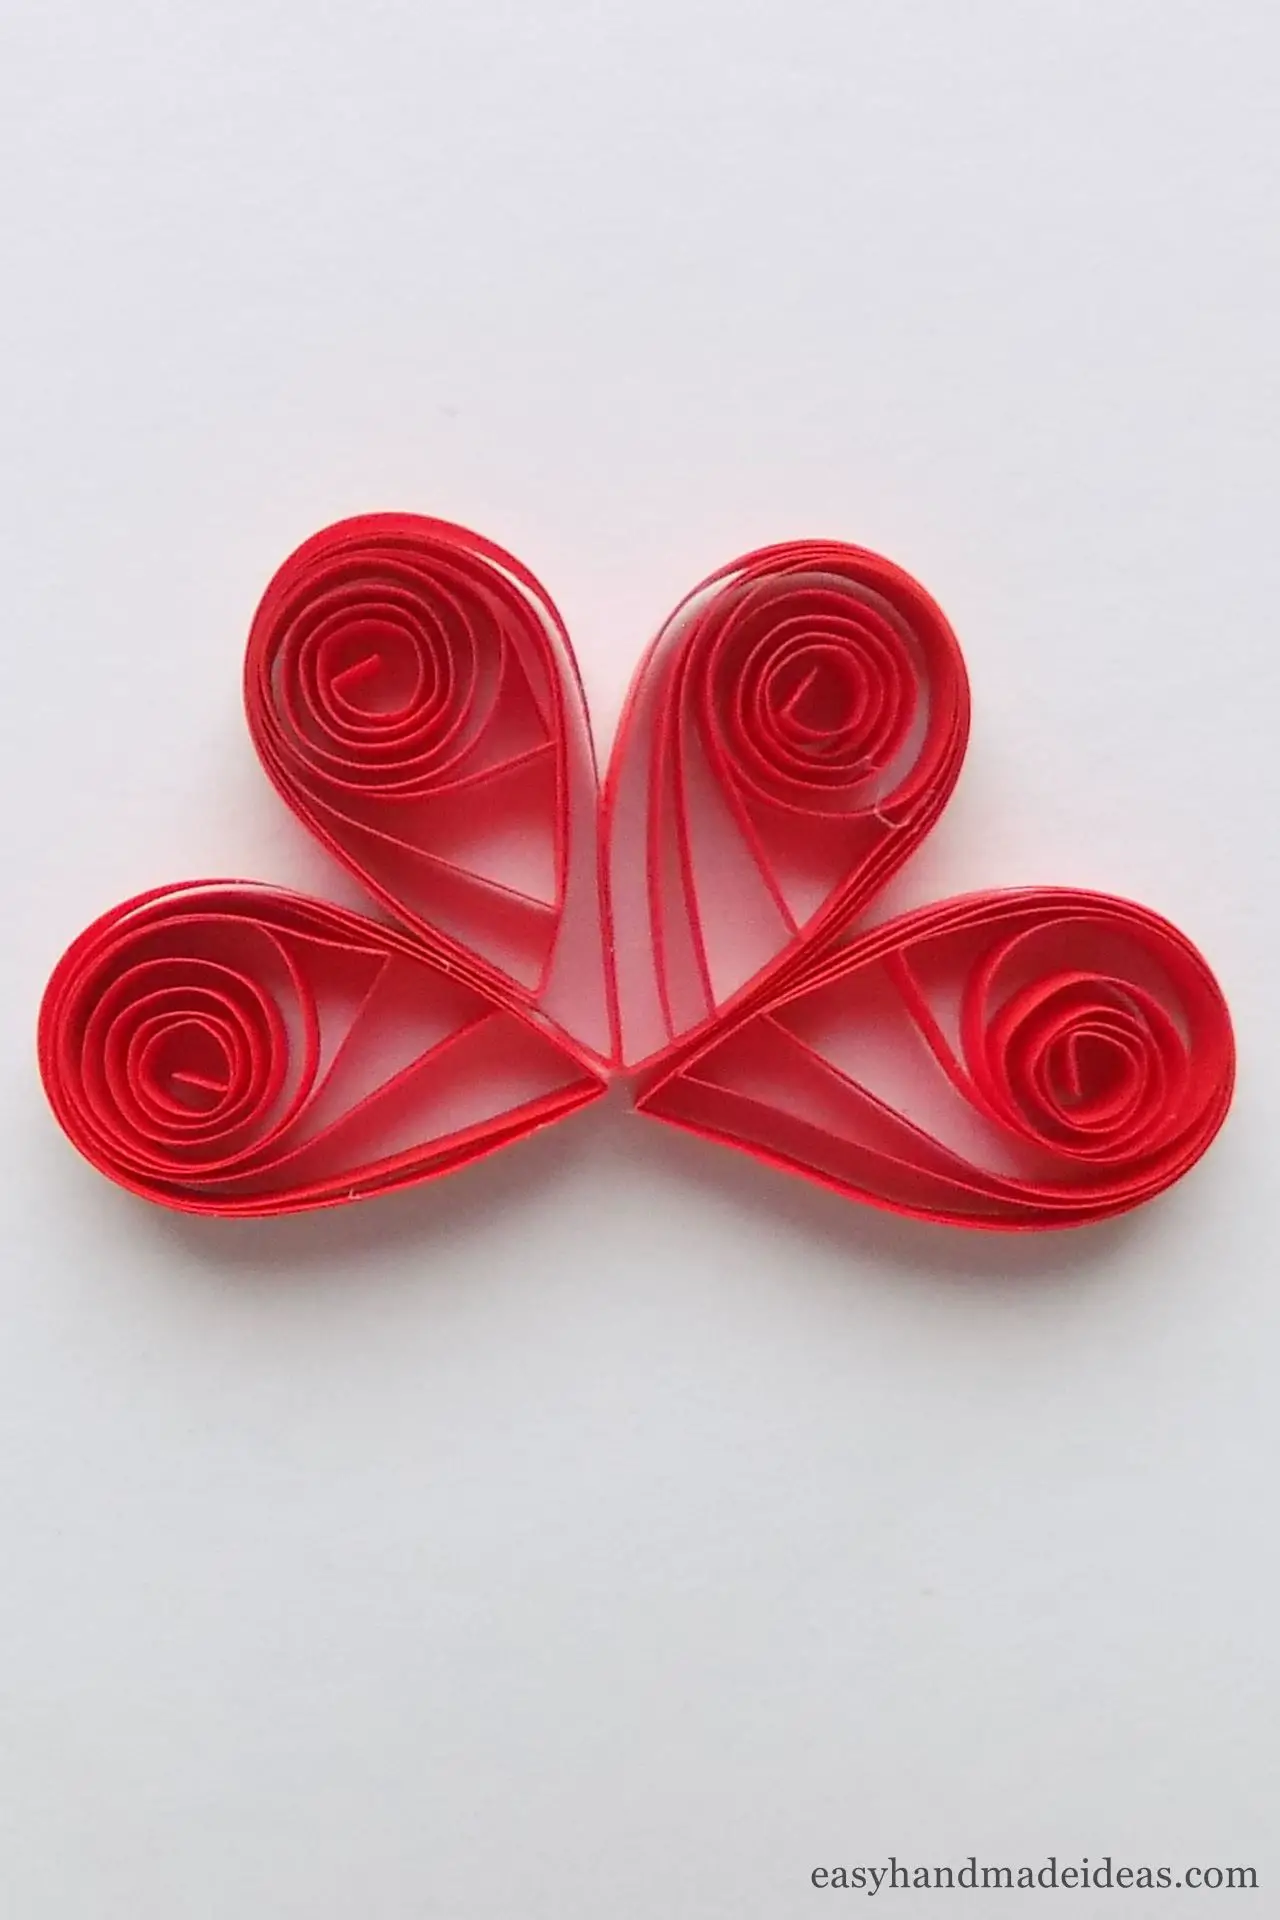
Apply a little glue to the side of one red petal, and then add the next one. In this way, start gluing the pieces together.
Step 11: Finish gluing the petals
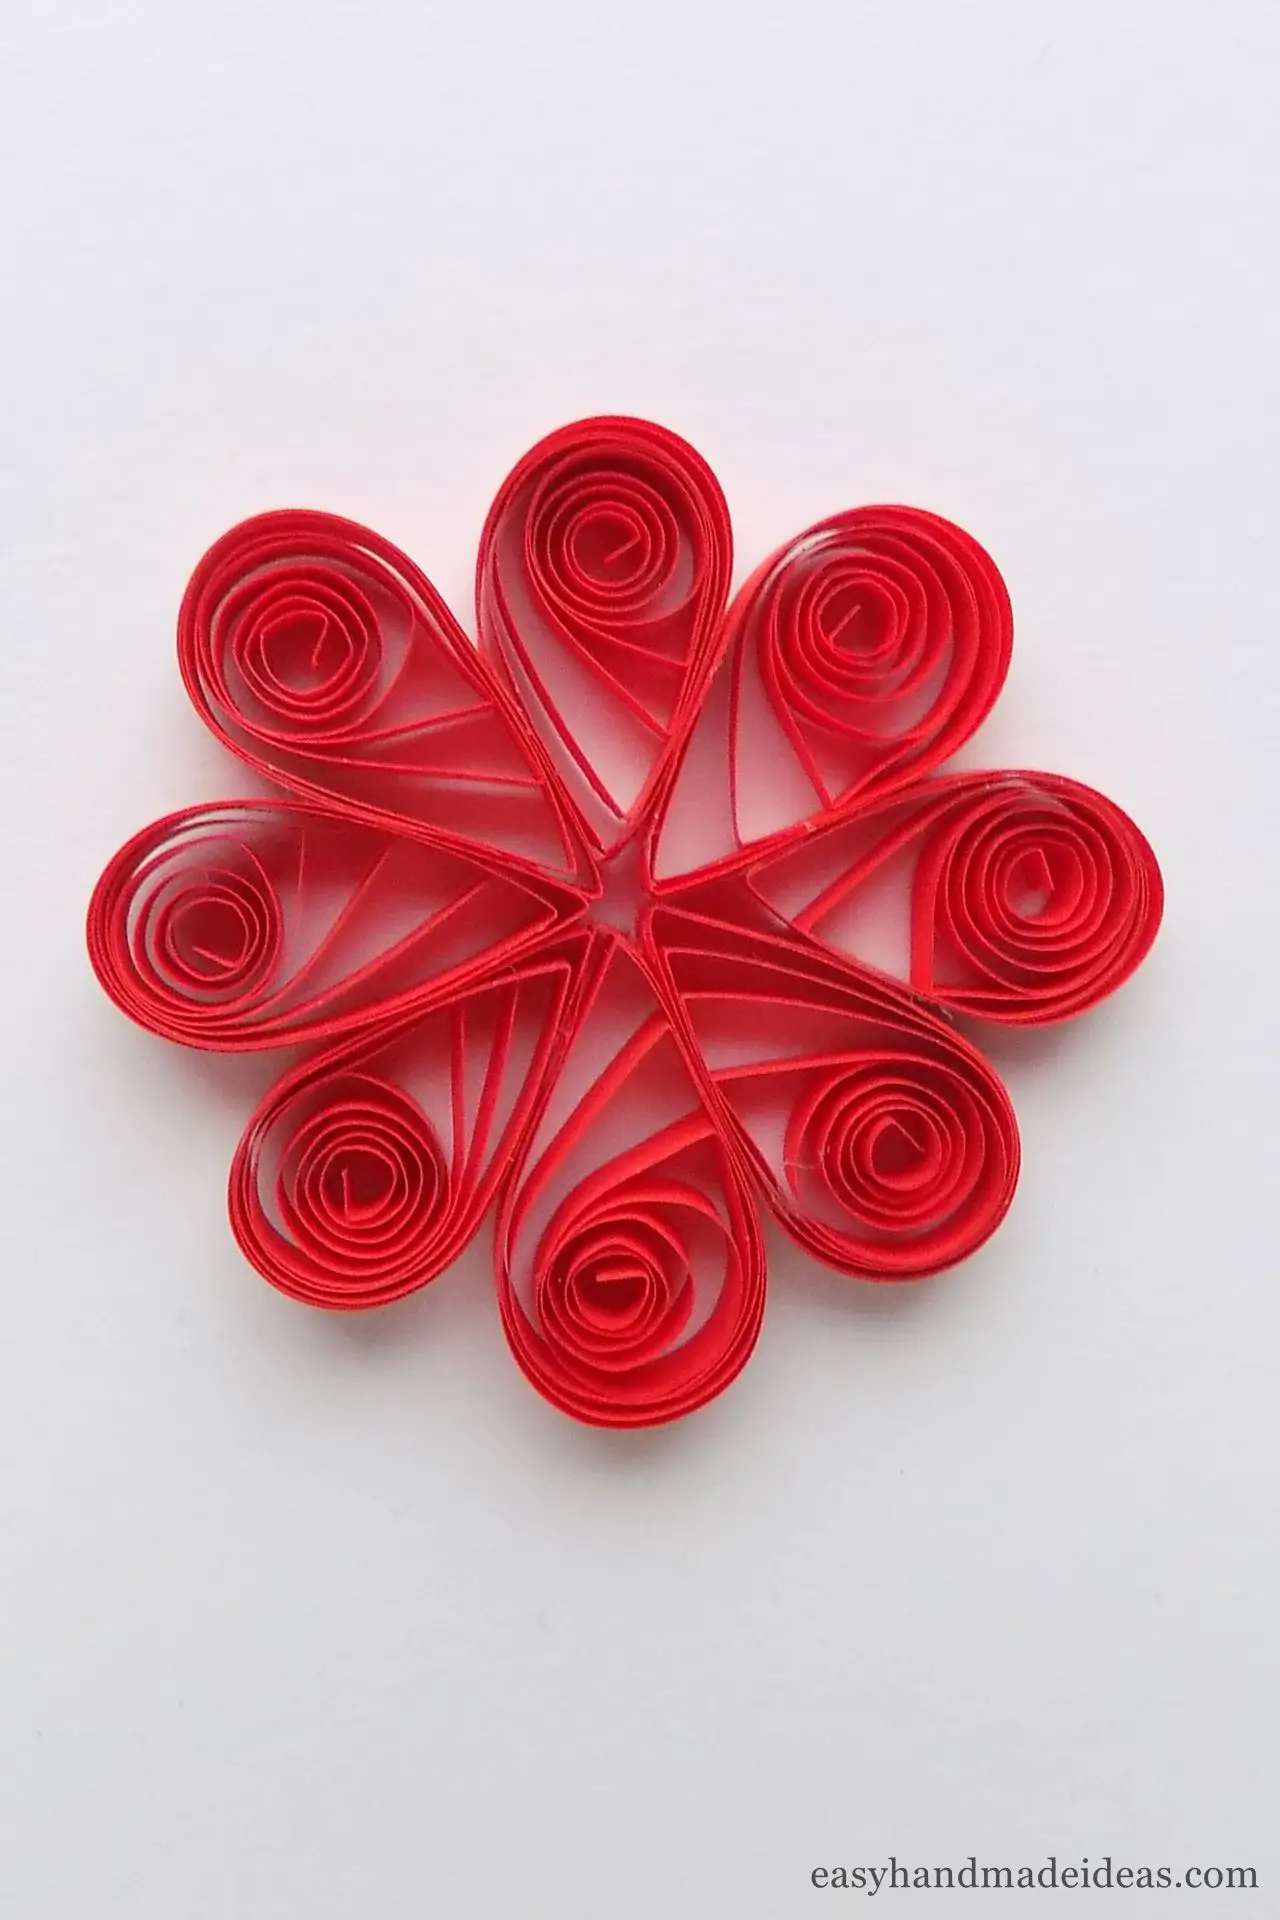
Step 12: Glue the core onto the flower
Step 12: Glue the core onto the flower
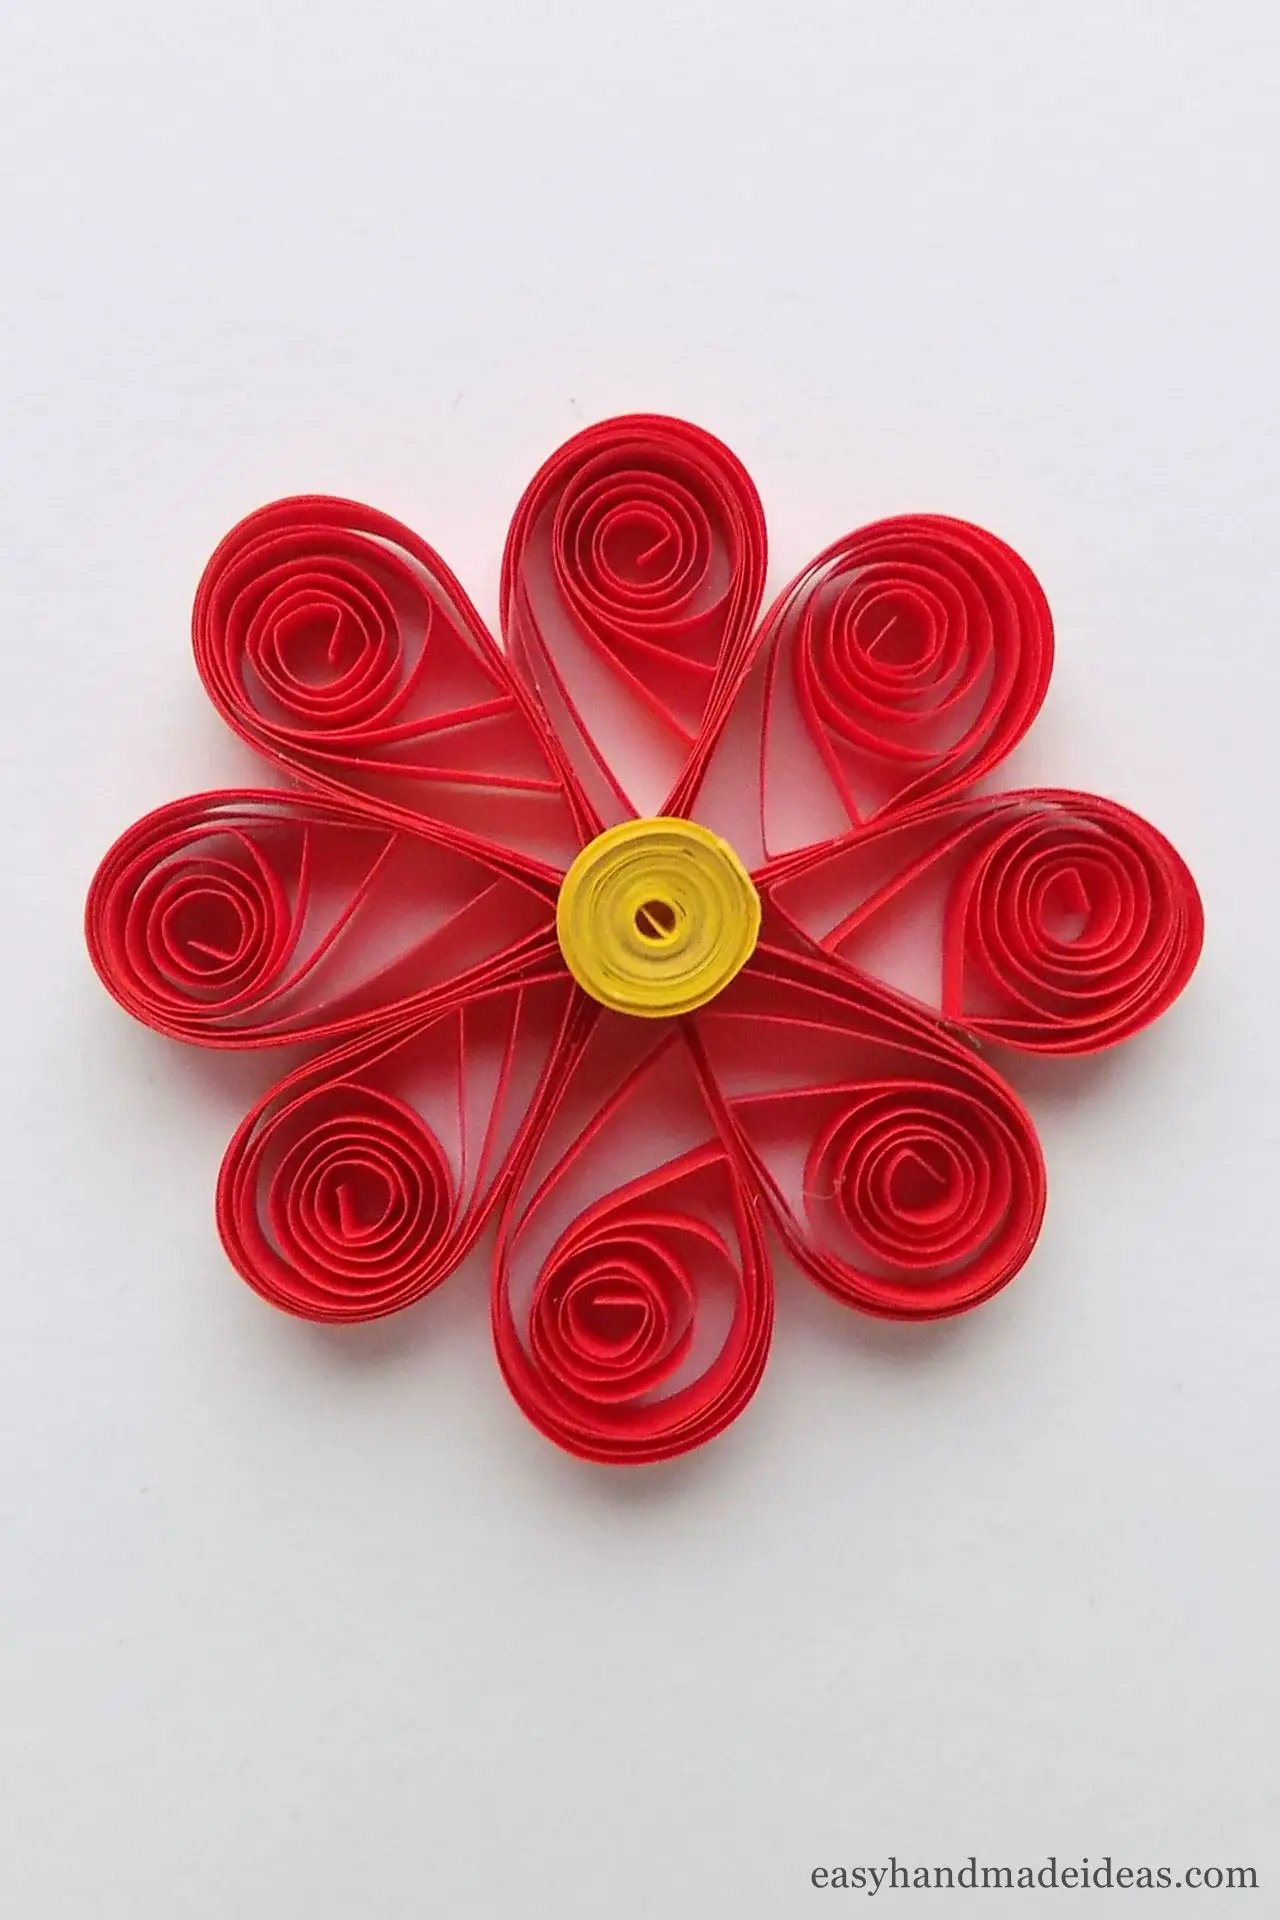
In the center of the flower, glue the yellow coil on top.
Step 13: Finish the craft
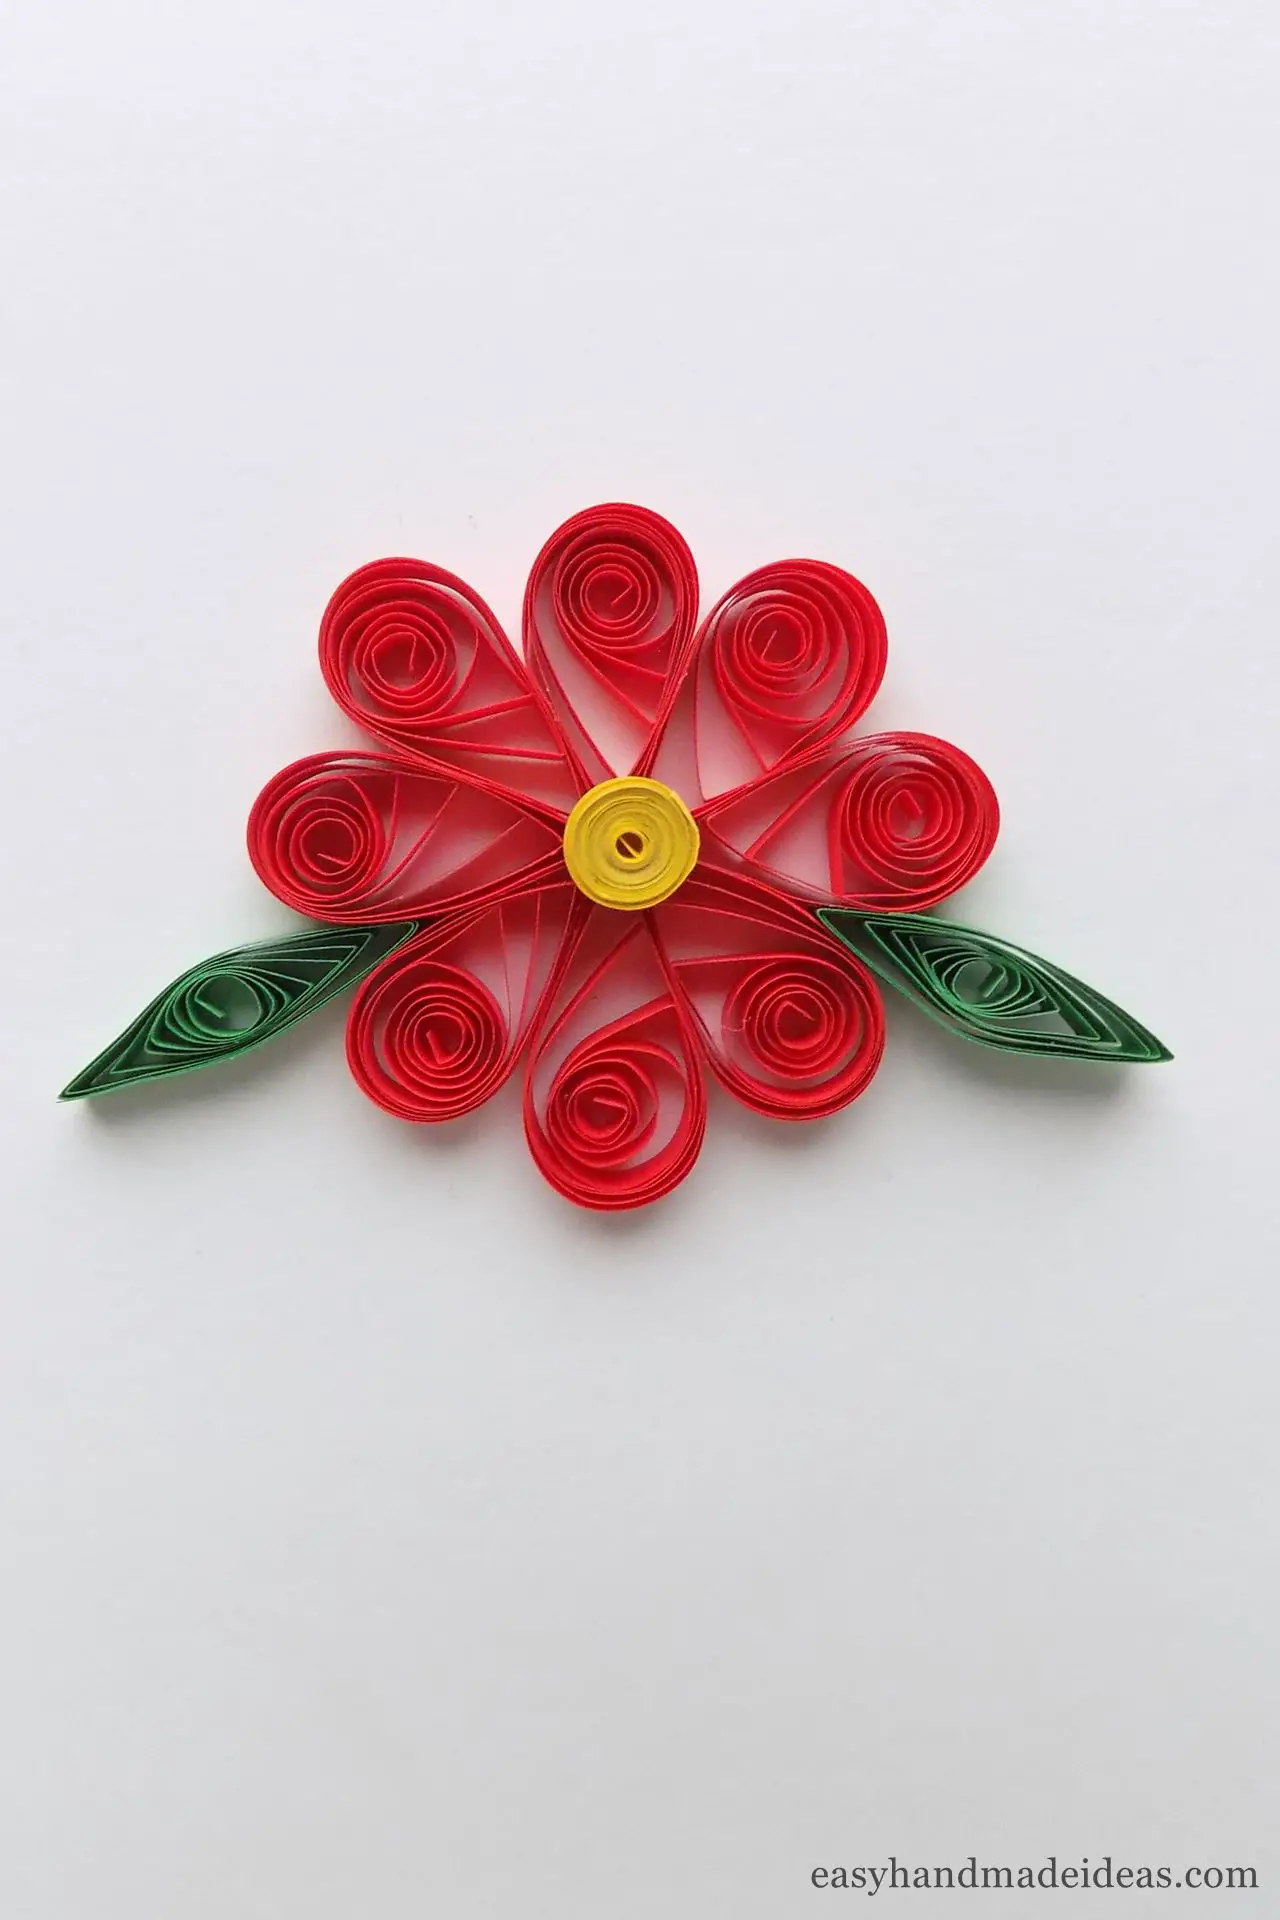
Glue green leaves between the petals. You should get a simple quilling-style flower like the one shown in the photo.
Supply:
- red, yellow, green quilling paper strips.
Tools:
- quilling tool;
- quilling board;
- scissors;
- glue.
You can make many openwork flowers using different paper quilling strips and rolling them into different sized blanks.


