In the technique of origami, there are basic shapes from which various figures are created. One of these shapes is the “bird”, and you will make a craft based on it. In my master class you will learn how to make an easy origami crane.
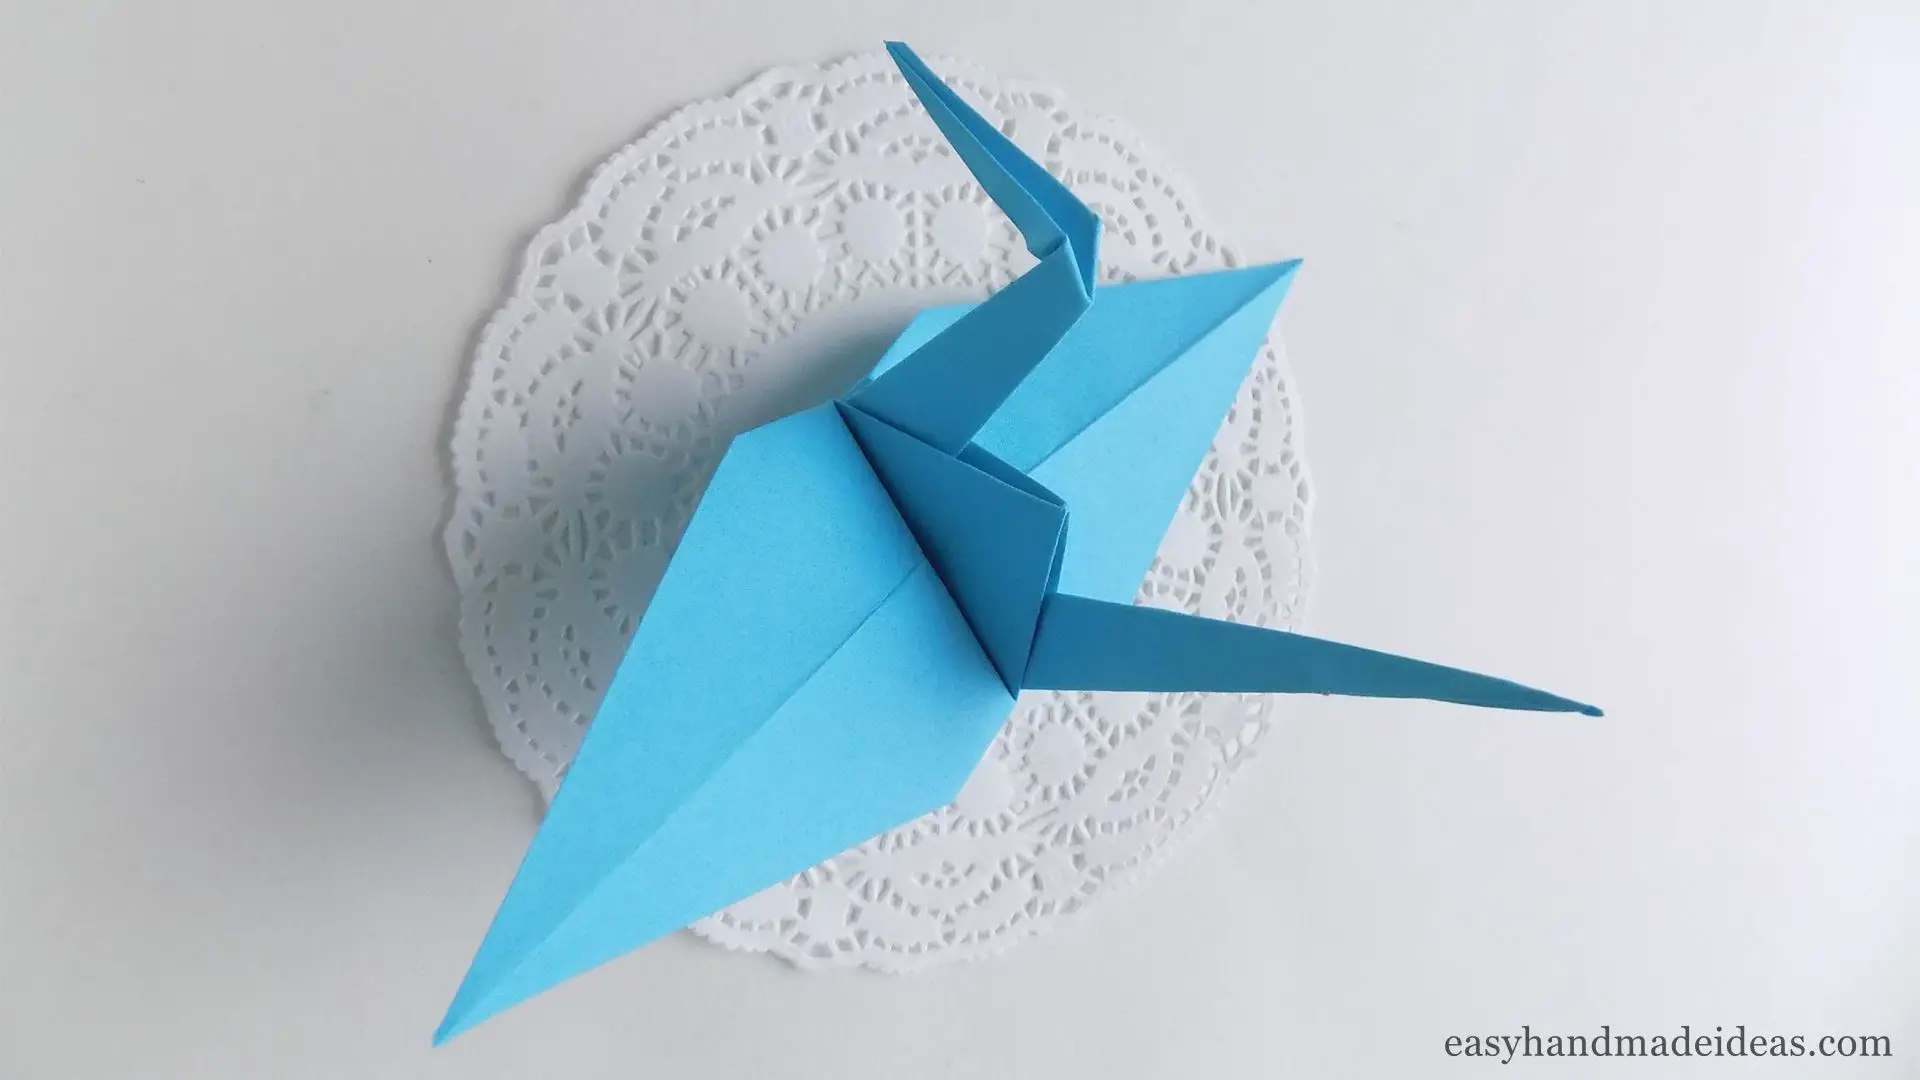
An easy origami crane
Total Time: 15 minutes
Step 1: Take a piece of blue paper
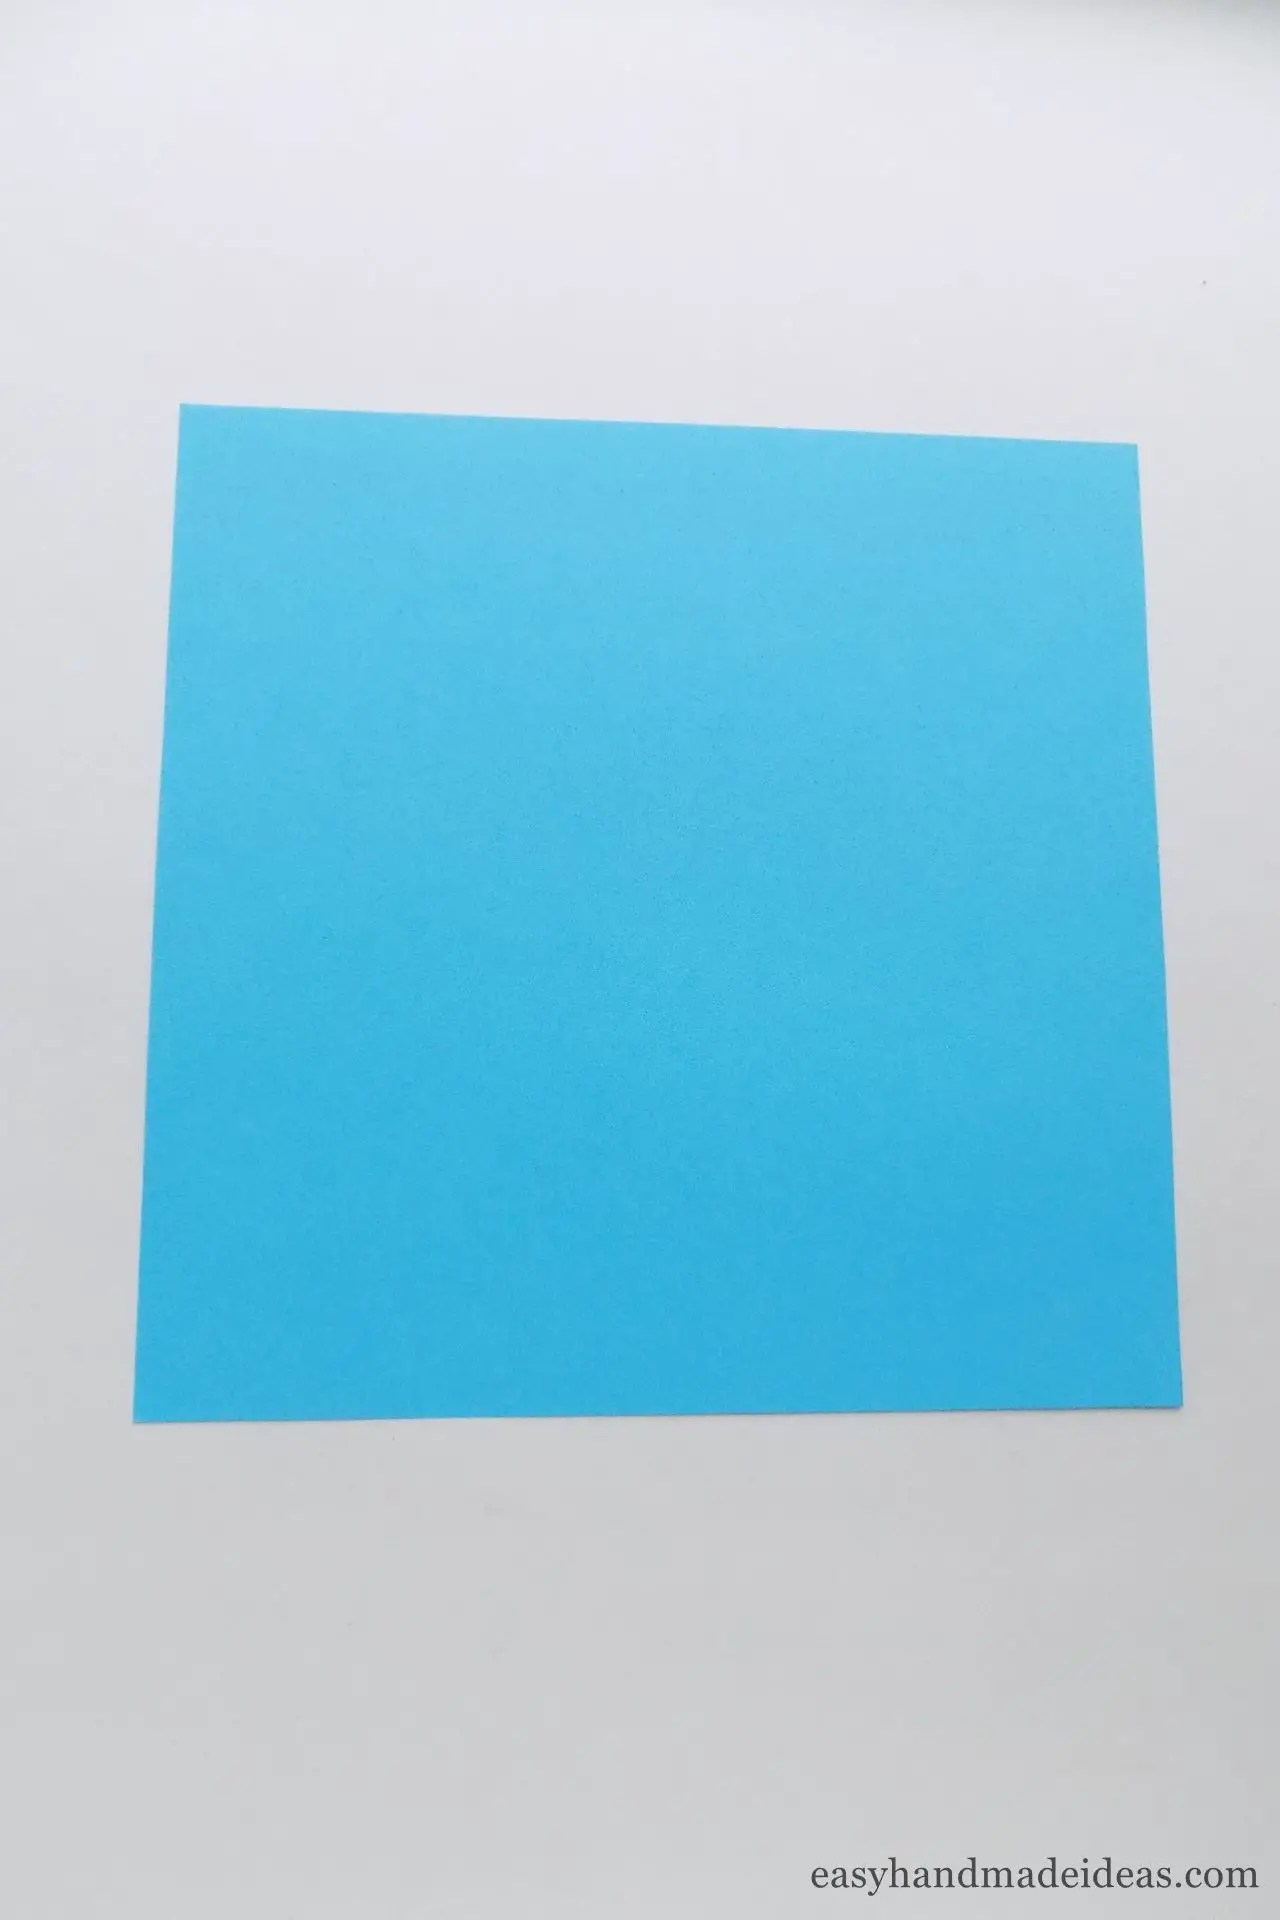
Prepare the square paper to make a basic bird shape.
Step 2: Make 2 diagonal folds and 2 cross folds
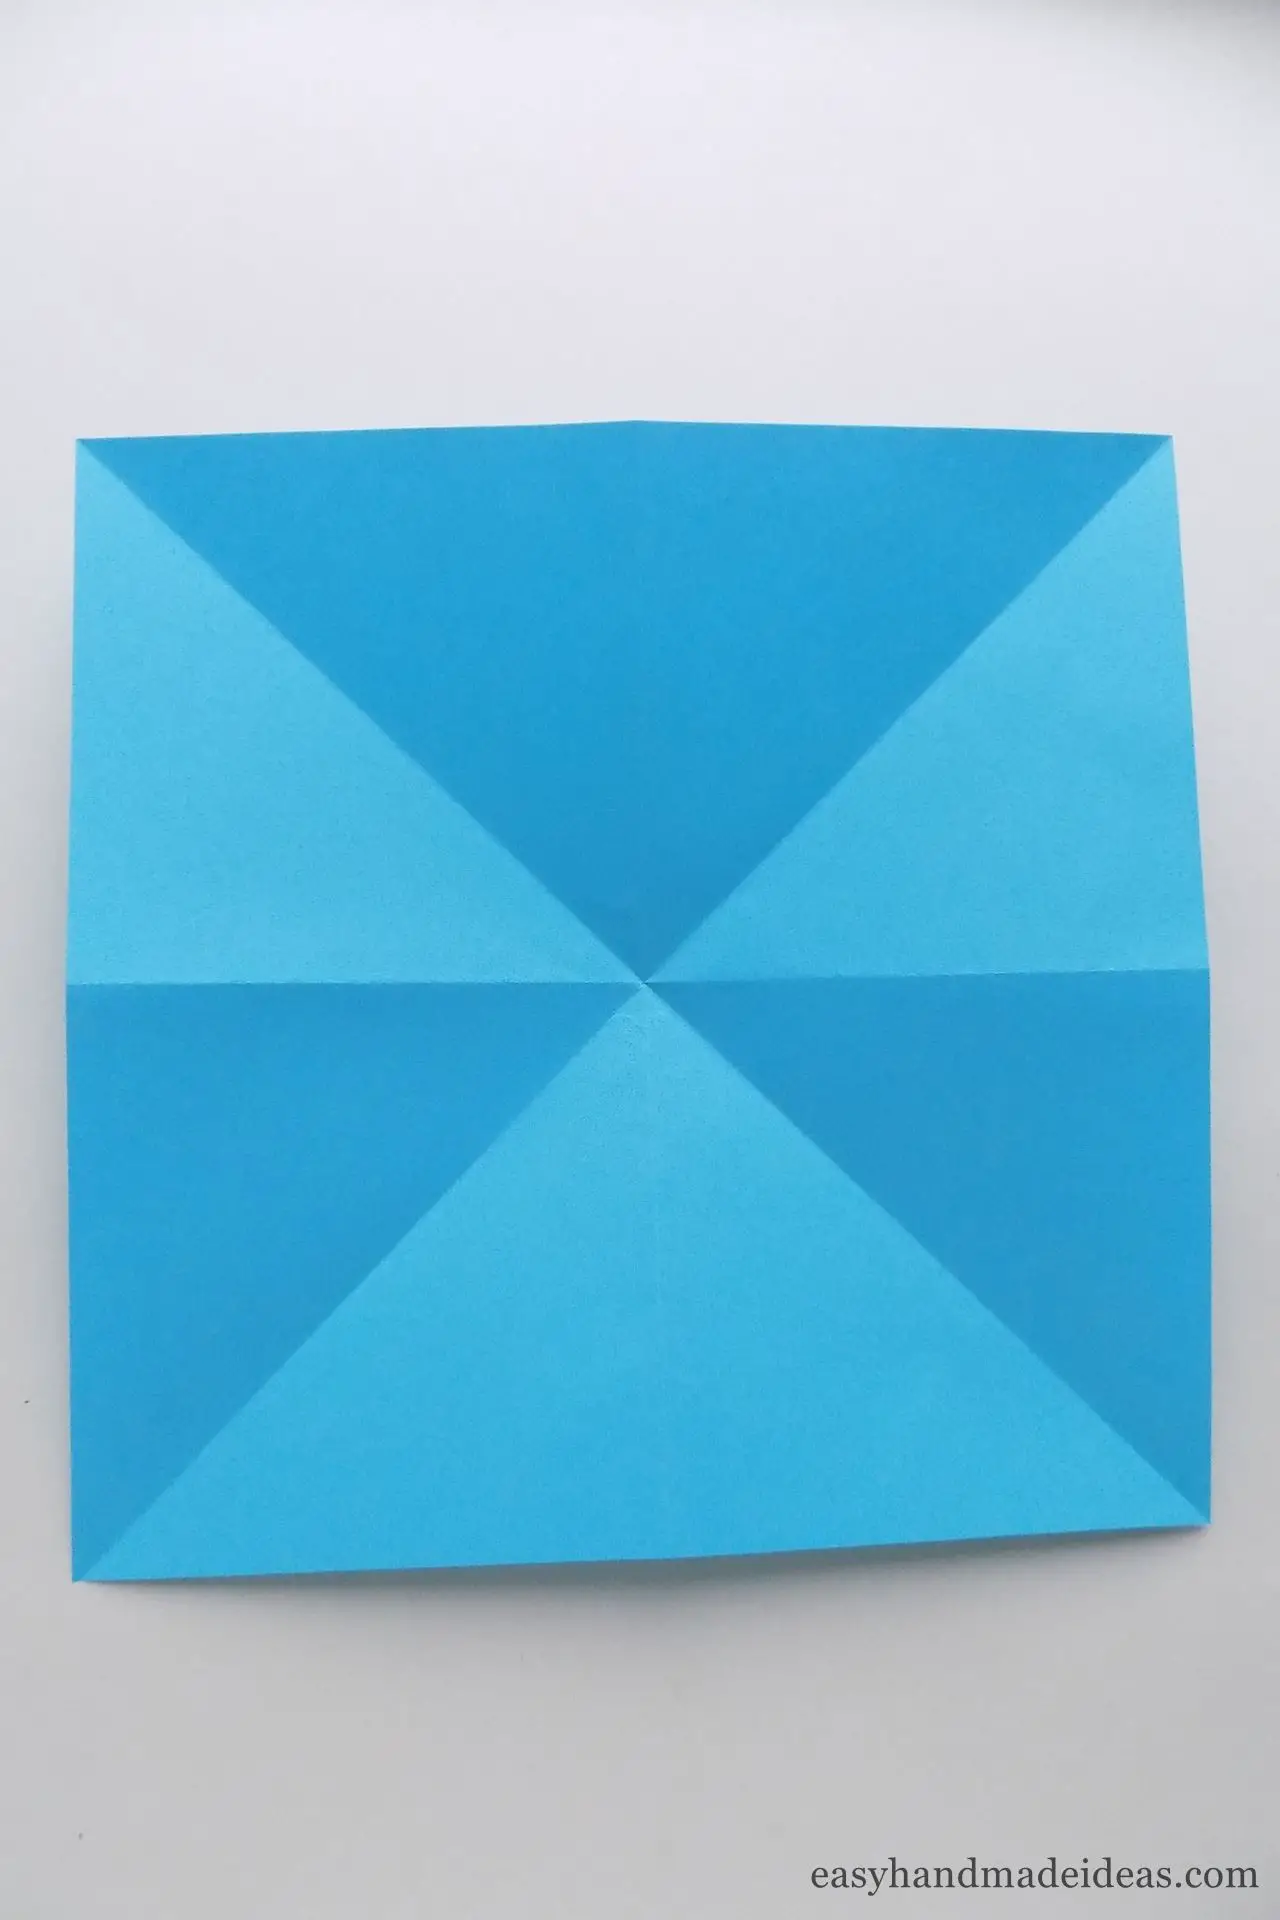
Start by making the cross folds on the square first. Then turn the piece over and make the diagonal folds.
Step 3: Fold the square in half twice
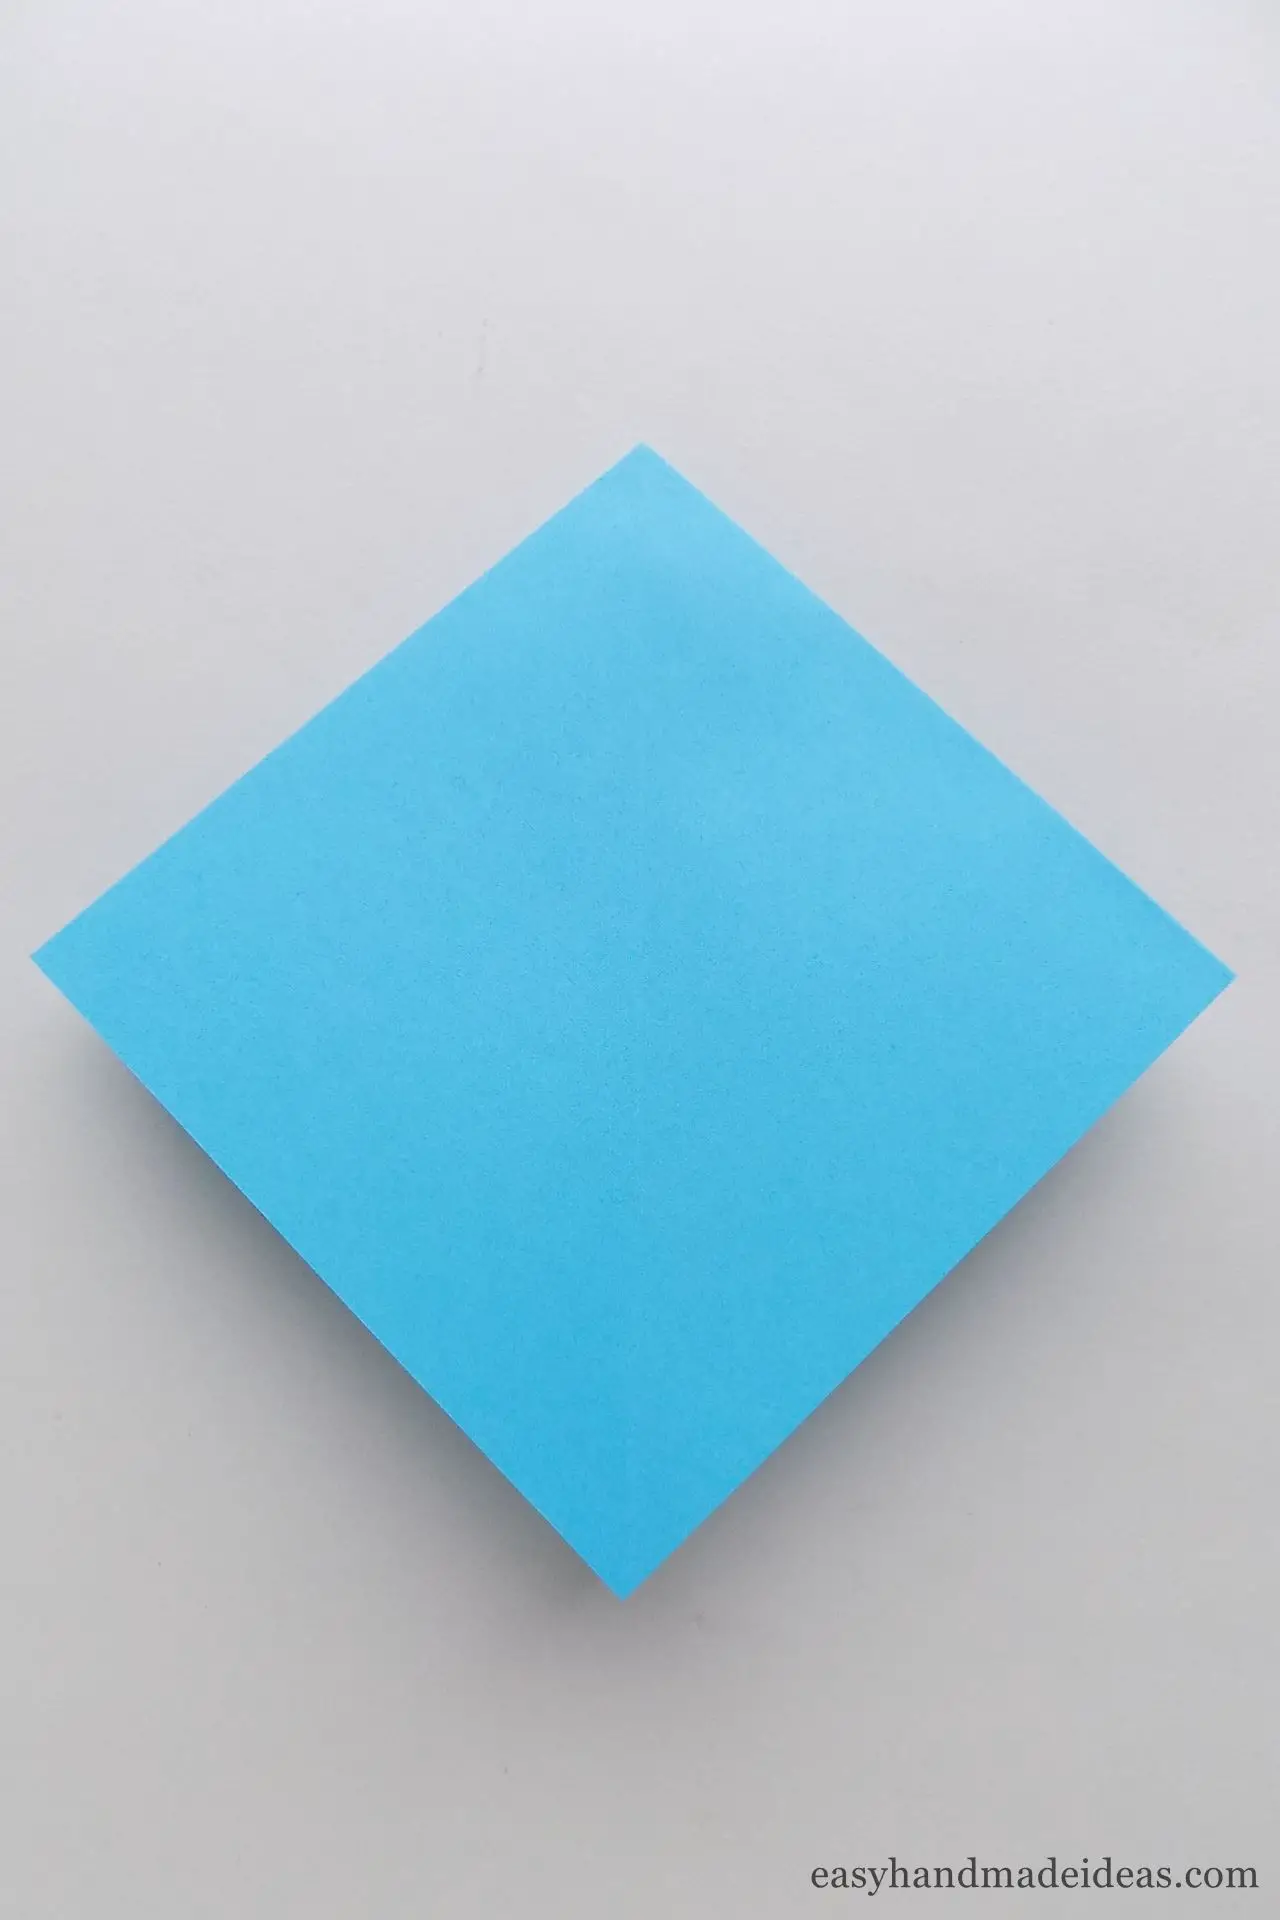
Fold the paper into a small square that has several layers. With the open slices facing down.
Step 4: Fold the sides of the piece symmetrically
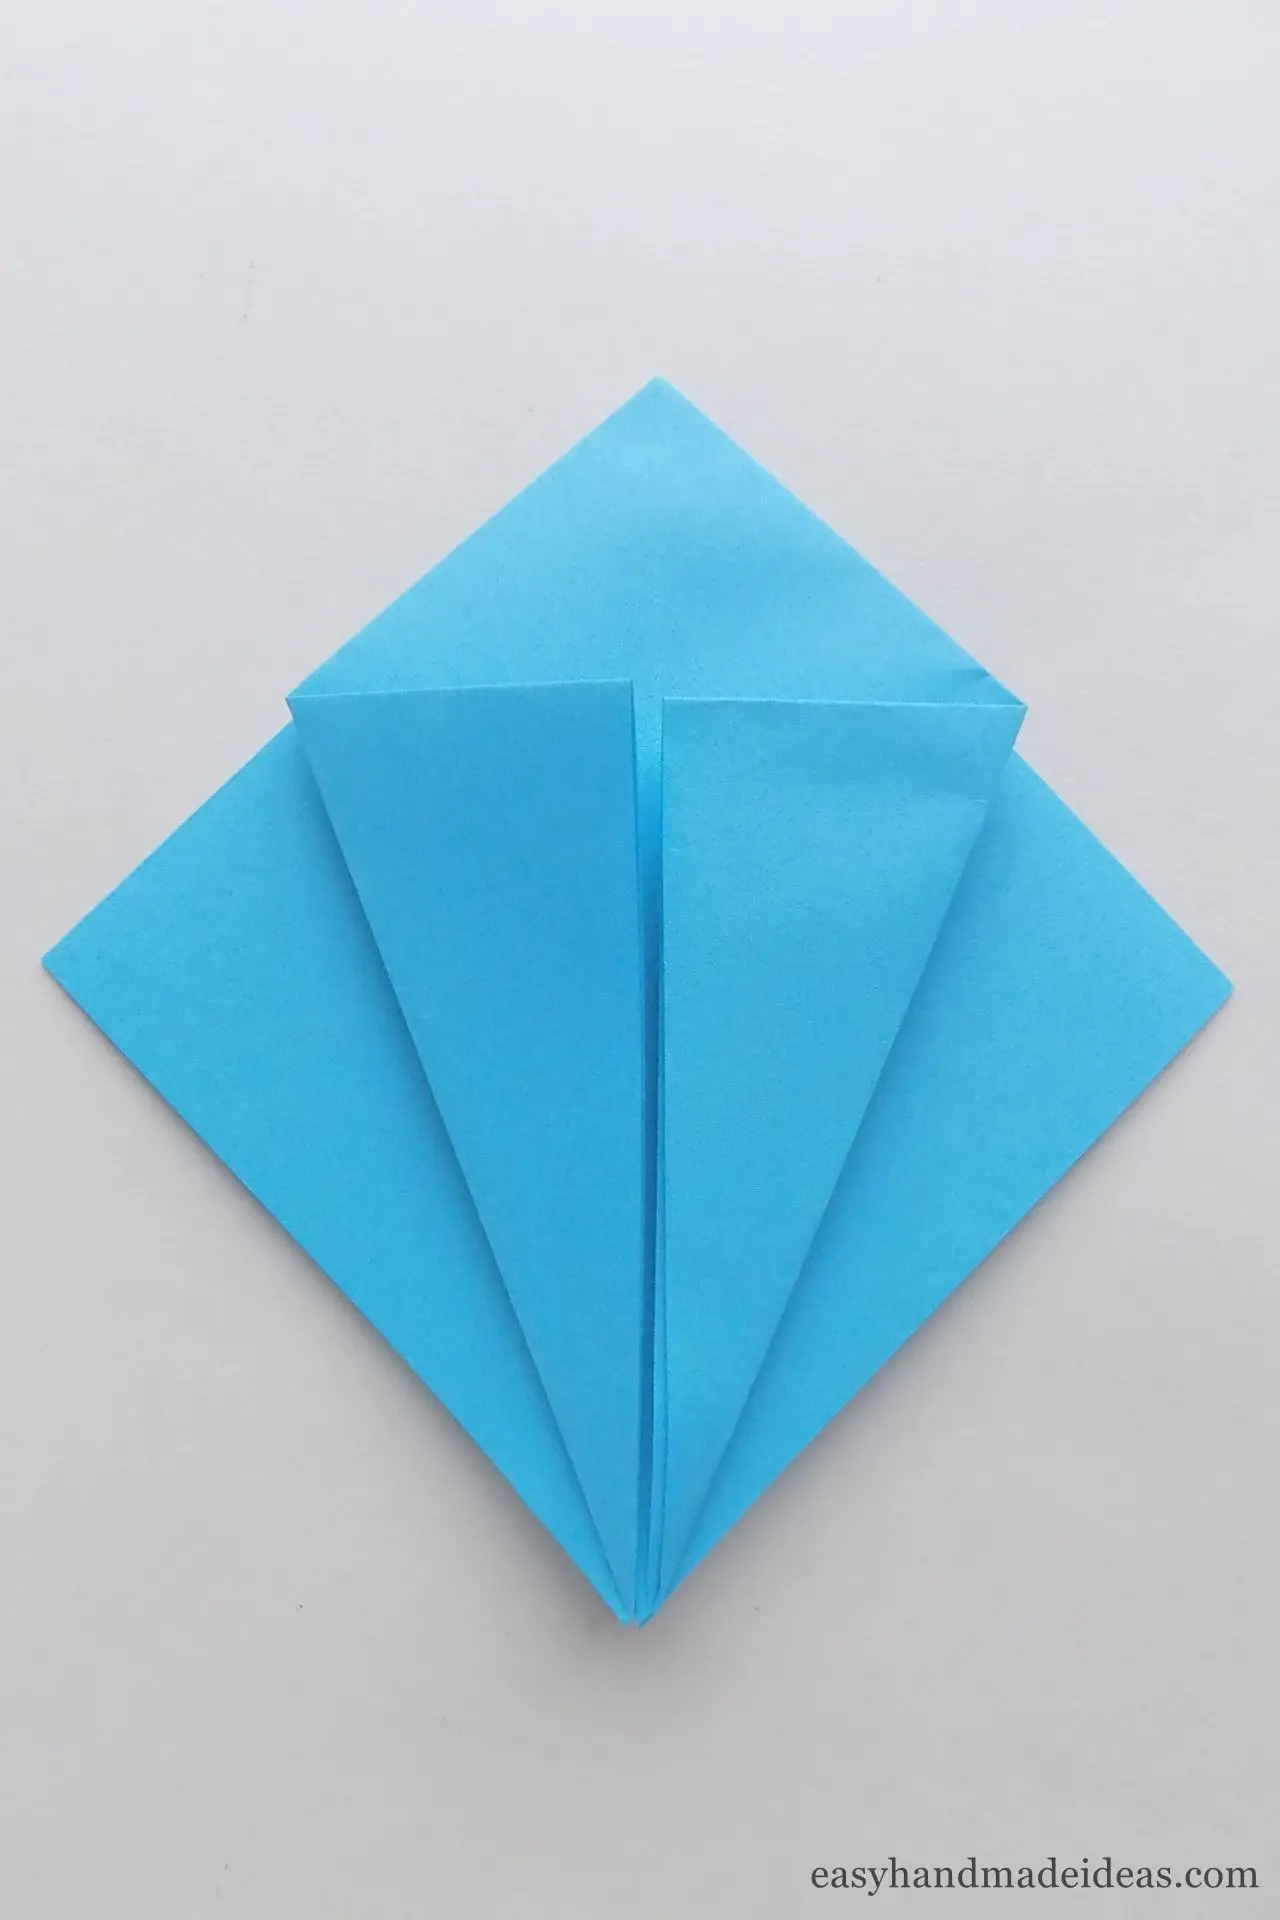
Fold the bottom sides to the center line, catching only the top layer of the piece.
Step 5: Fold the sides of the piece backwards
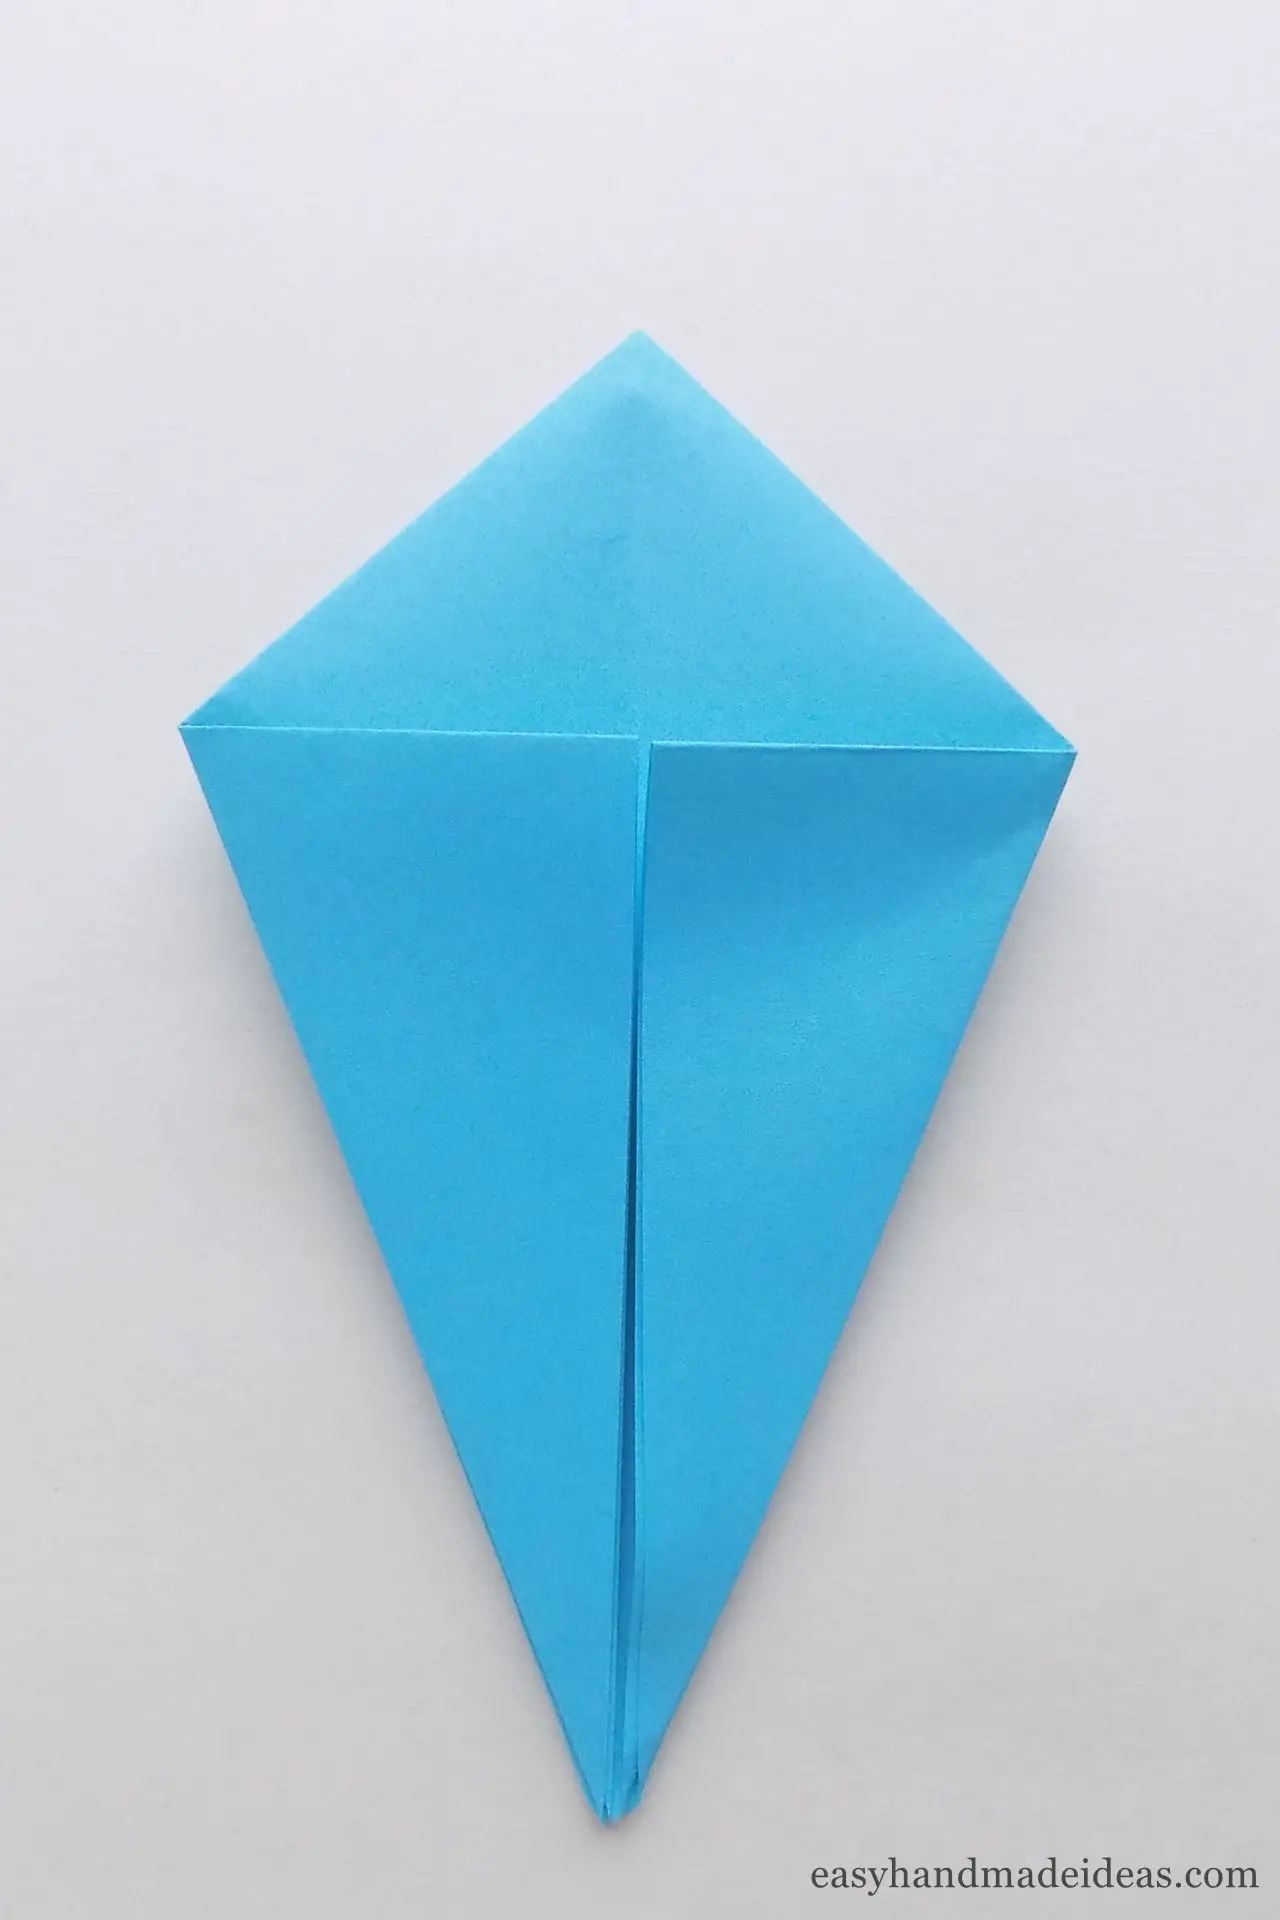
Flip the piece over and do the same with the sides on the other side.
Step 6: Fold the upper corner down
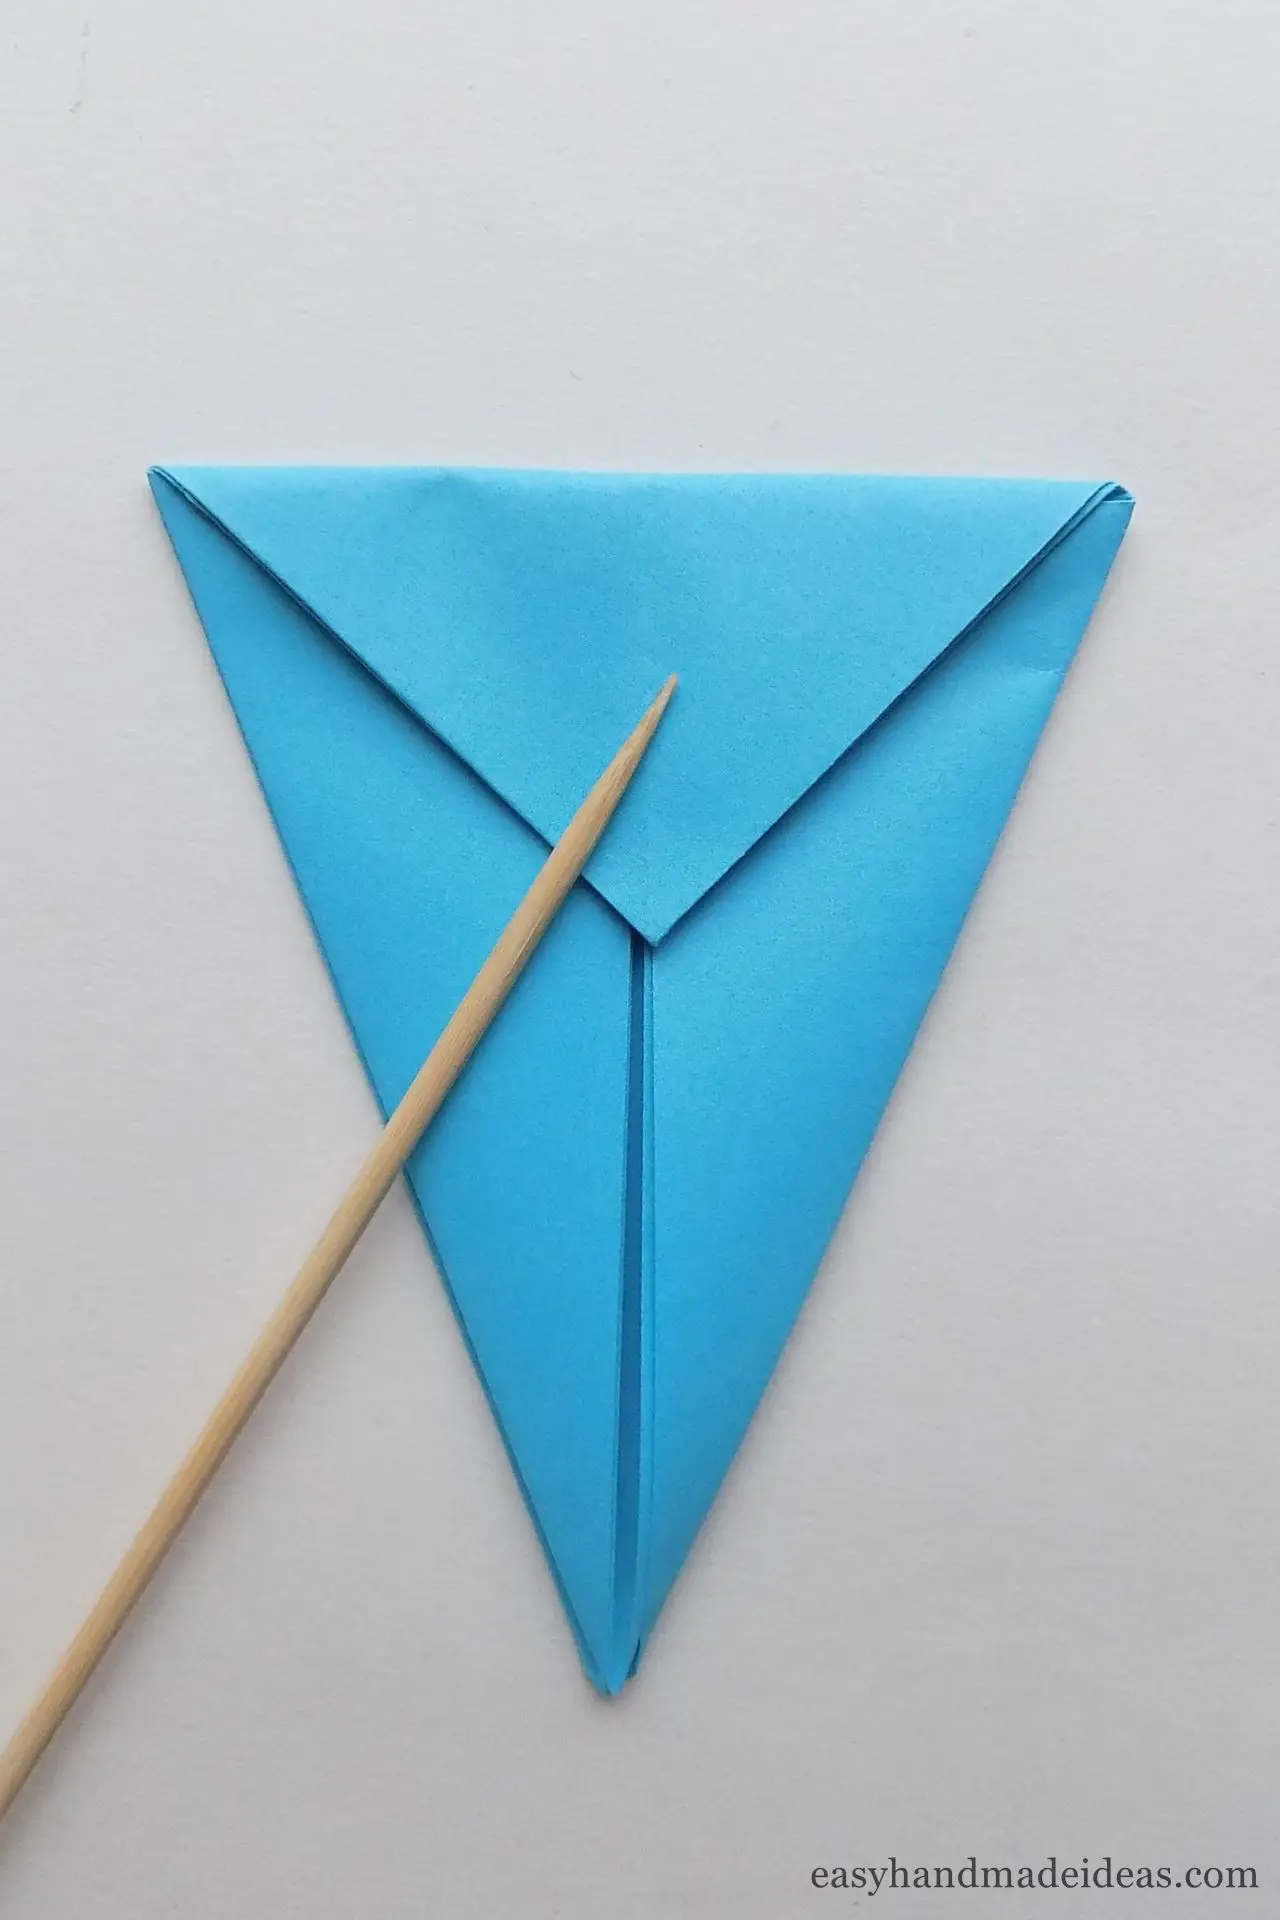
Fold the top corner of the rhombus down.
Step 7: Fold the craft
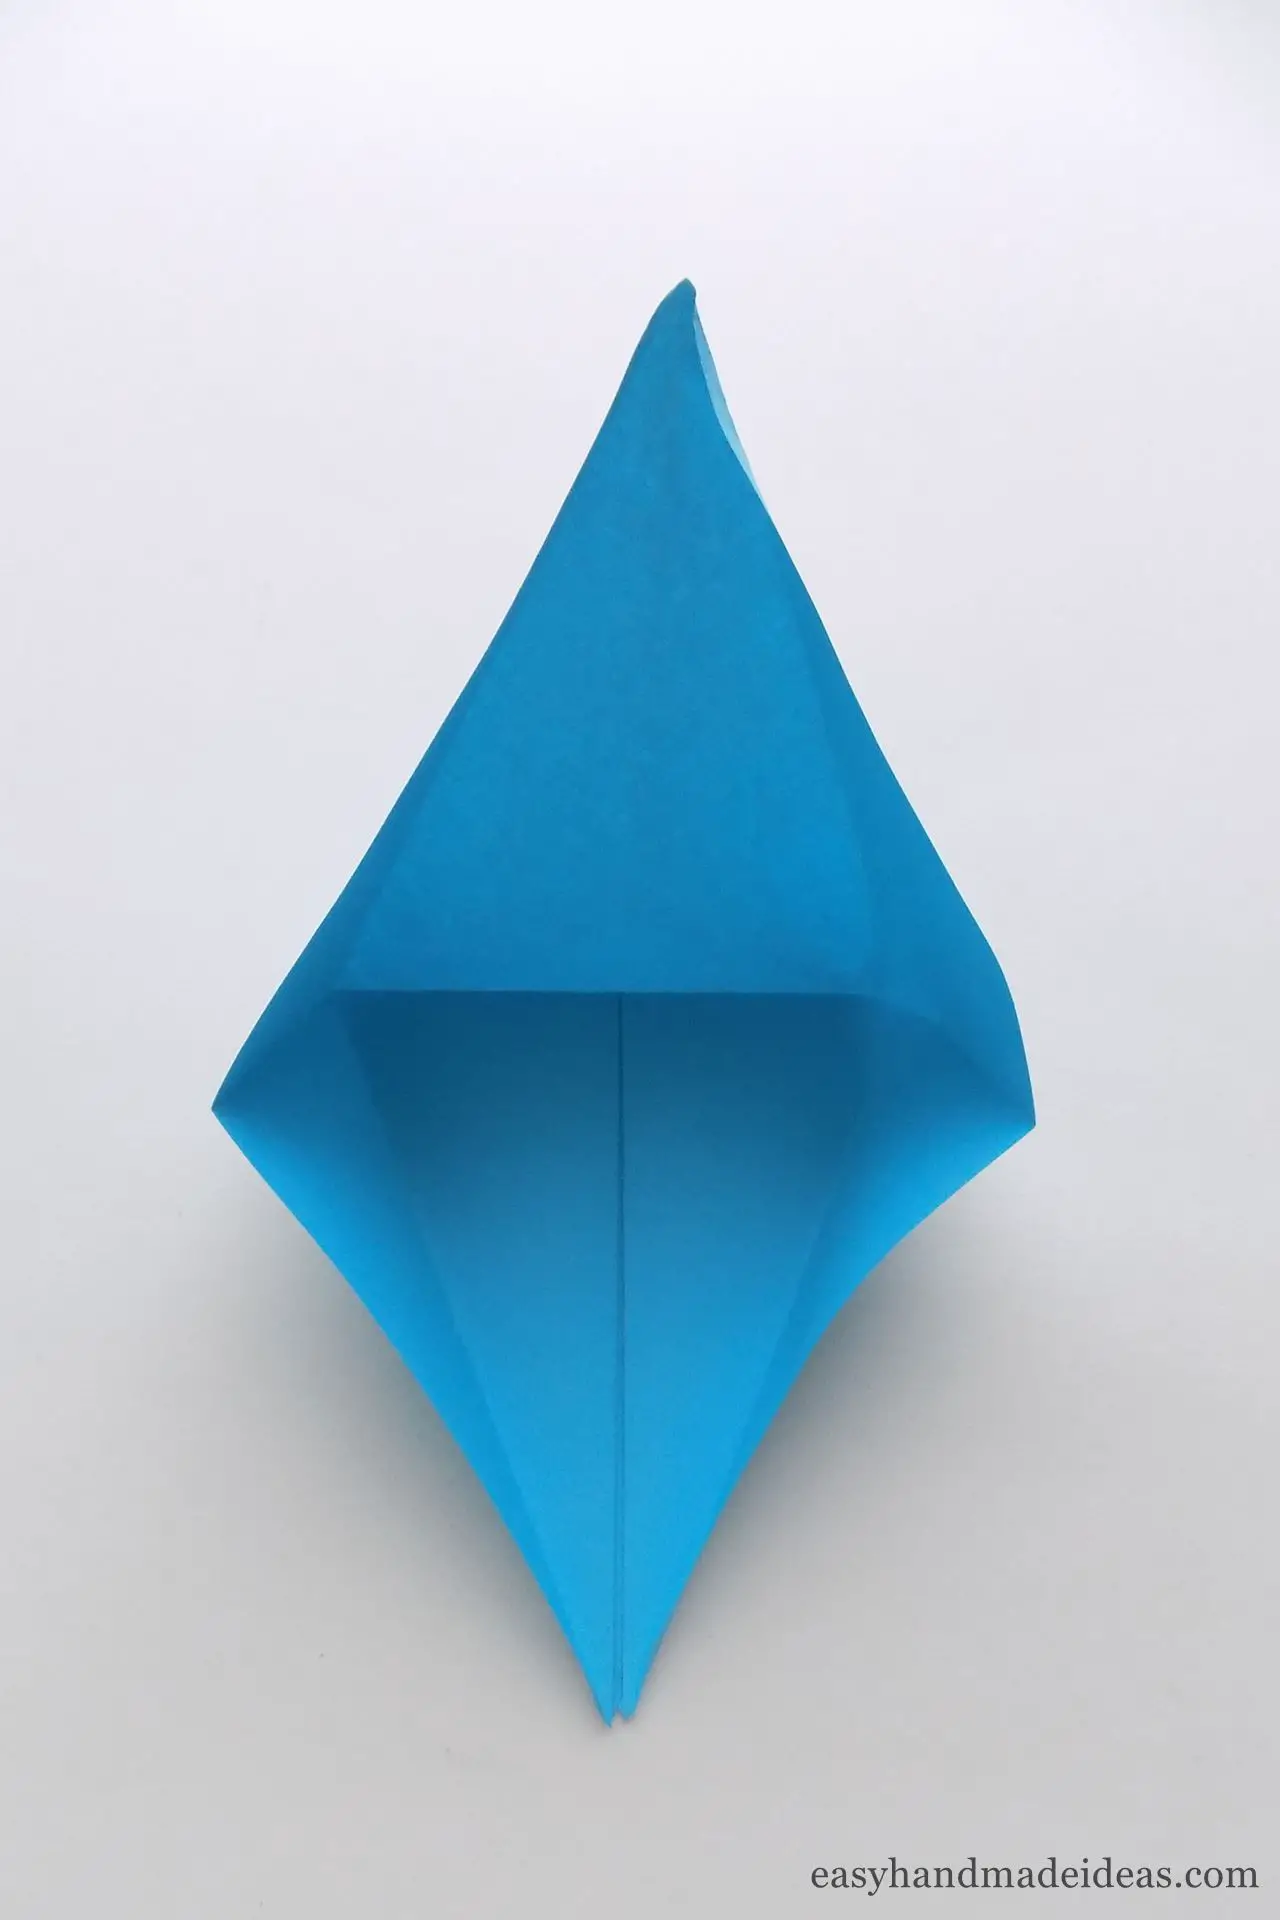
Next, begin to unfold the folded parts of the craft.
Step 8: Make the base of the bird
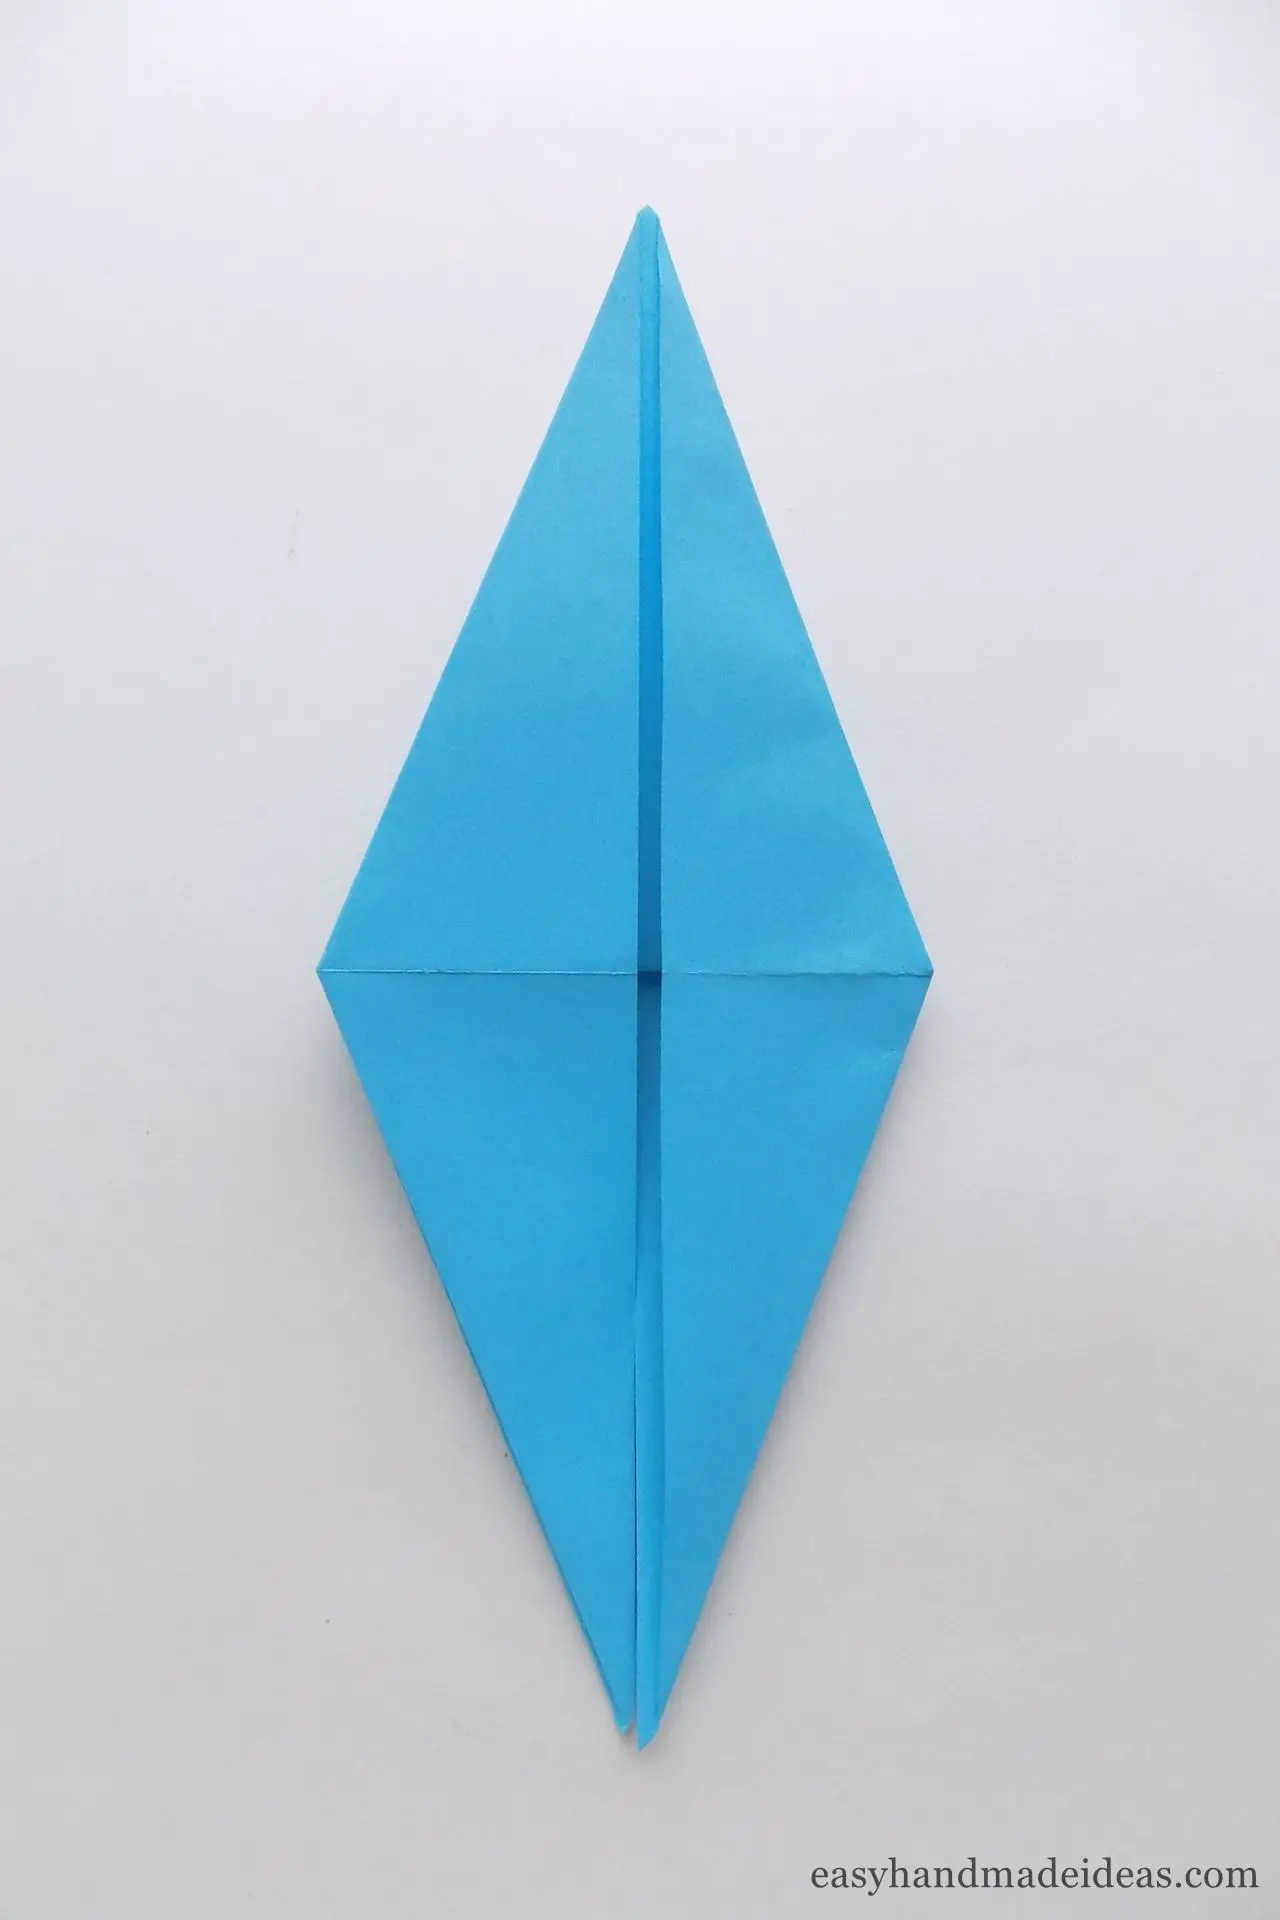
Completely unfold the top layer first, giving it an elongated diamond shape. Then repeat the folds on the other side. The base of the bird is finished.
Step 9: Fold the sides toward the center
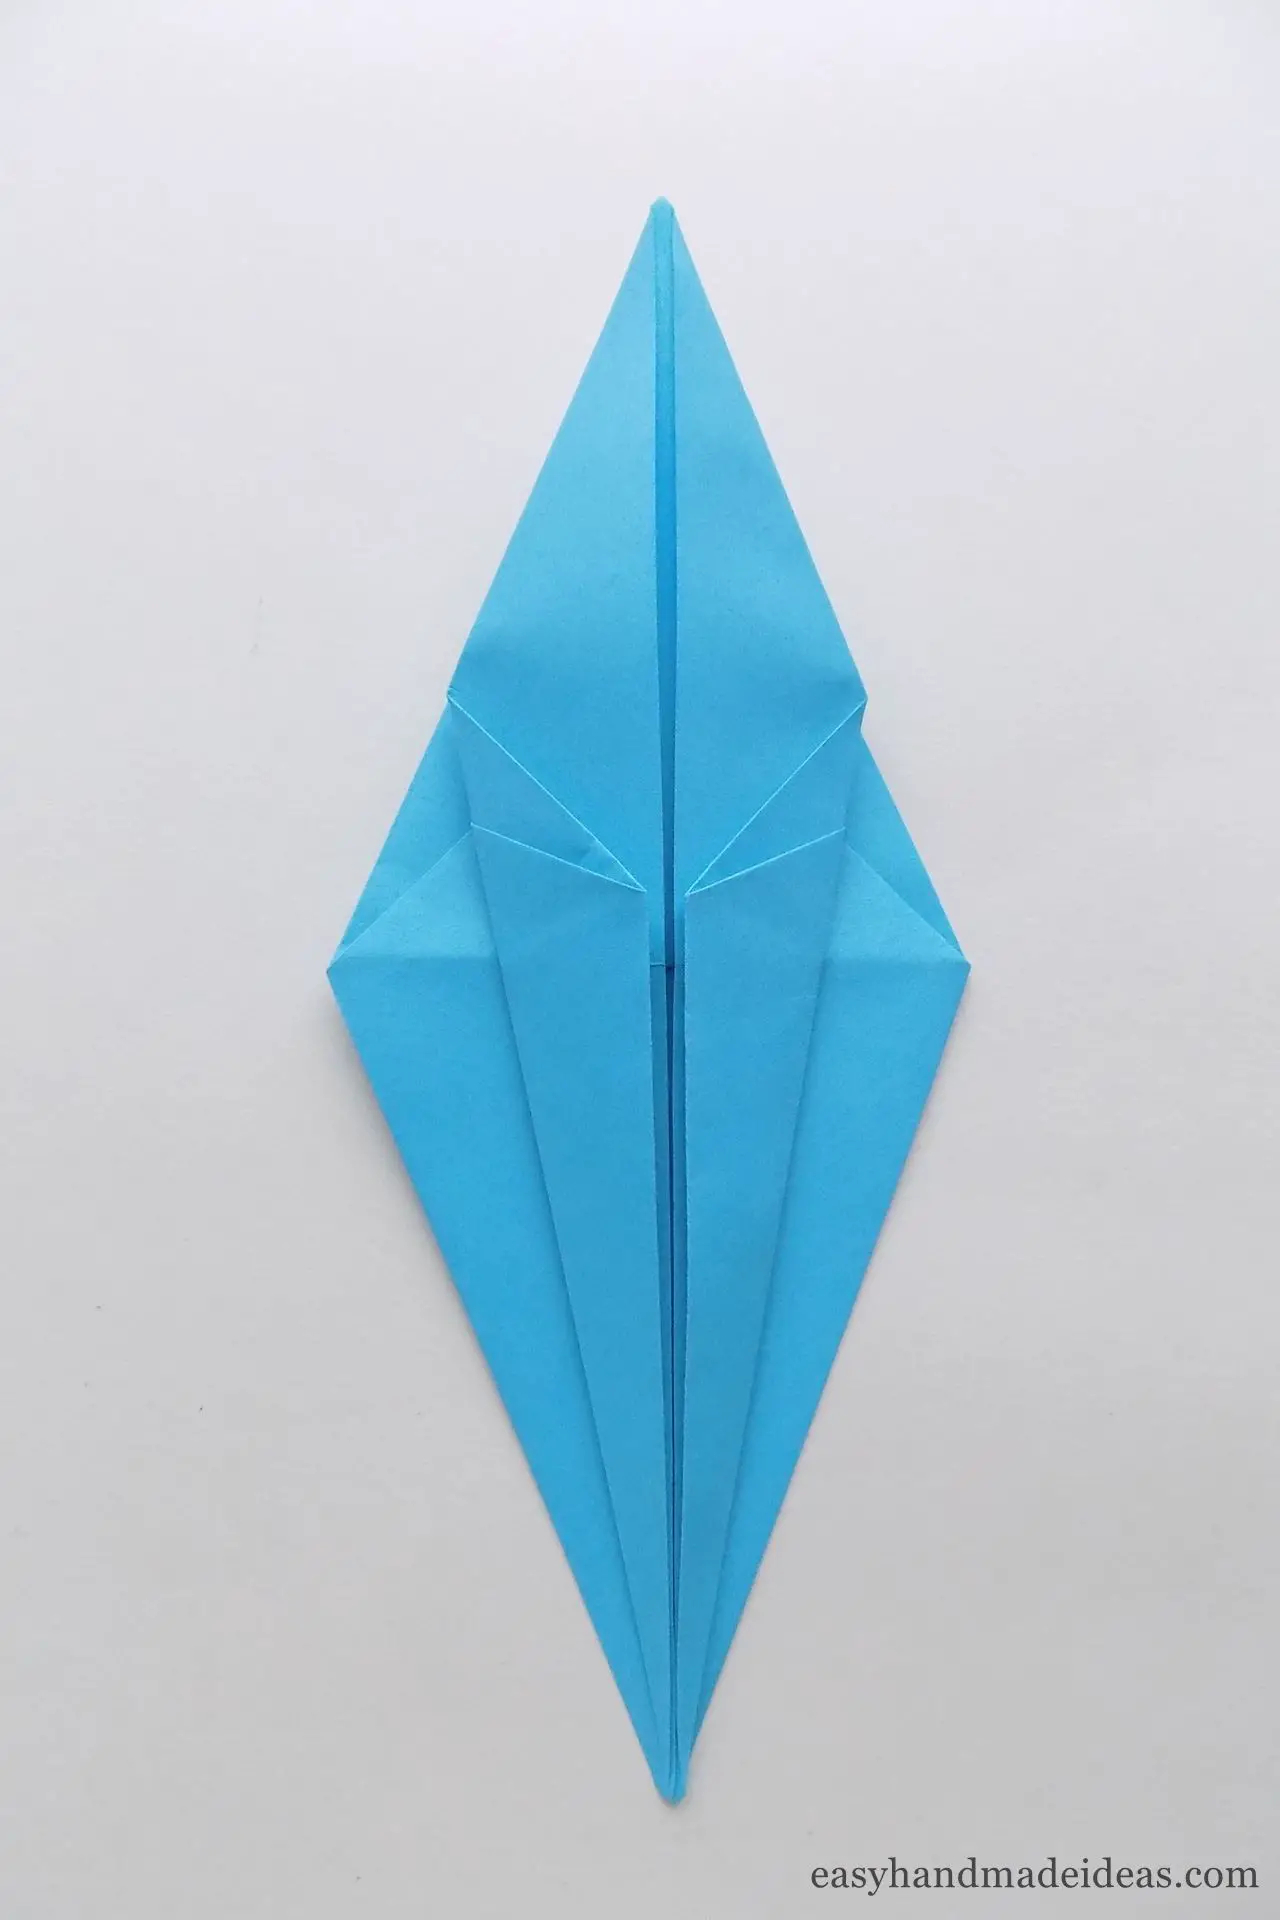
Fold the bottom sides of this shape to the center.
Step 10: Flip over and repeat the previous step
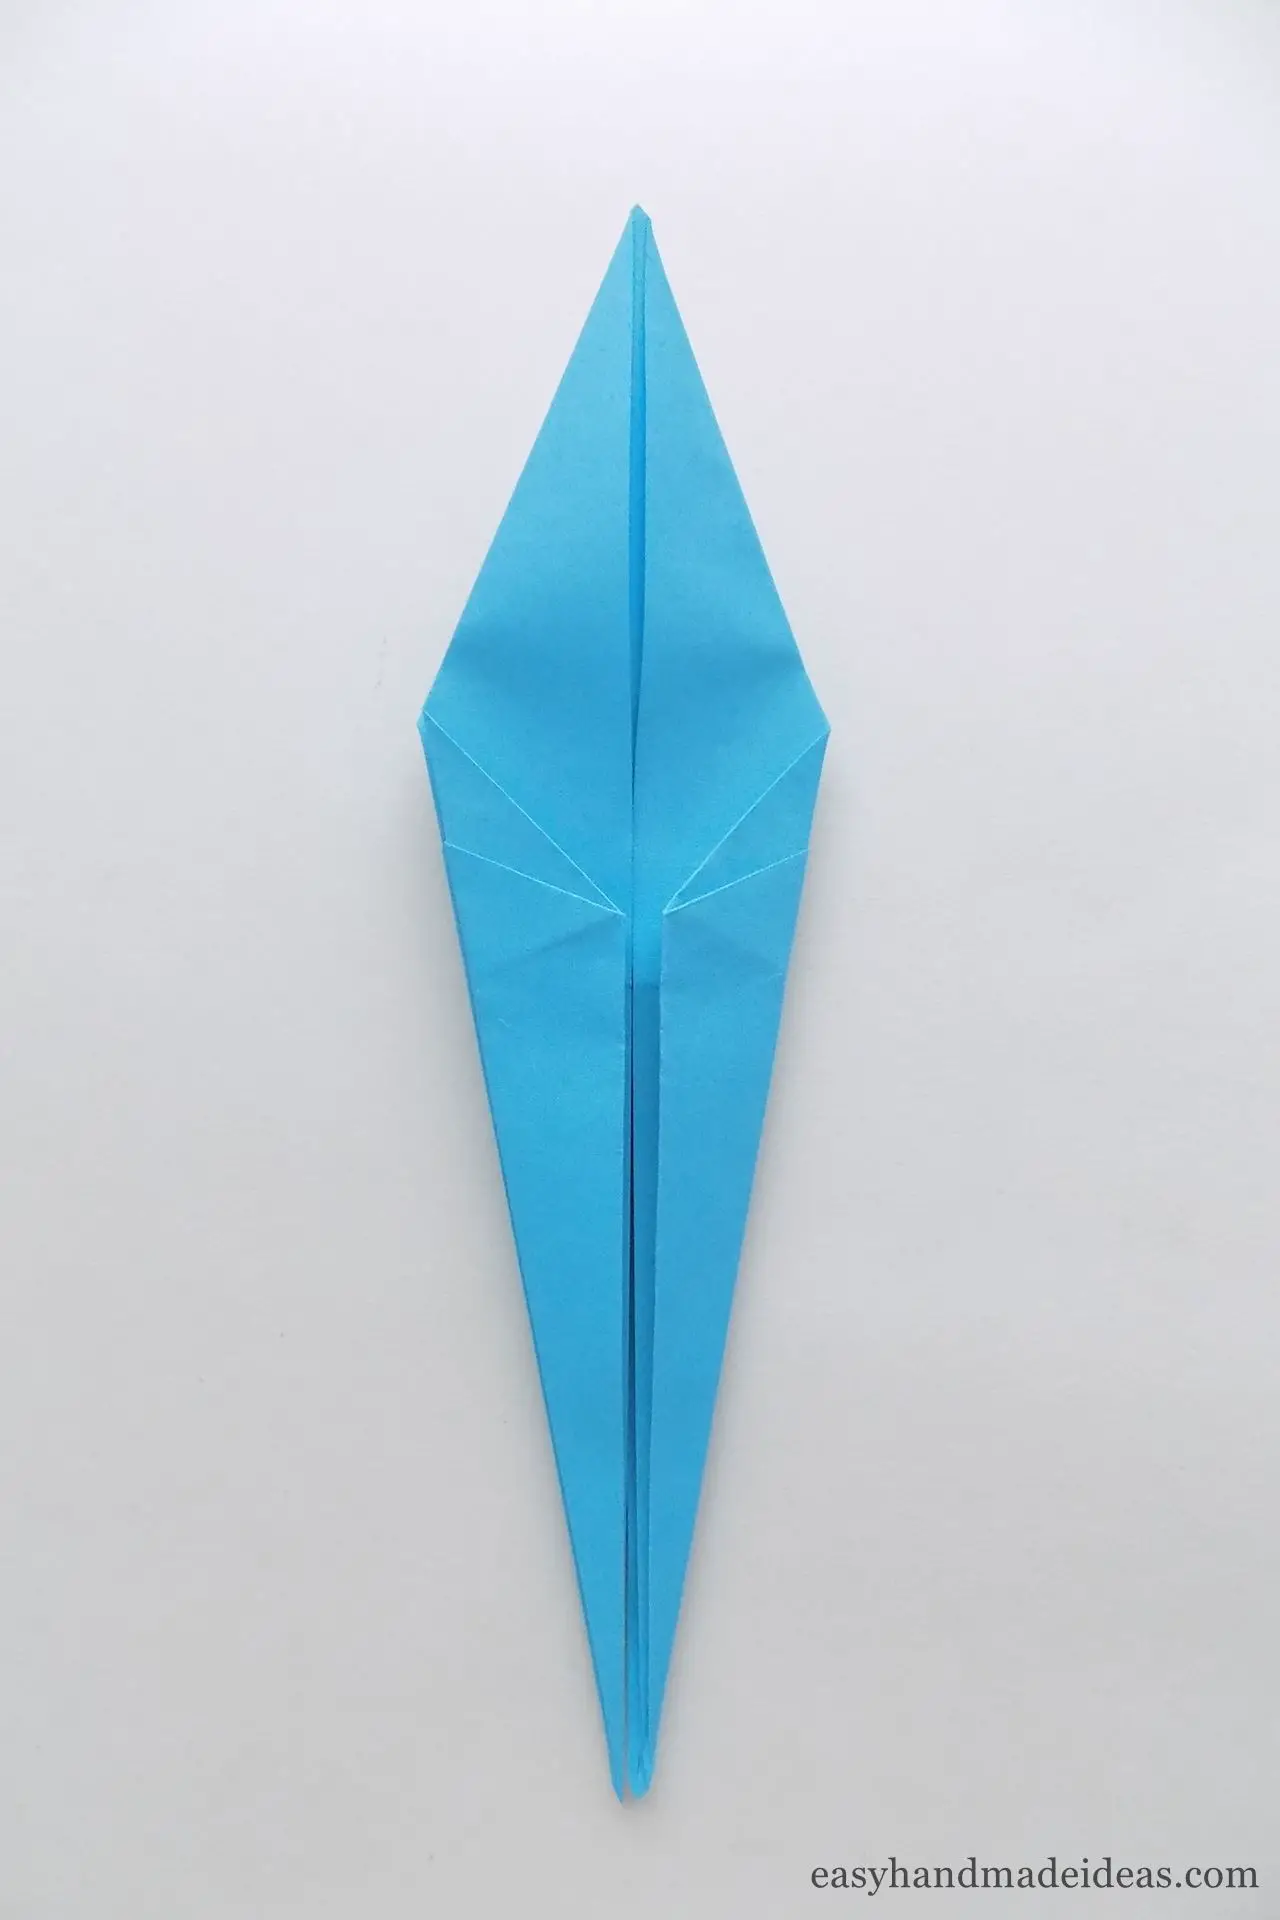
Repeat the same folds on the back side after flipping the piece over.
Step 11: Flip the top left layer to the right and the bottom right layer to the left
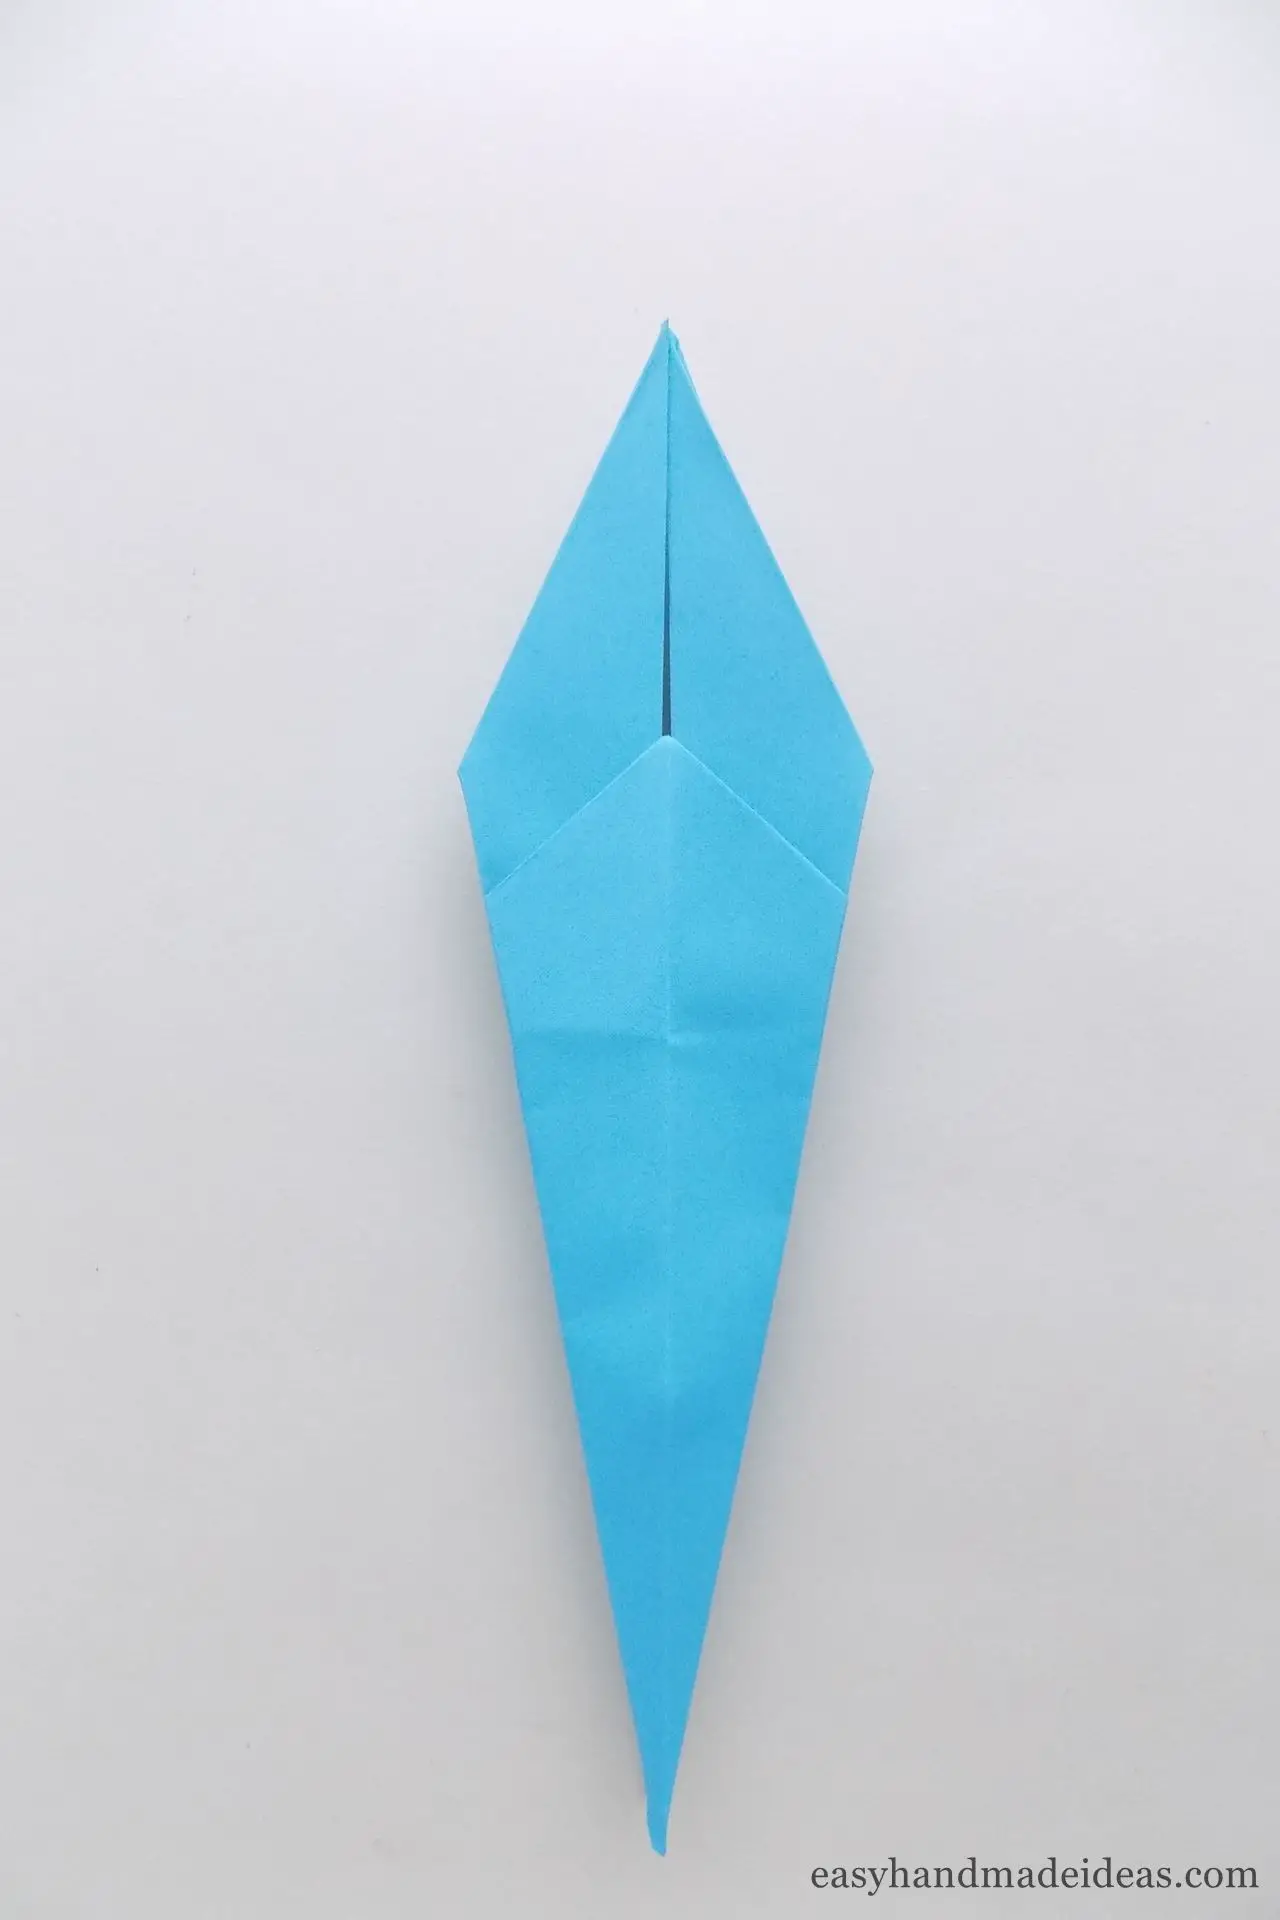
Turn the layers slightly to shape the piece as shown in the photo.
Step 12: Fold up the bottom corner
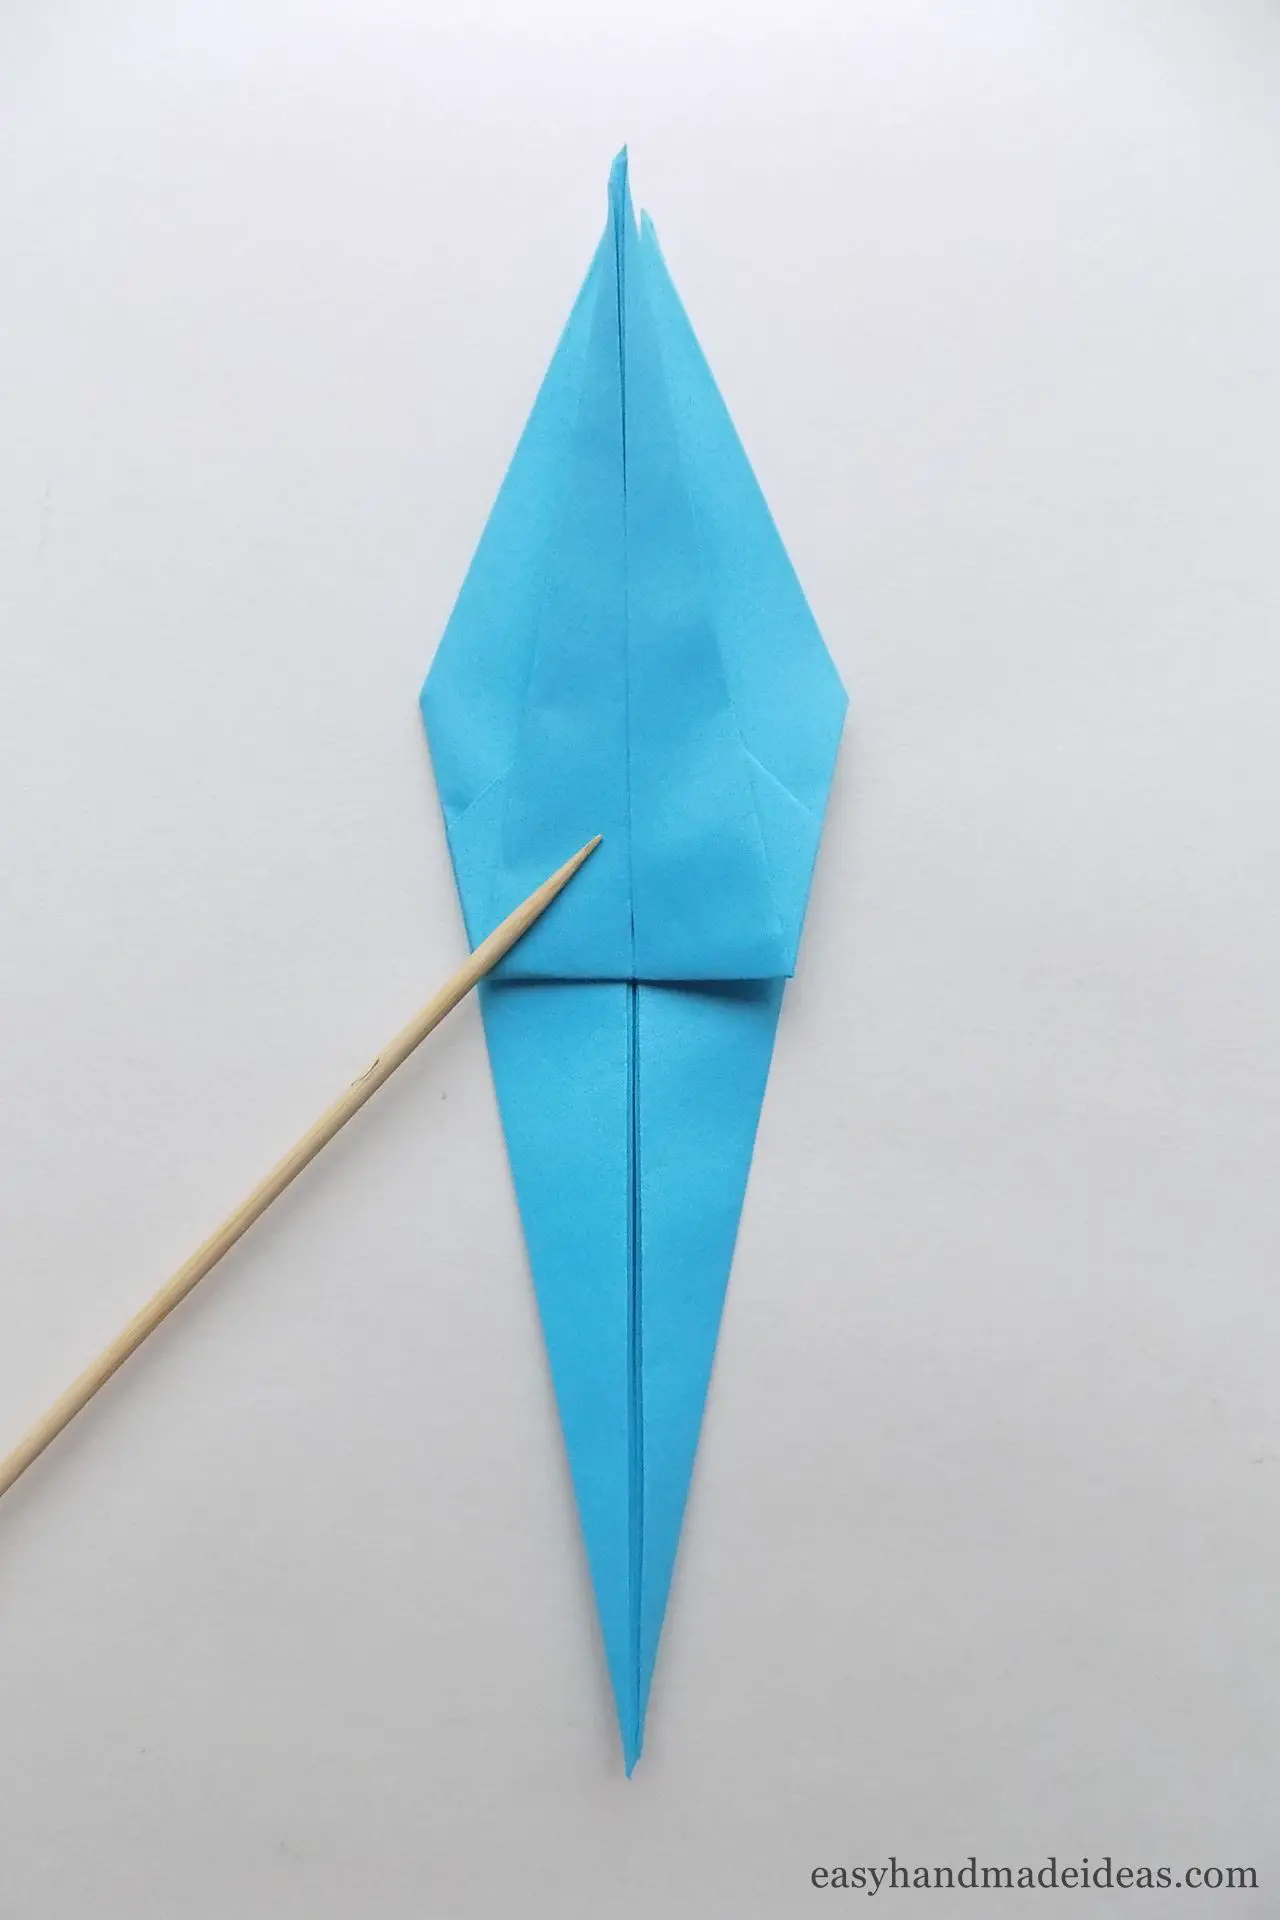
Fold up the bottom corner of one layer.
Step 13: Repeat the previous step
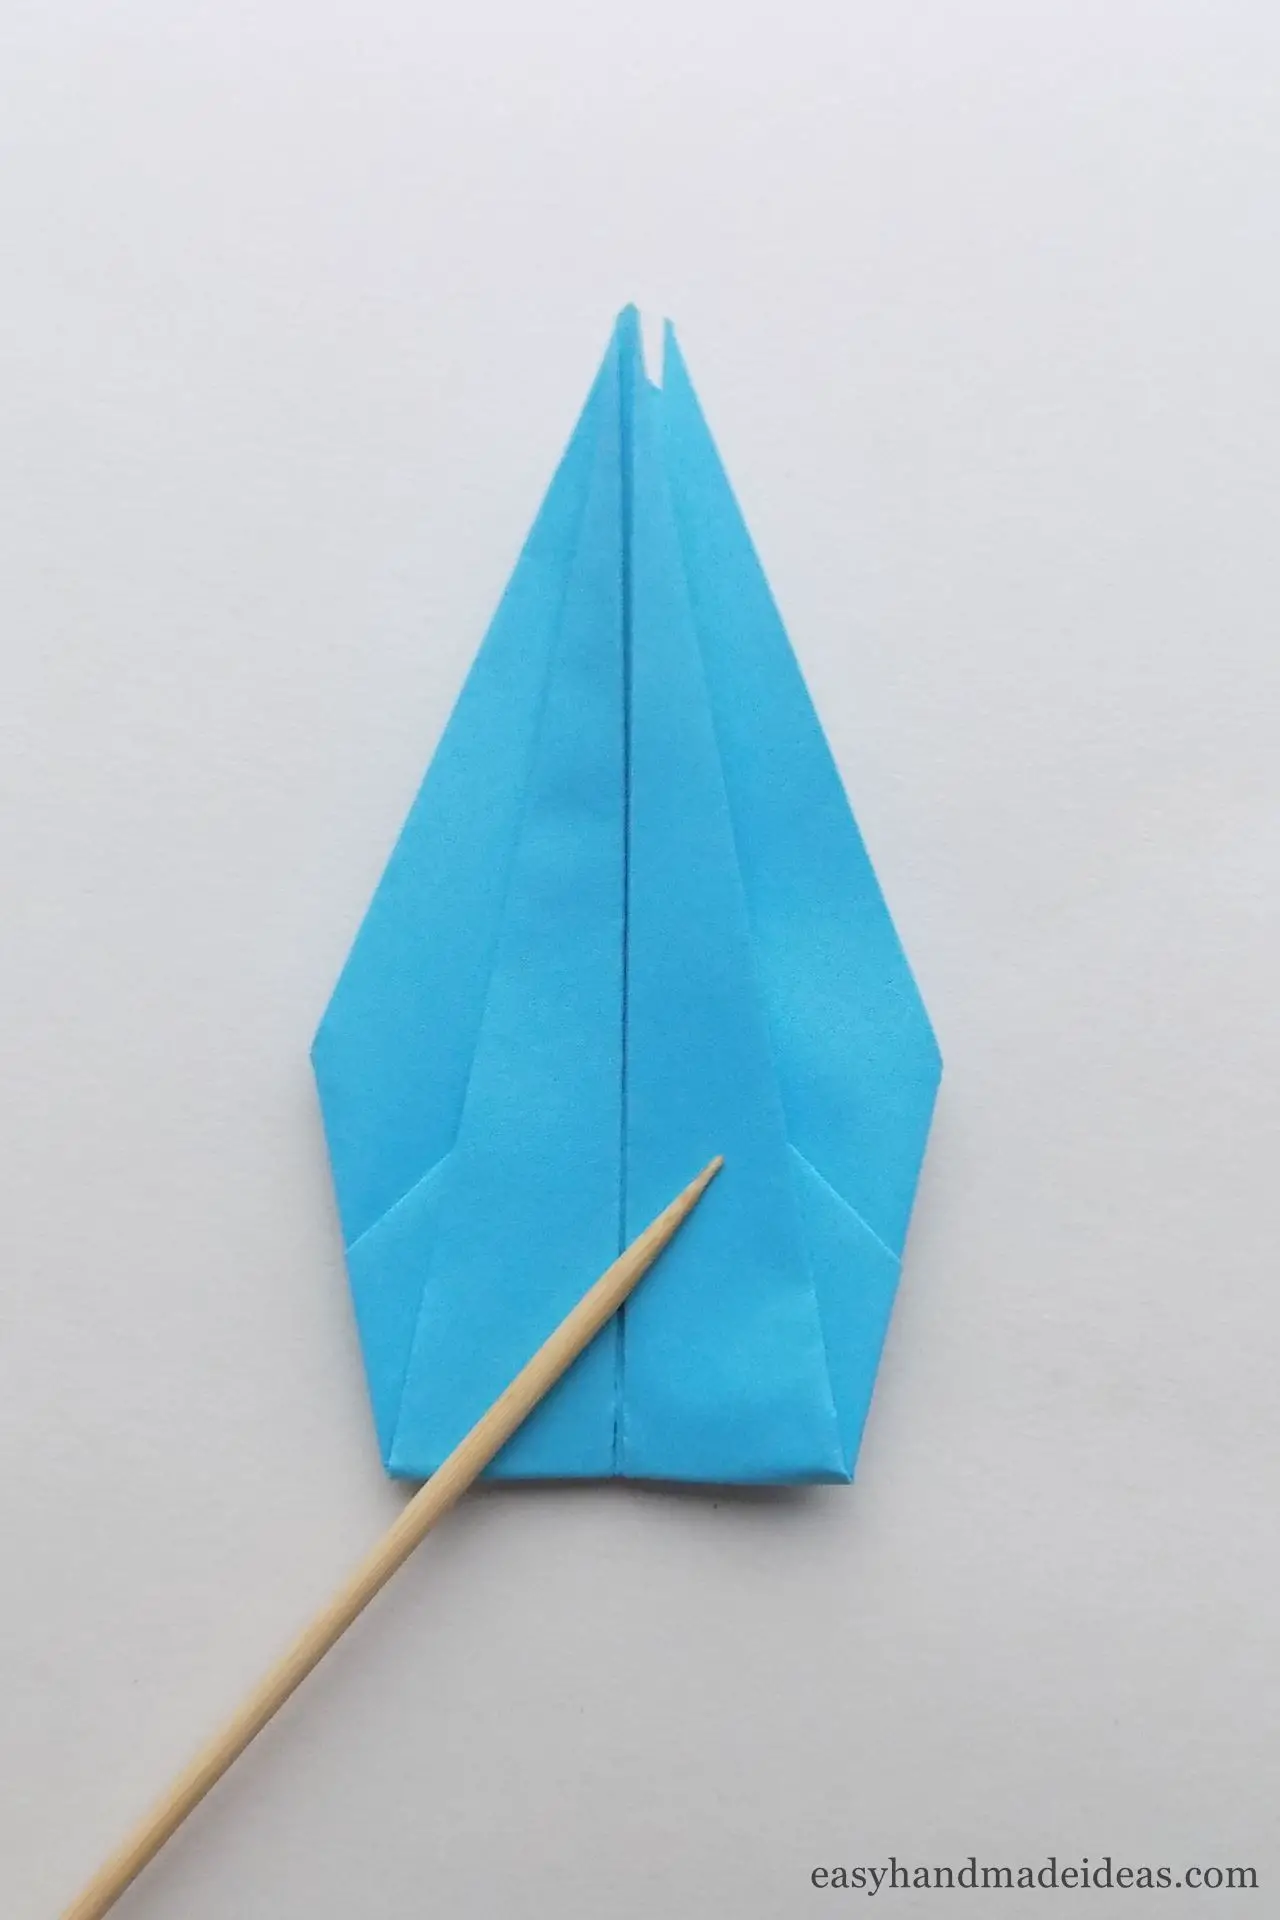
Make the same fold on the reverse side.
Step 14: Shape the crown

Now gently unfold the piece, to give it a crown-like shape. The pieces sticking out from the sides will be the head and tail of the crane.
Step 15: Make the crane’s head
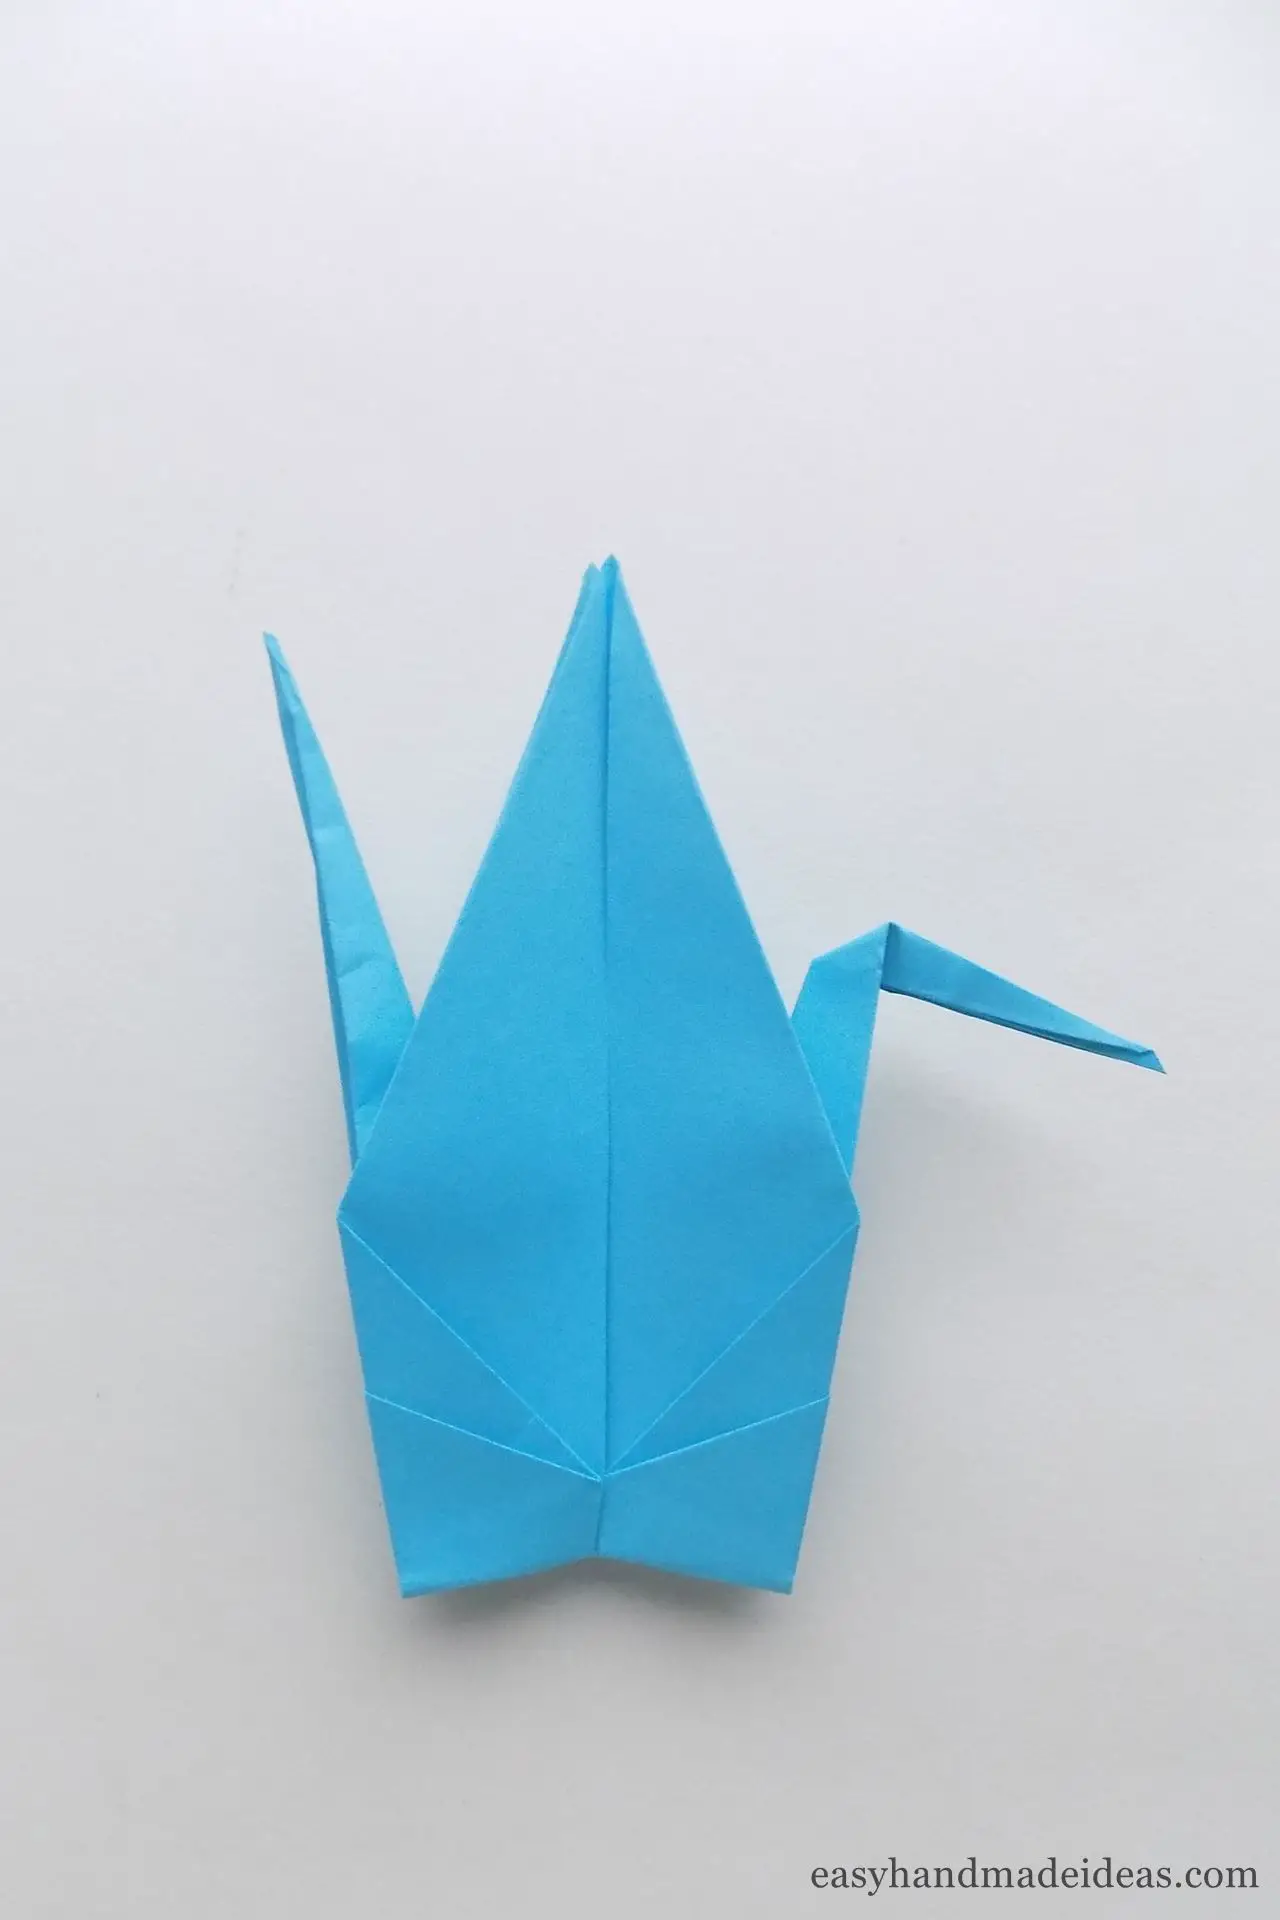
Fold one of the protruding corners sideways, then spread it out symmetrically. This is the head of the bird.
Step 16: Make the first wing
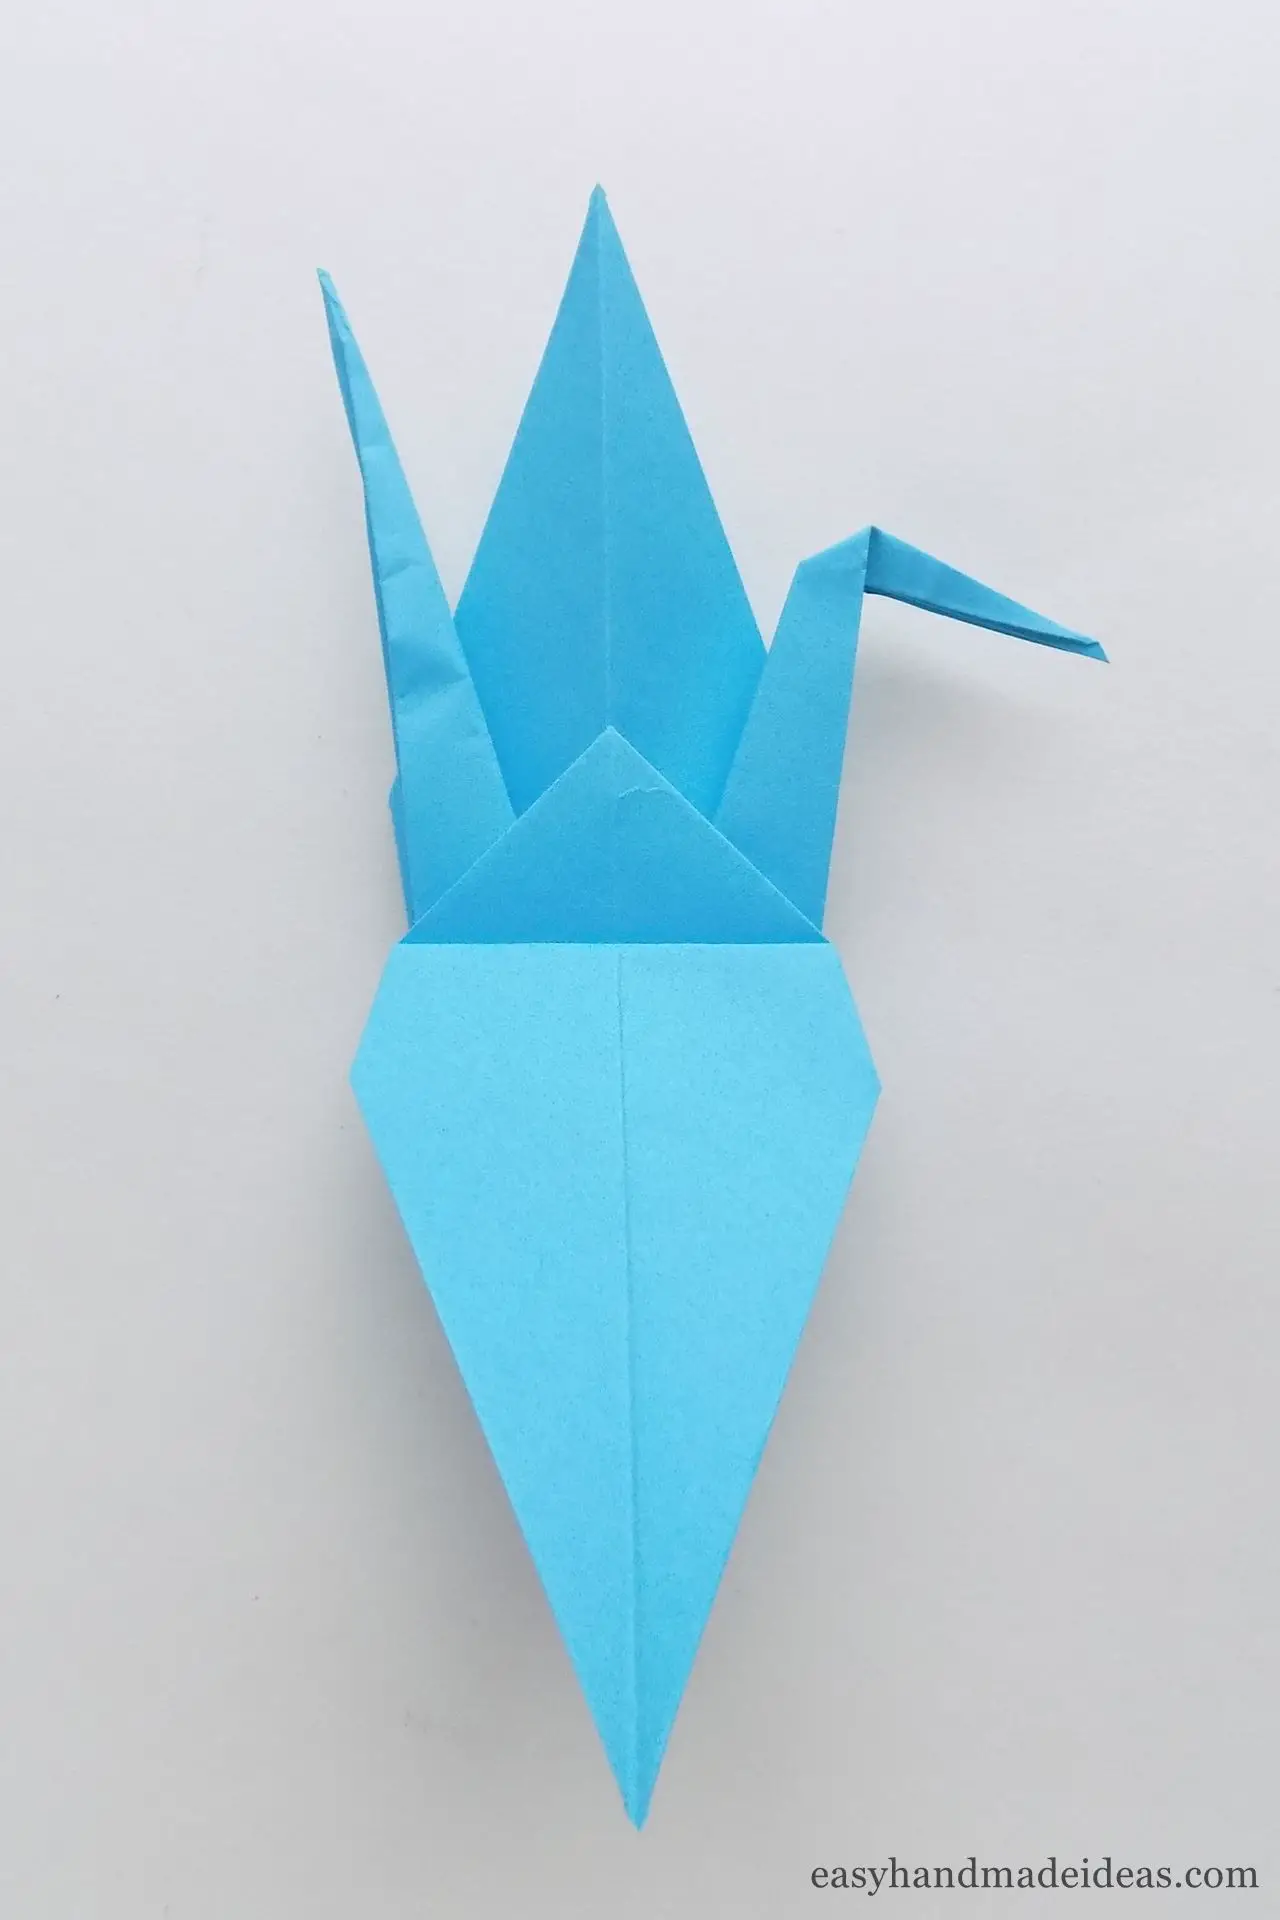
To form the wings, you’ll need to fold down the wide pieces. Do this on one side first.
Step 17: Making the second wing
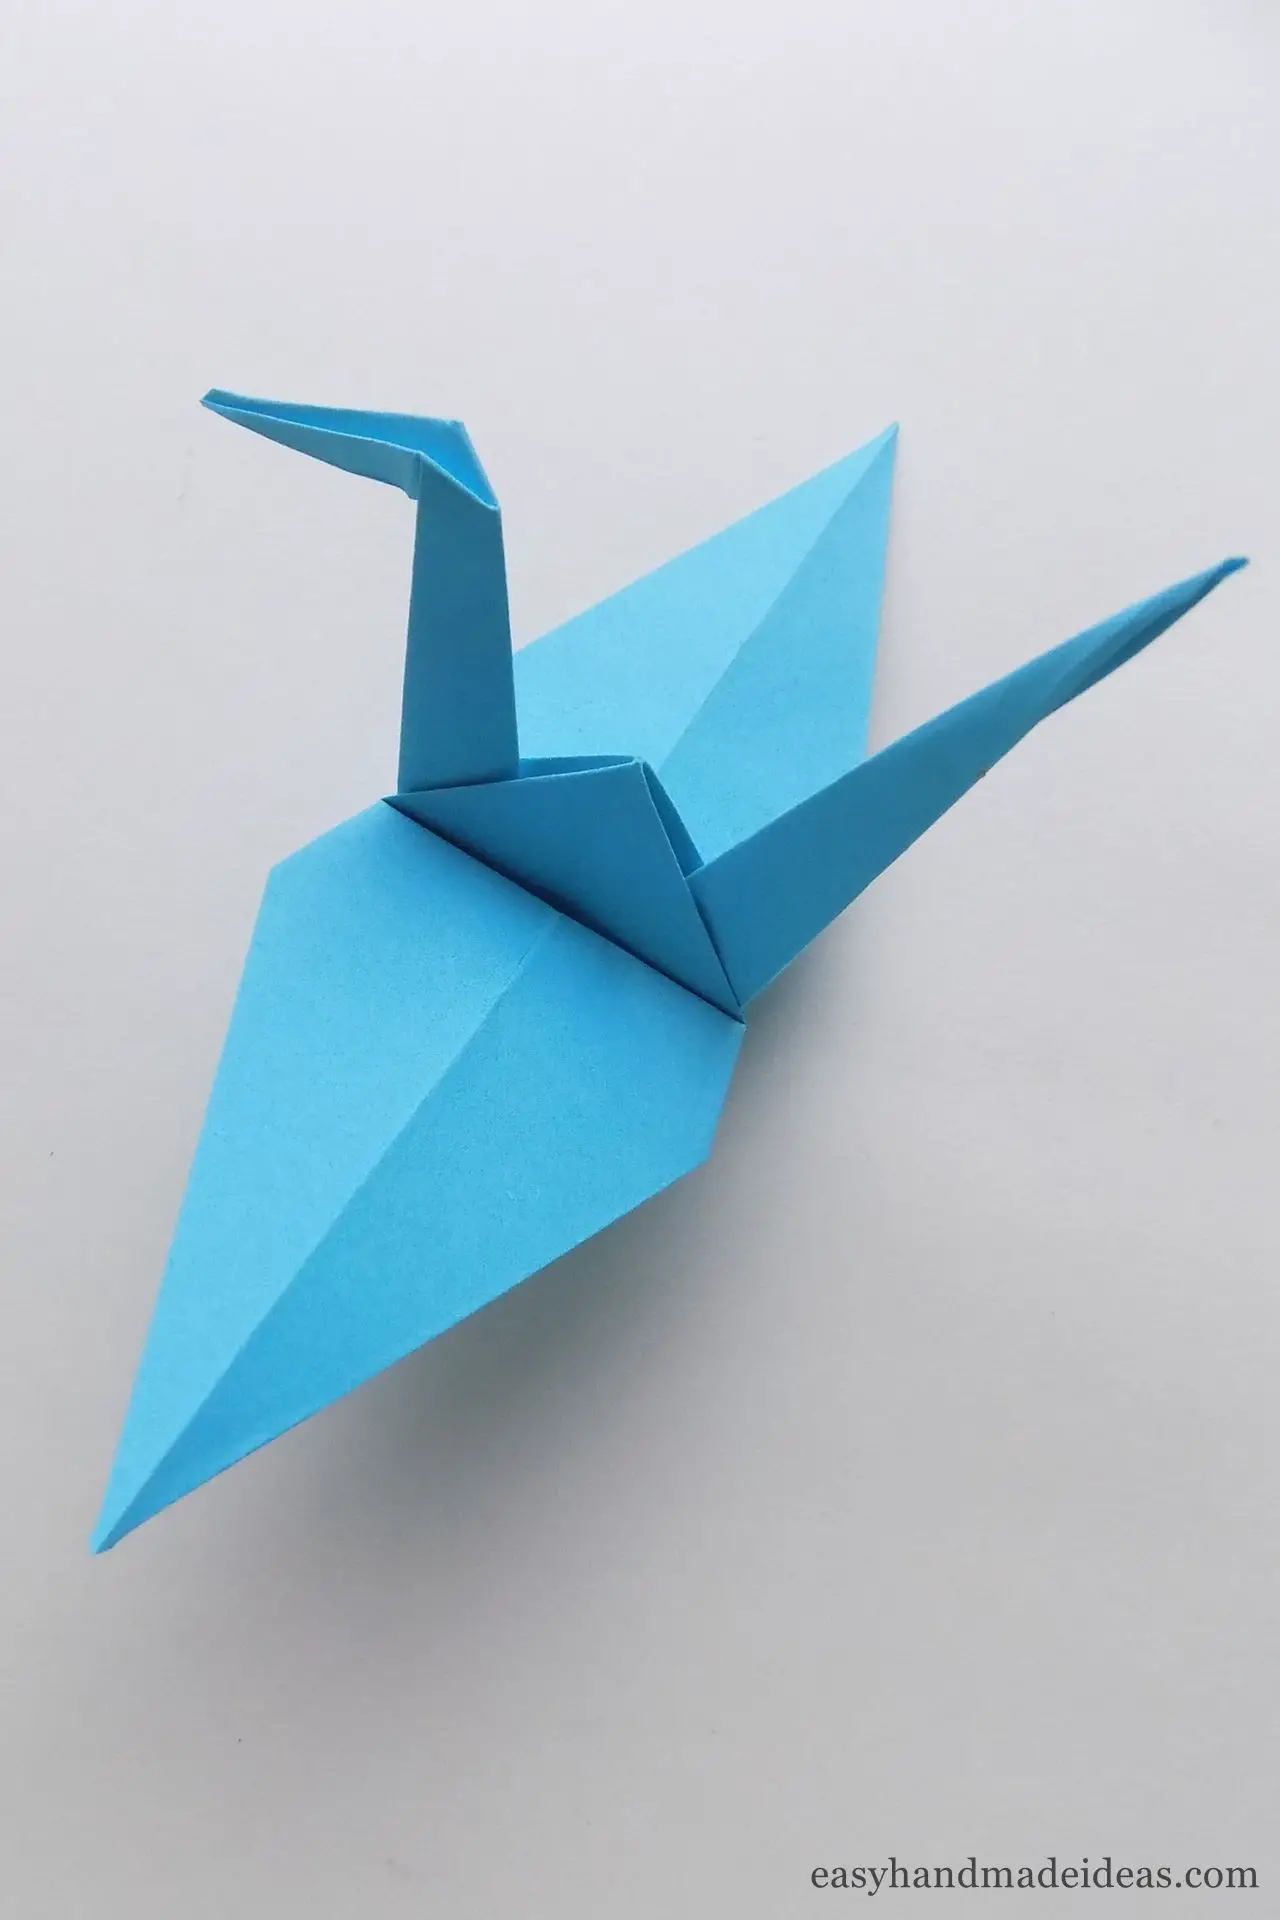
After turning the piece over, repeat the process. The origami crane is ready.
Supply:
- a square of blue paper with a size of 21×21 cm (8.2677″ x 8.2677″).
Tools:
- hands.
This craft is a worldwide symbol of origami. It is believed that a paper crane brings good luck and fulfills wishes. Therefore, try to make this craft and make a wish for a bird of happiness.


