The symbol of 2024 is the Green Dragon. Dragon is a symbol of harmony, prosperity and success. And green color symbolizes calmness, softness and pliability.
In my instruction I will show how you to make an origami dragon. You can decorate a Christmas tree with such a figure or use it as a decoration for a Christmas table.
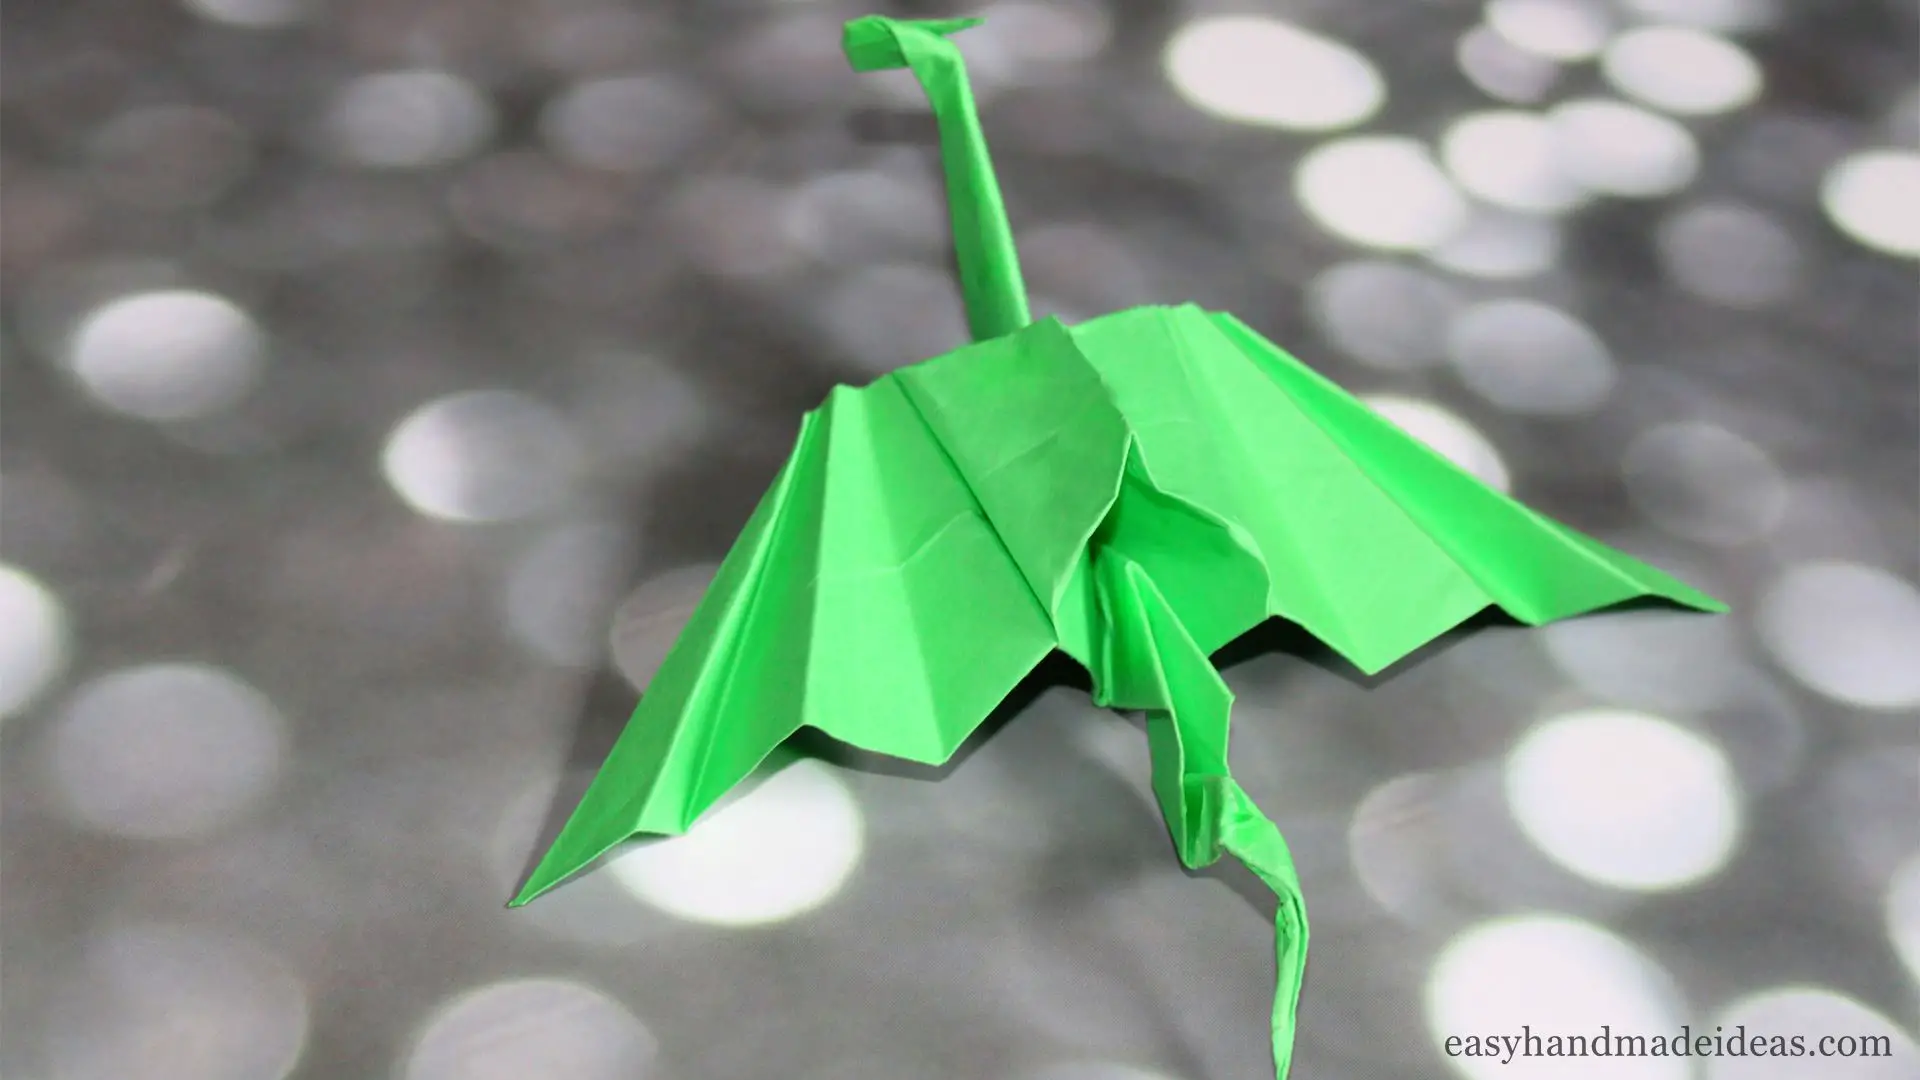
Materials:
a square sheet of green paper. If you like, you can make figures in different colors. Ordinary office paper will do.
Green Dragon in origami technique – step by step with photos
Step 1:
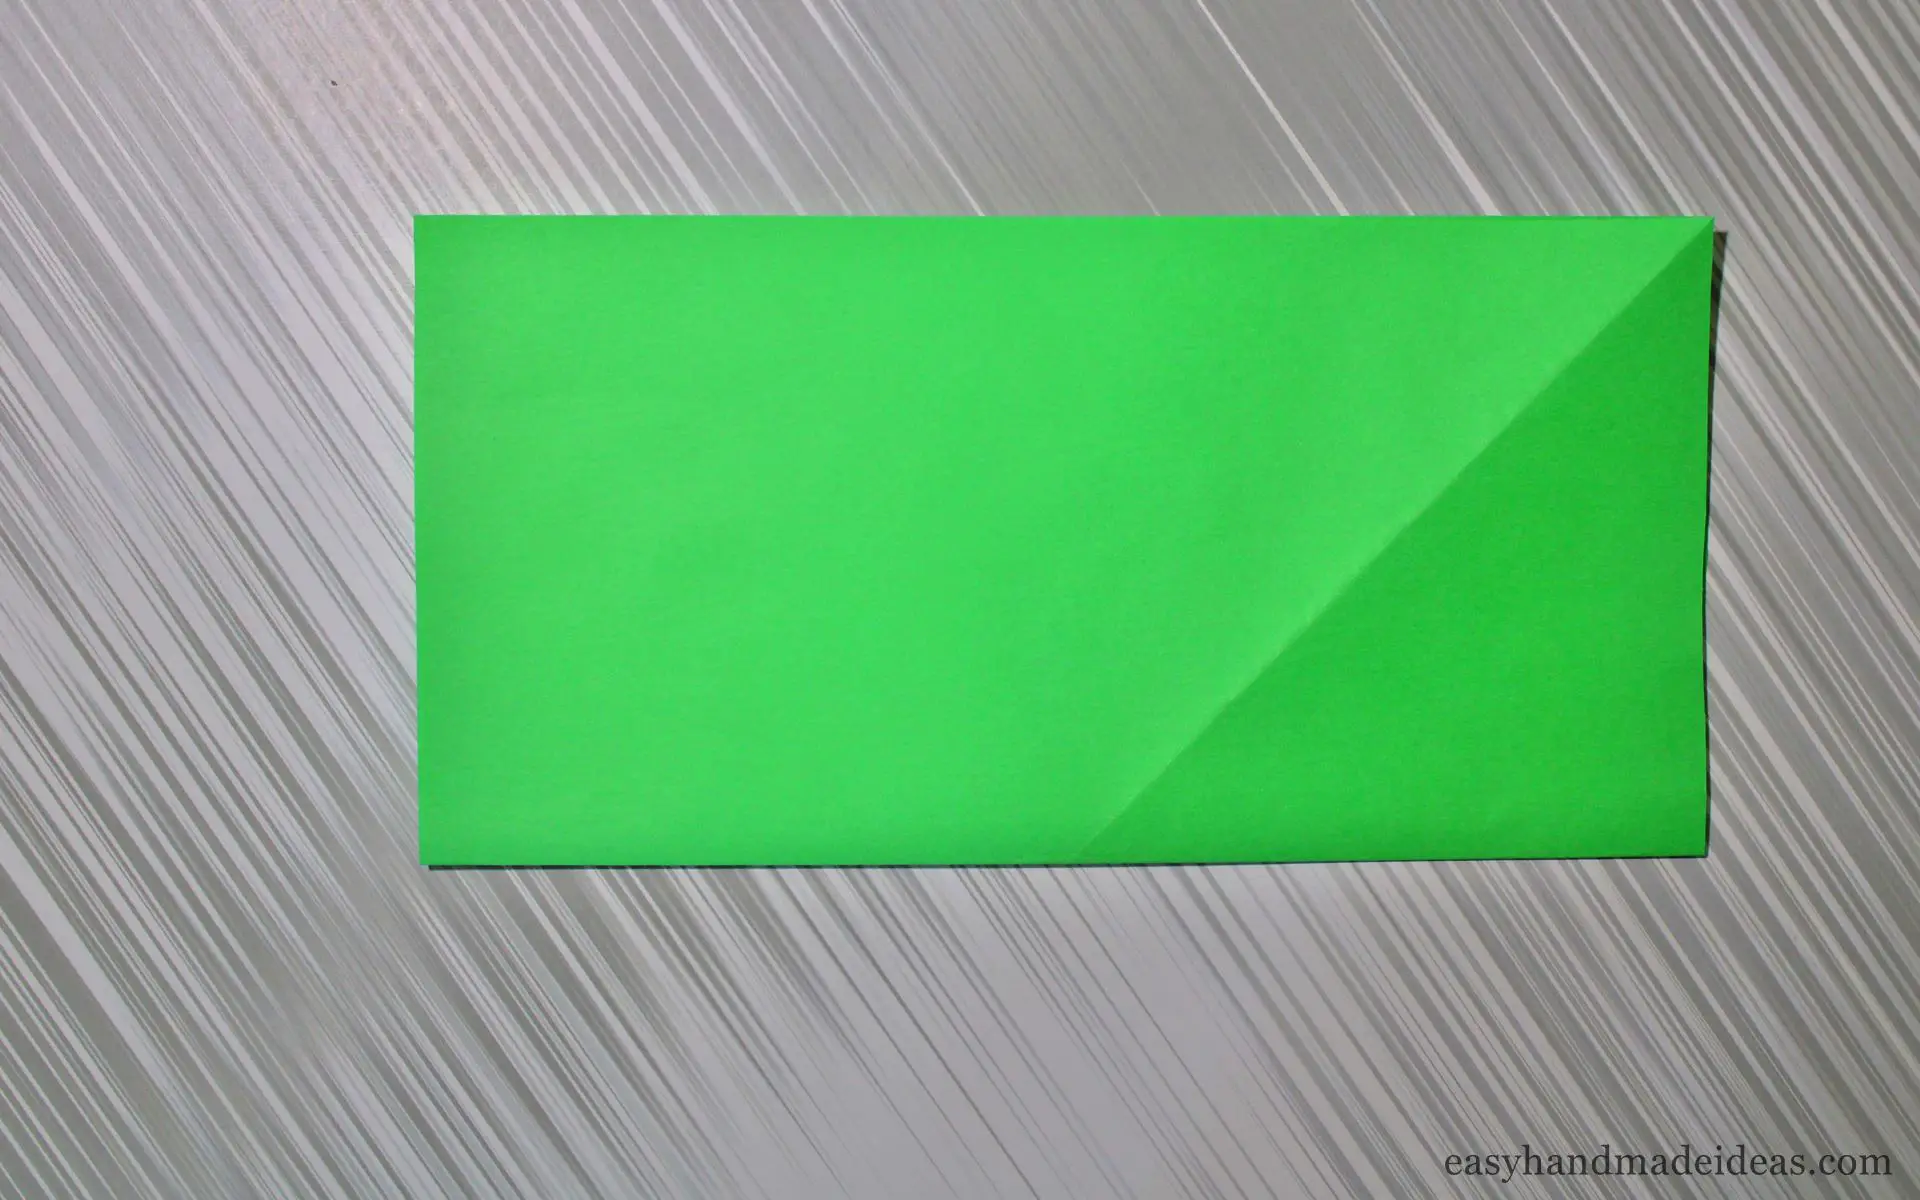
Fold a square sheet of paper in half along either side.
Step 2:
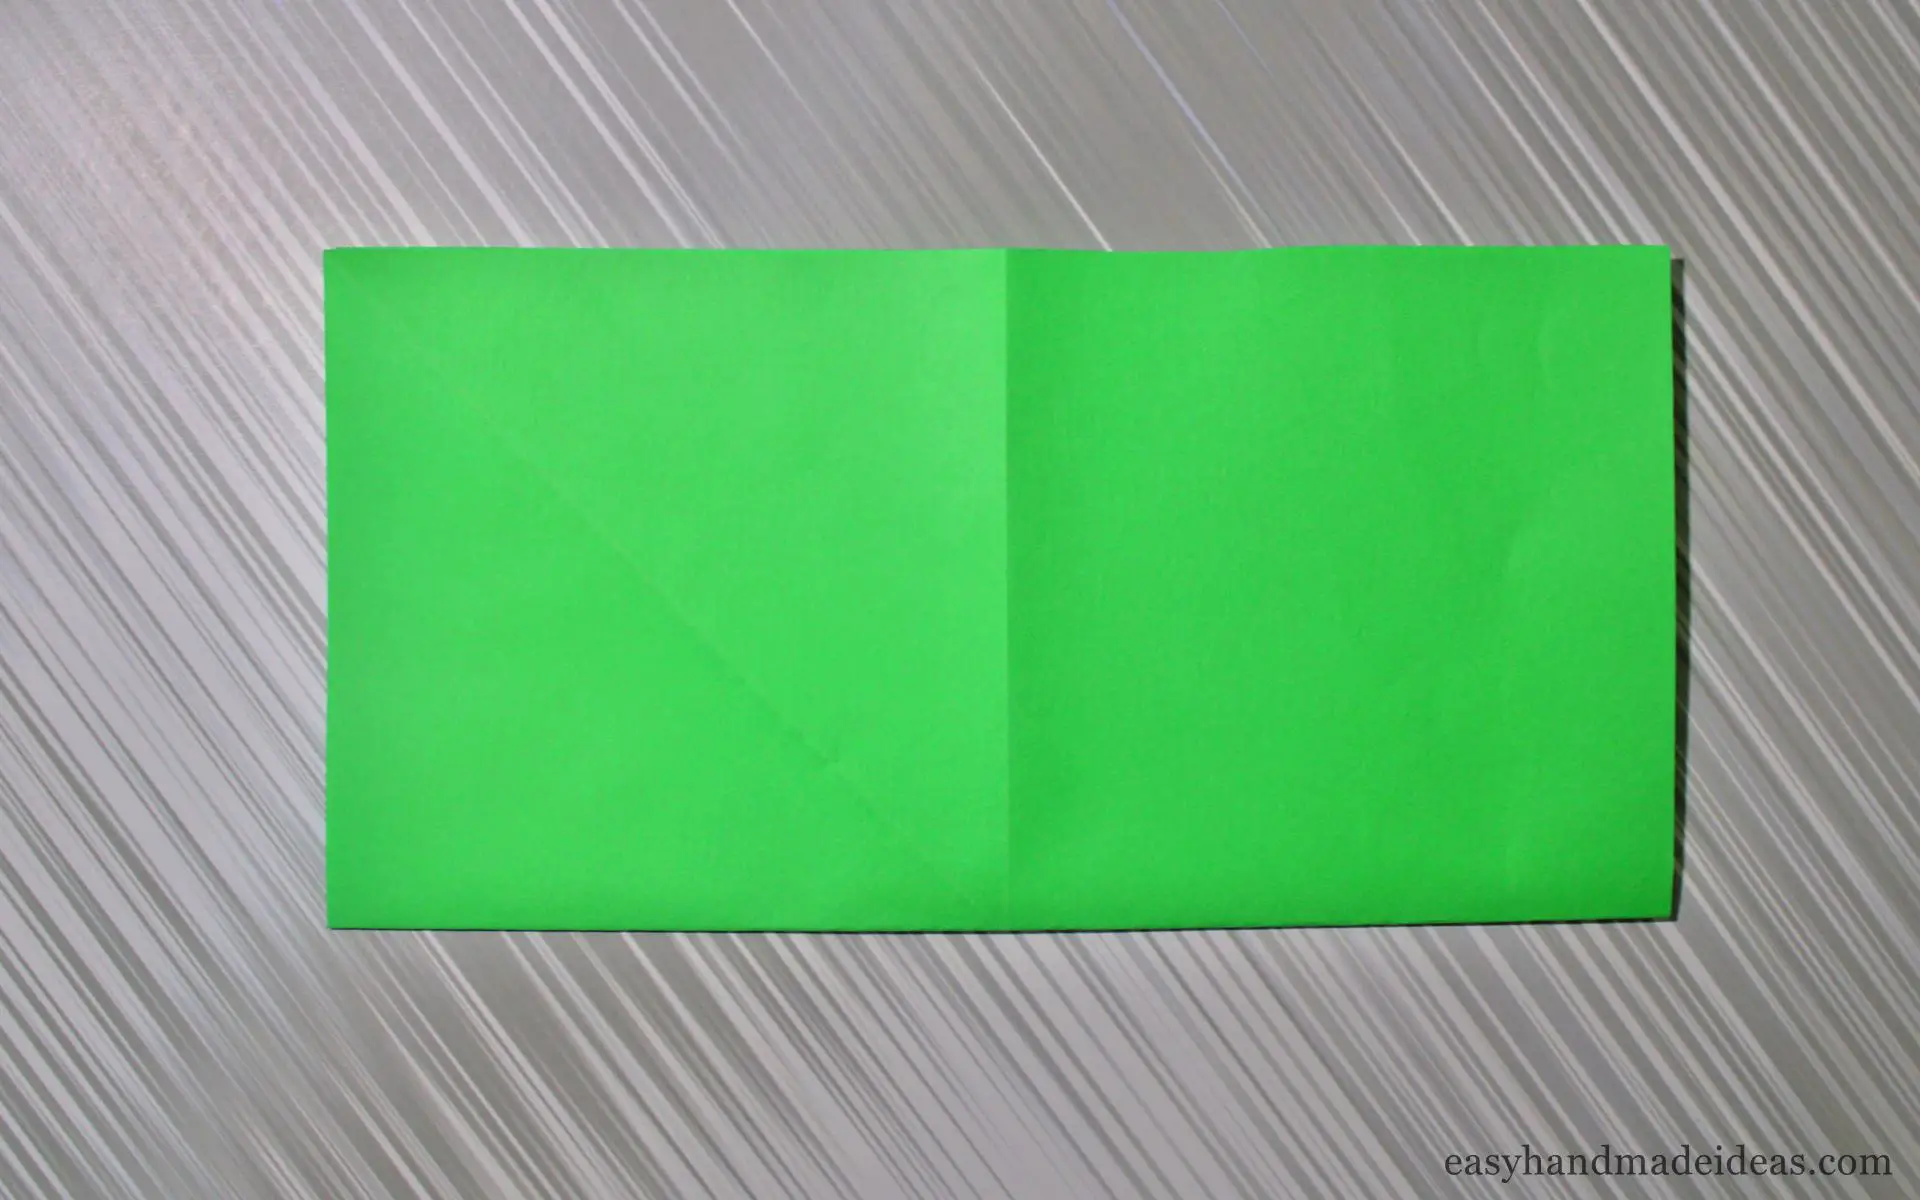
Now straighten the sheet and fold in half again along the other side.
Step 3:
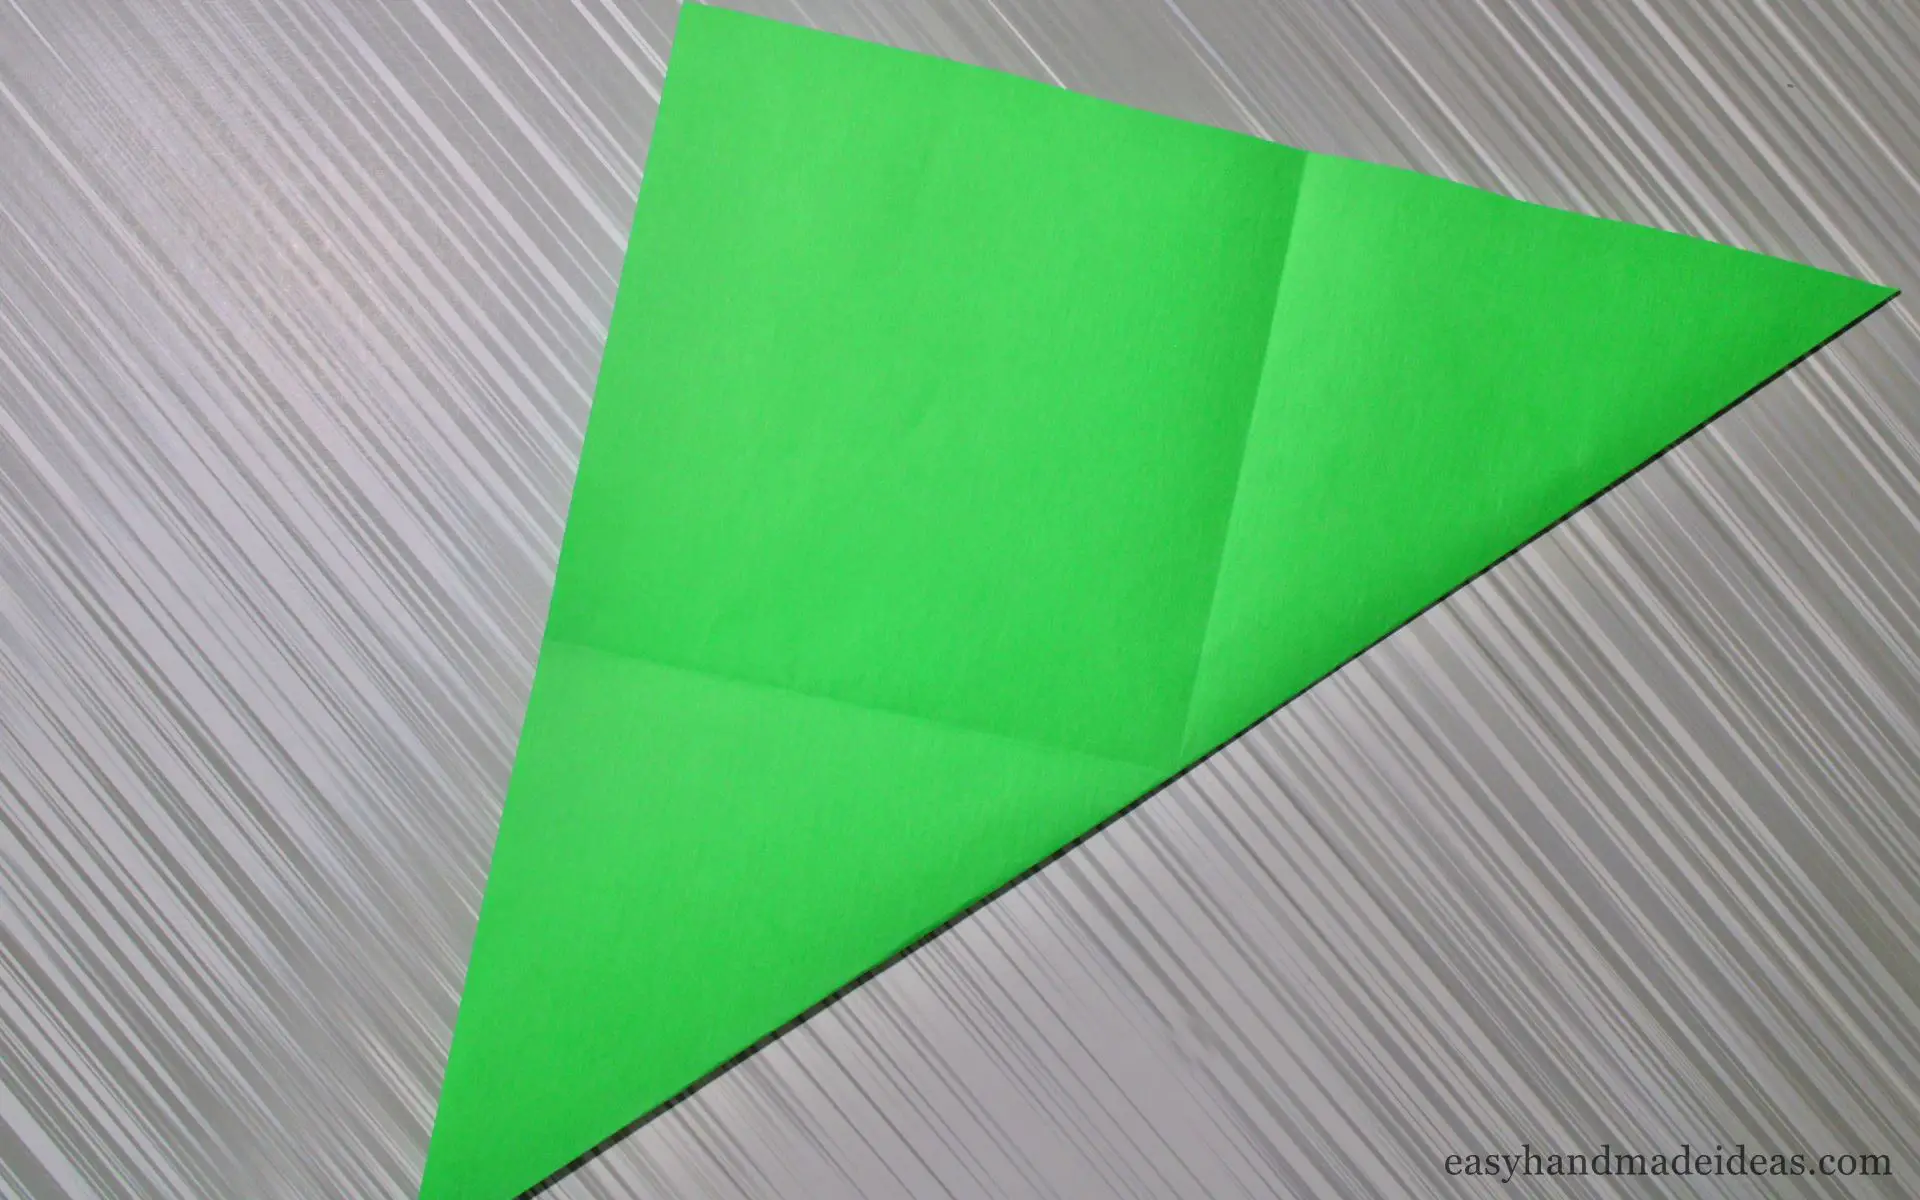
Unfold the sheet, flip it over and fold it diagonally.
Step 4:
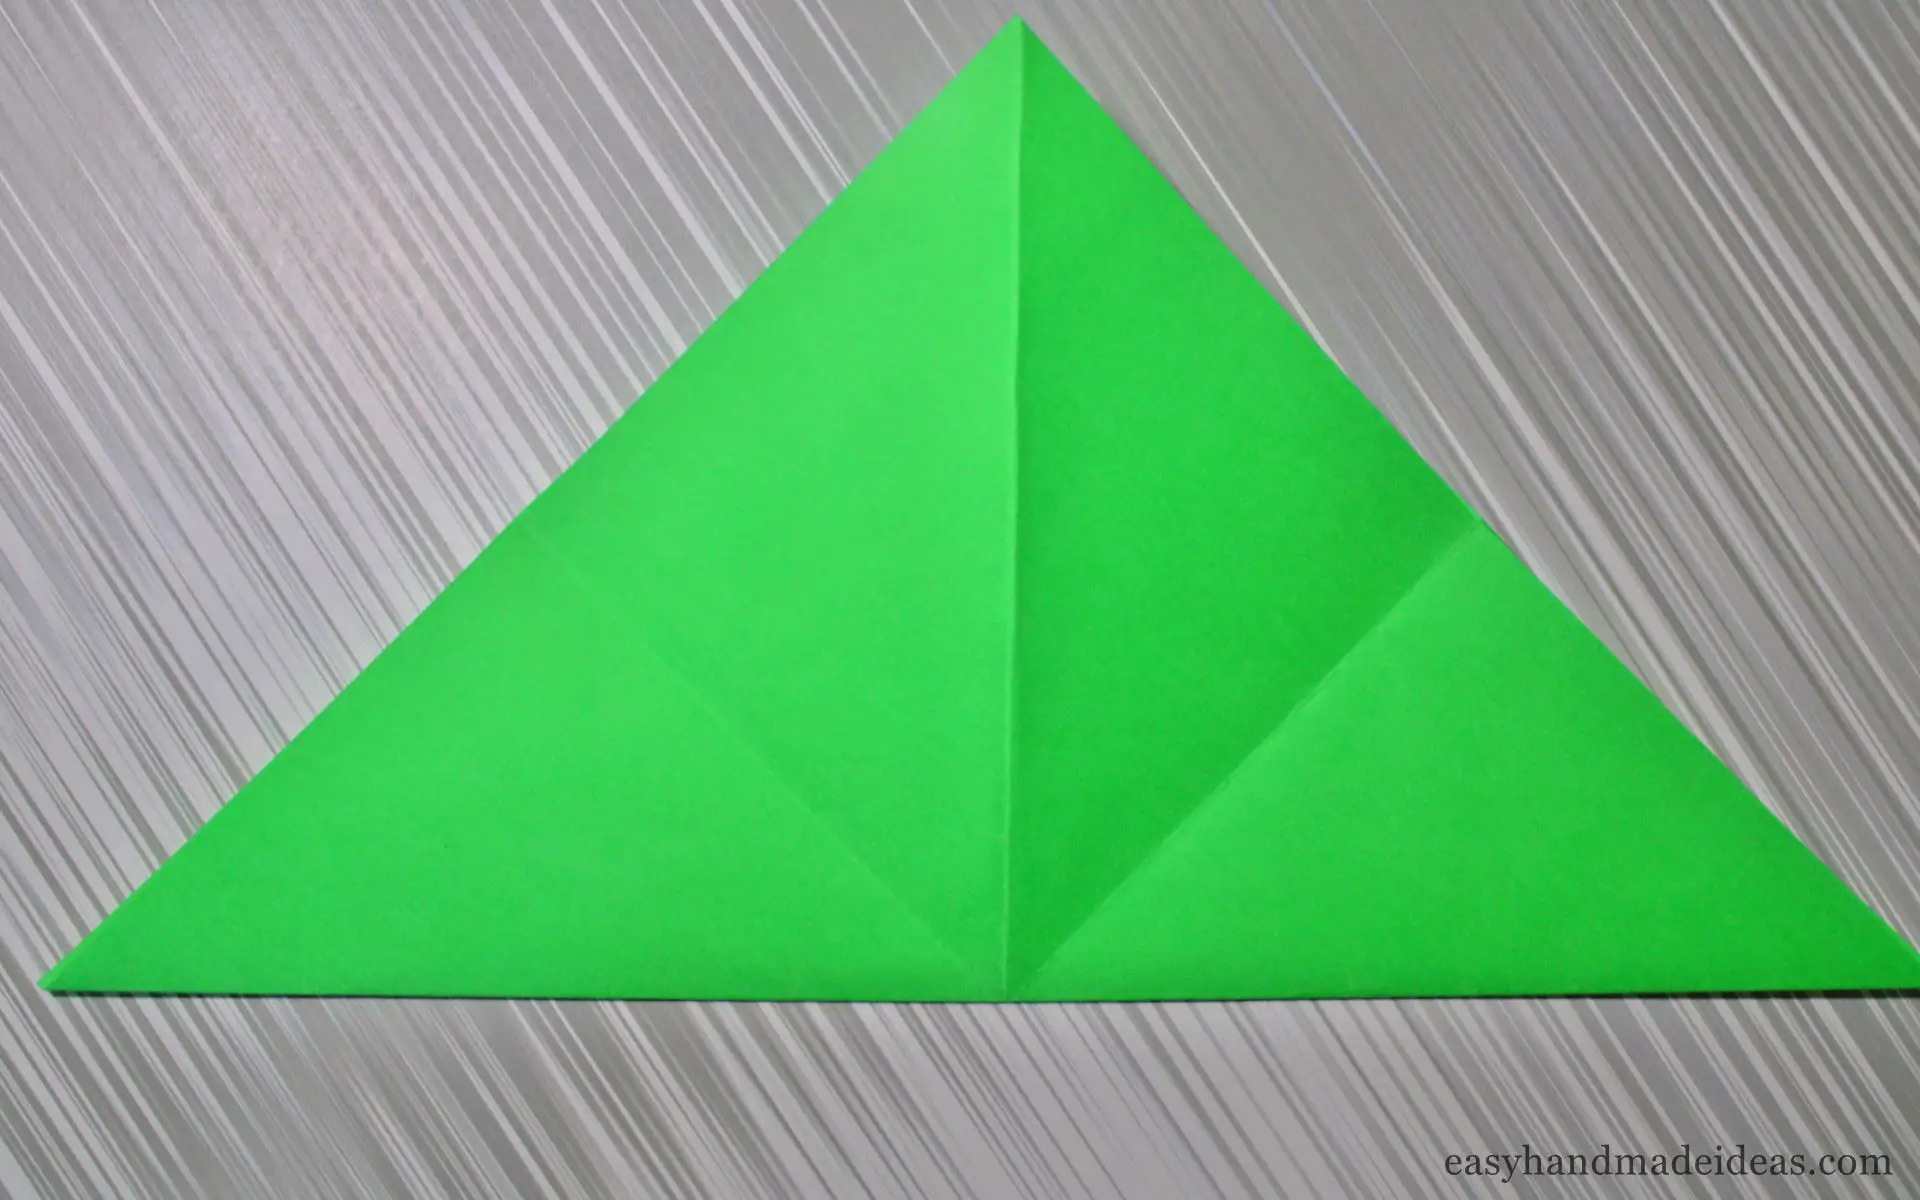
Unfold the piece again and fold along the other diagonal.
Step 5:
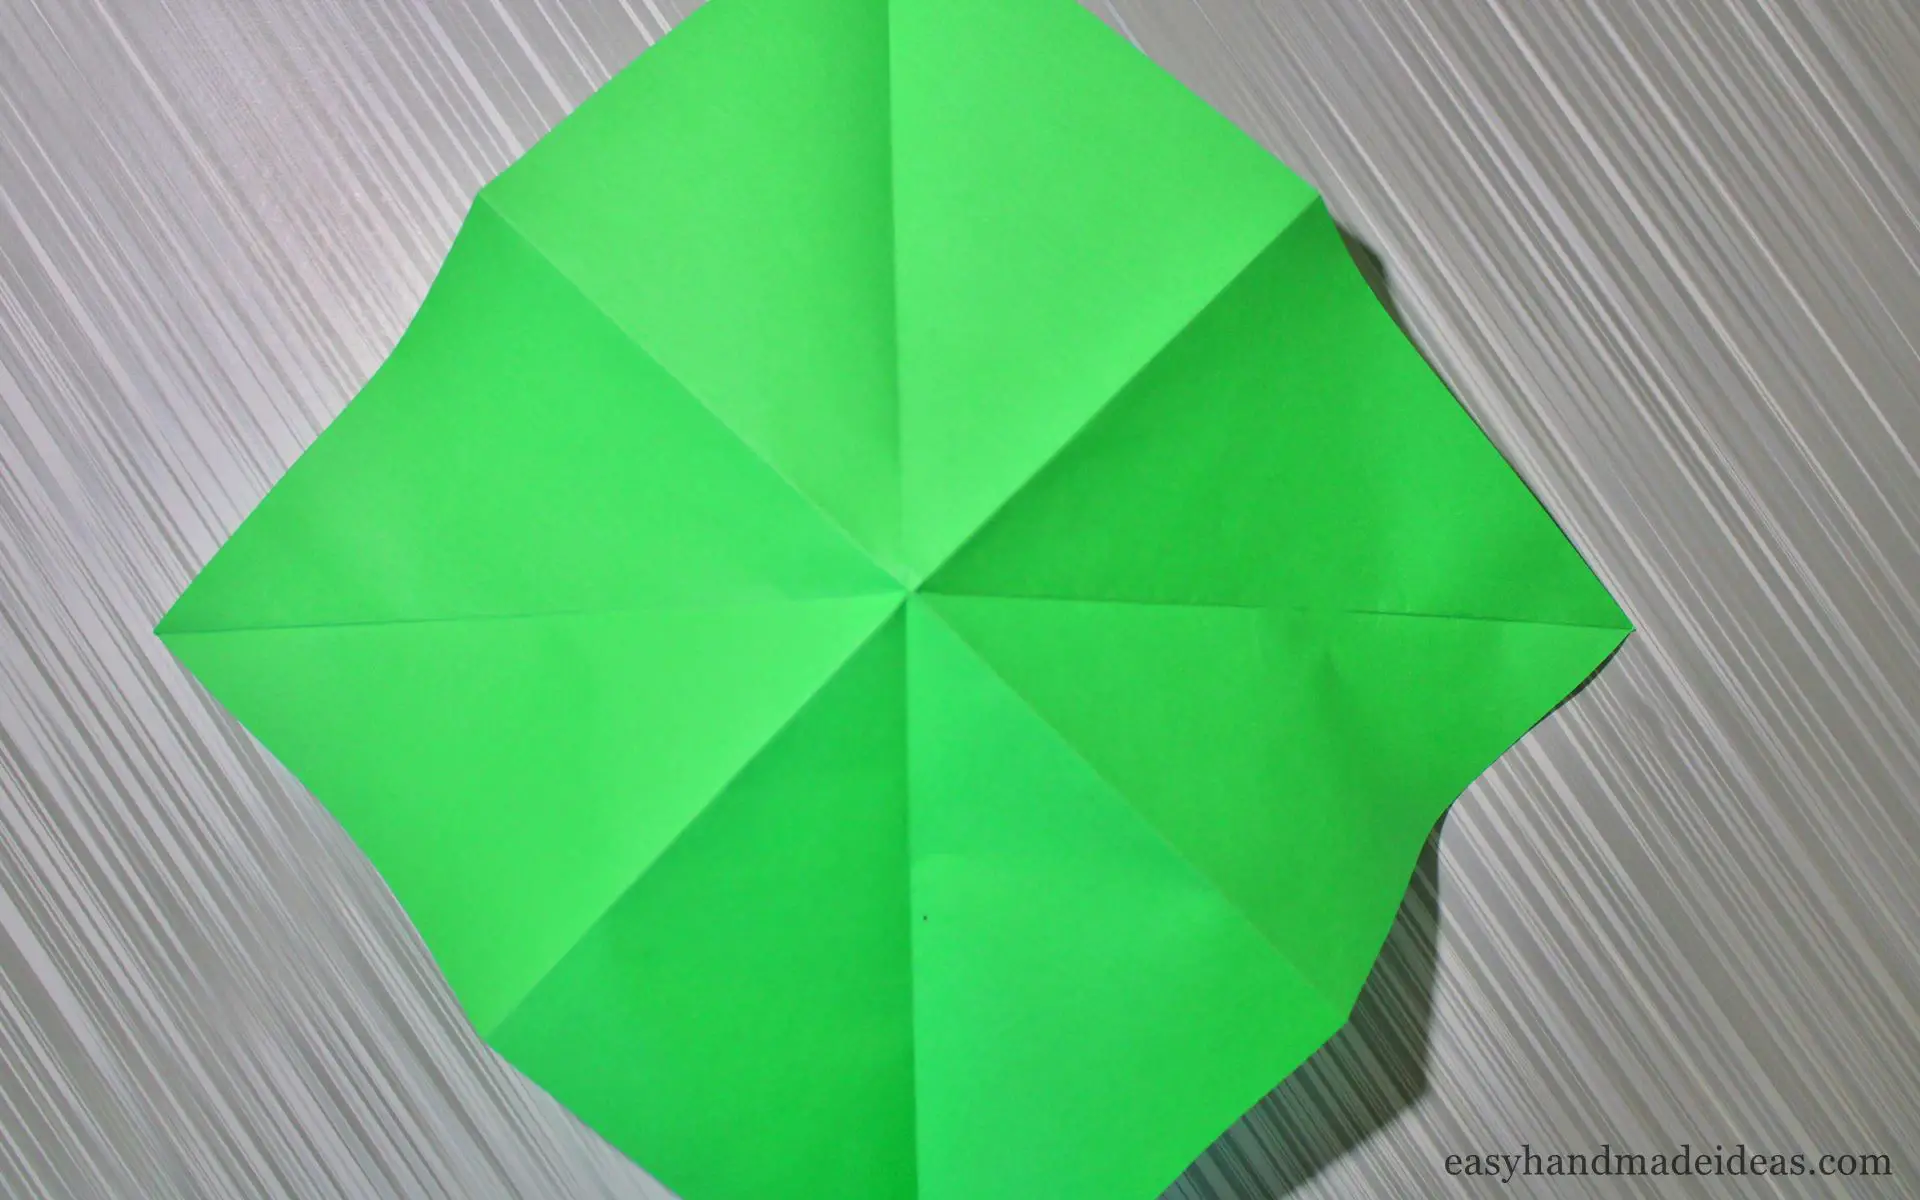
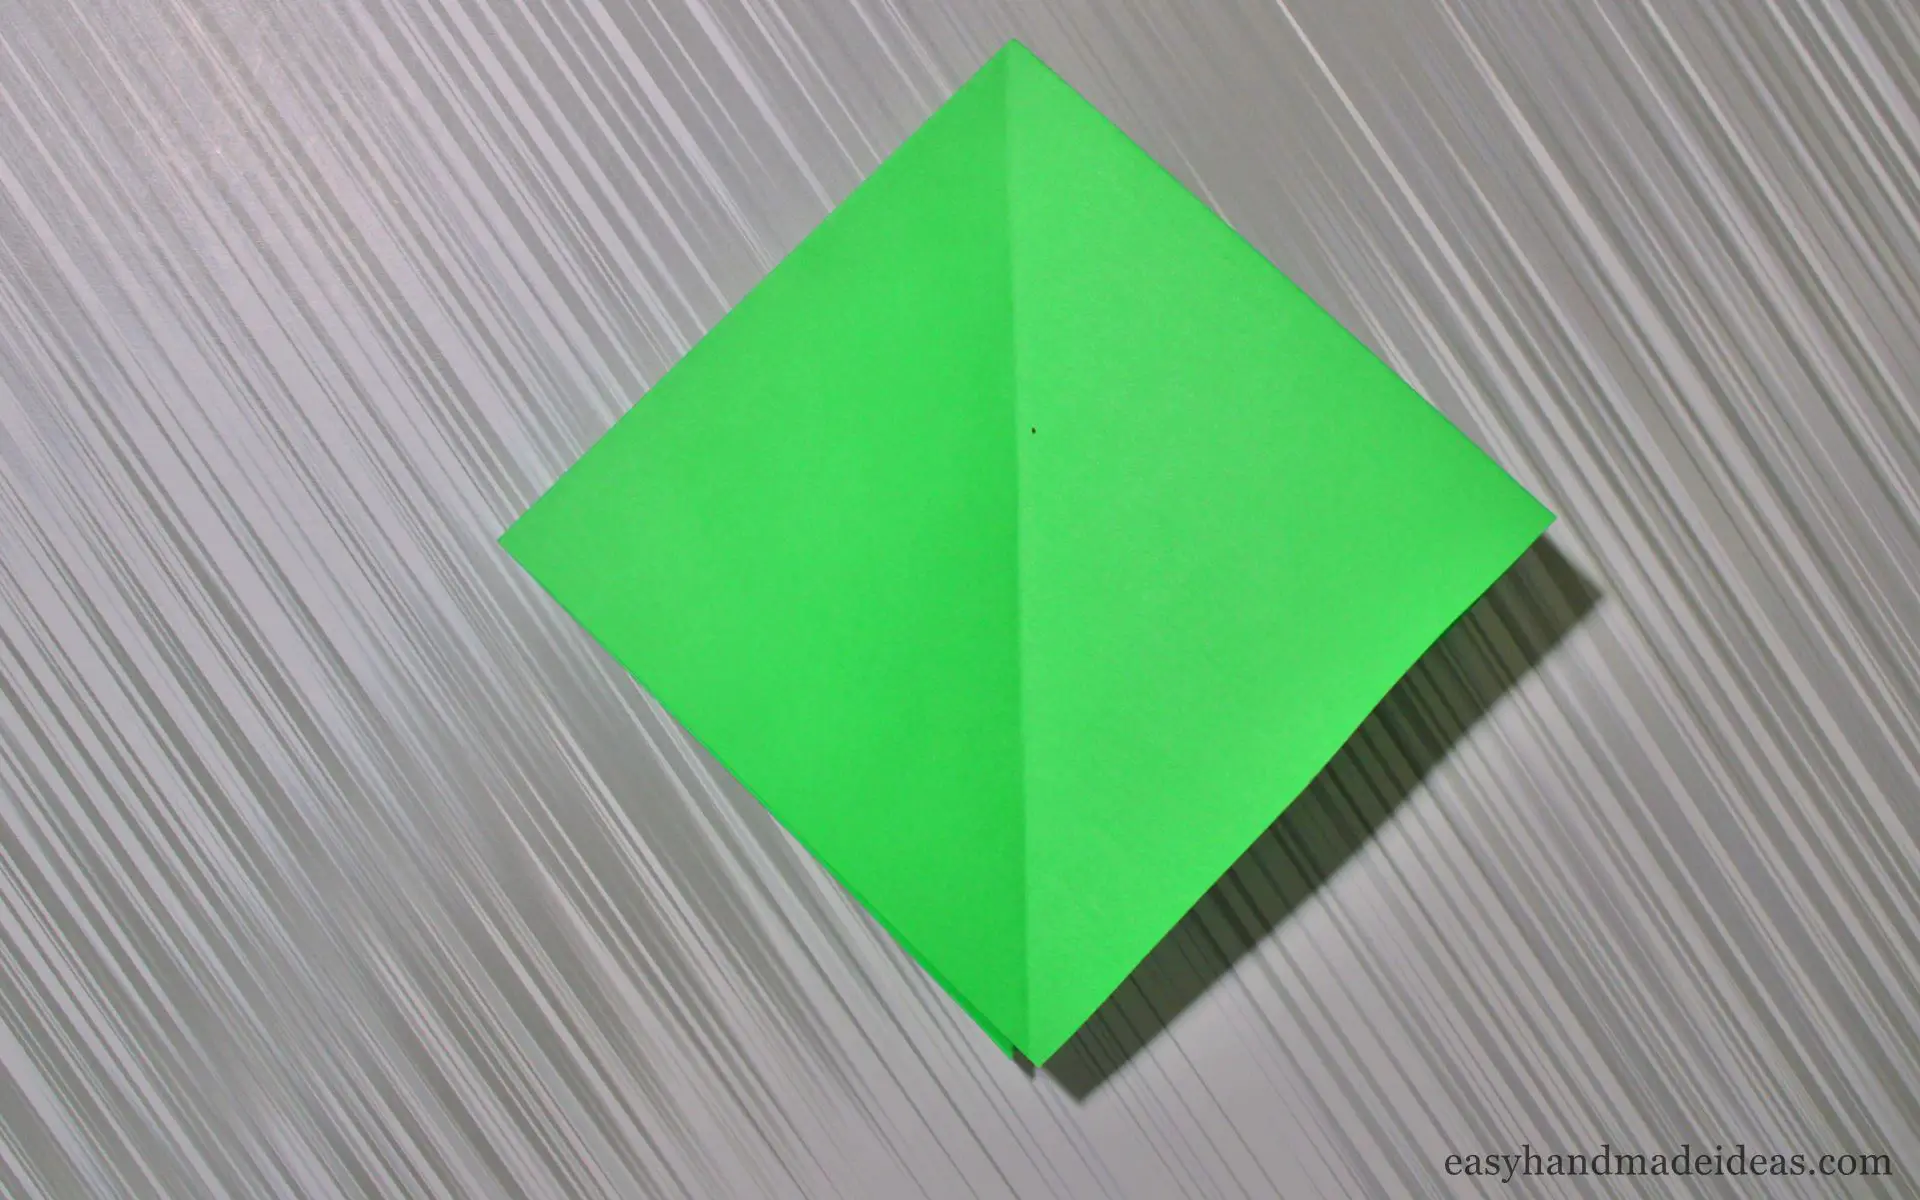
Place a rhombus-shaped piece of paper in front of you and gently press the right and left squares inside along the fold lines. The result is a small rhombus.
Step 6:
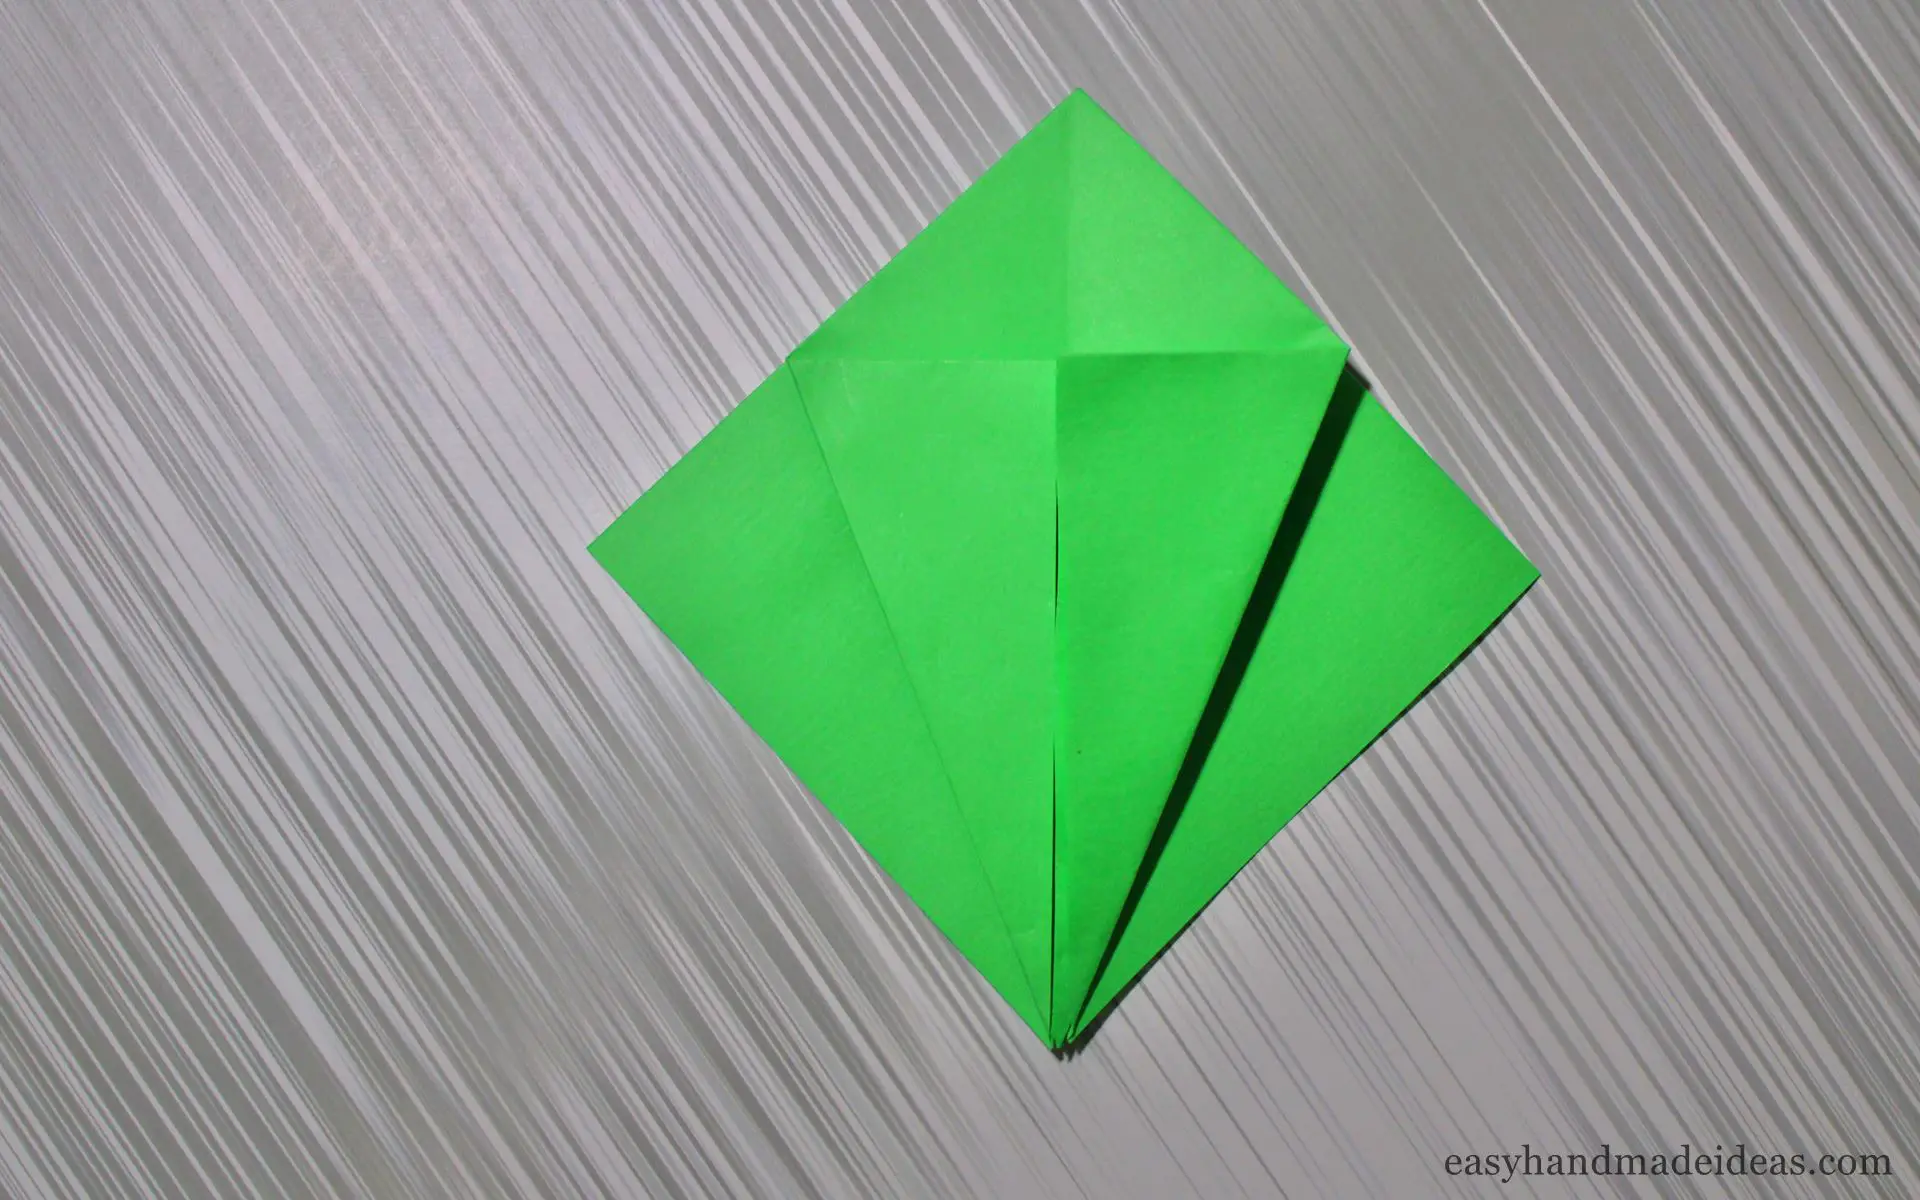
Fold the corners of the top rhombus inward, joining them in the center.
Step 7:
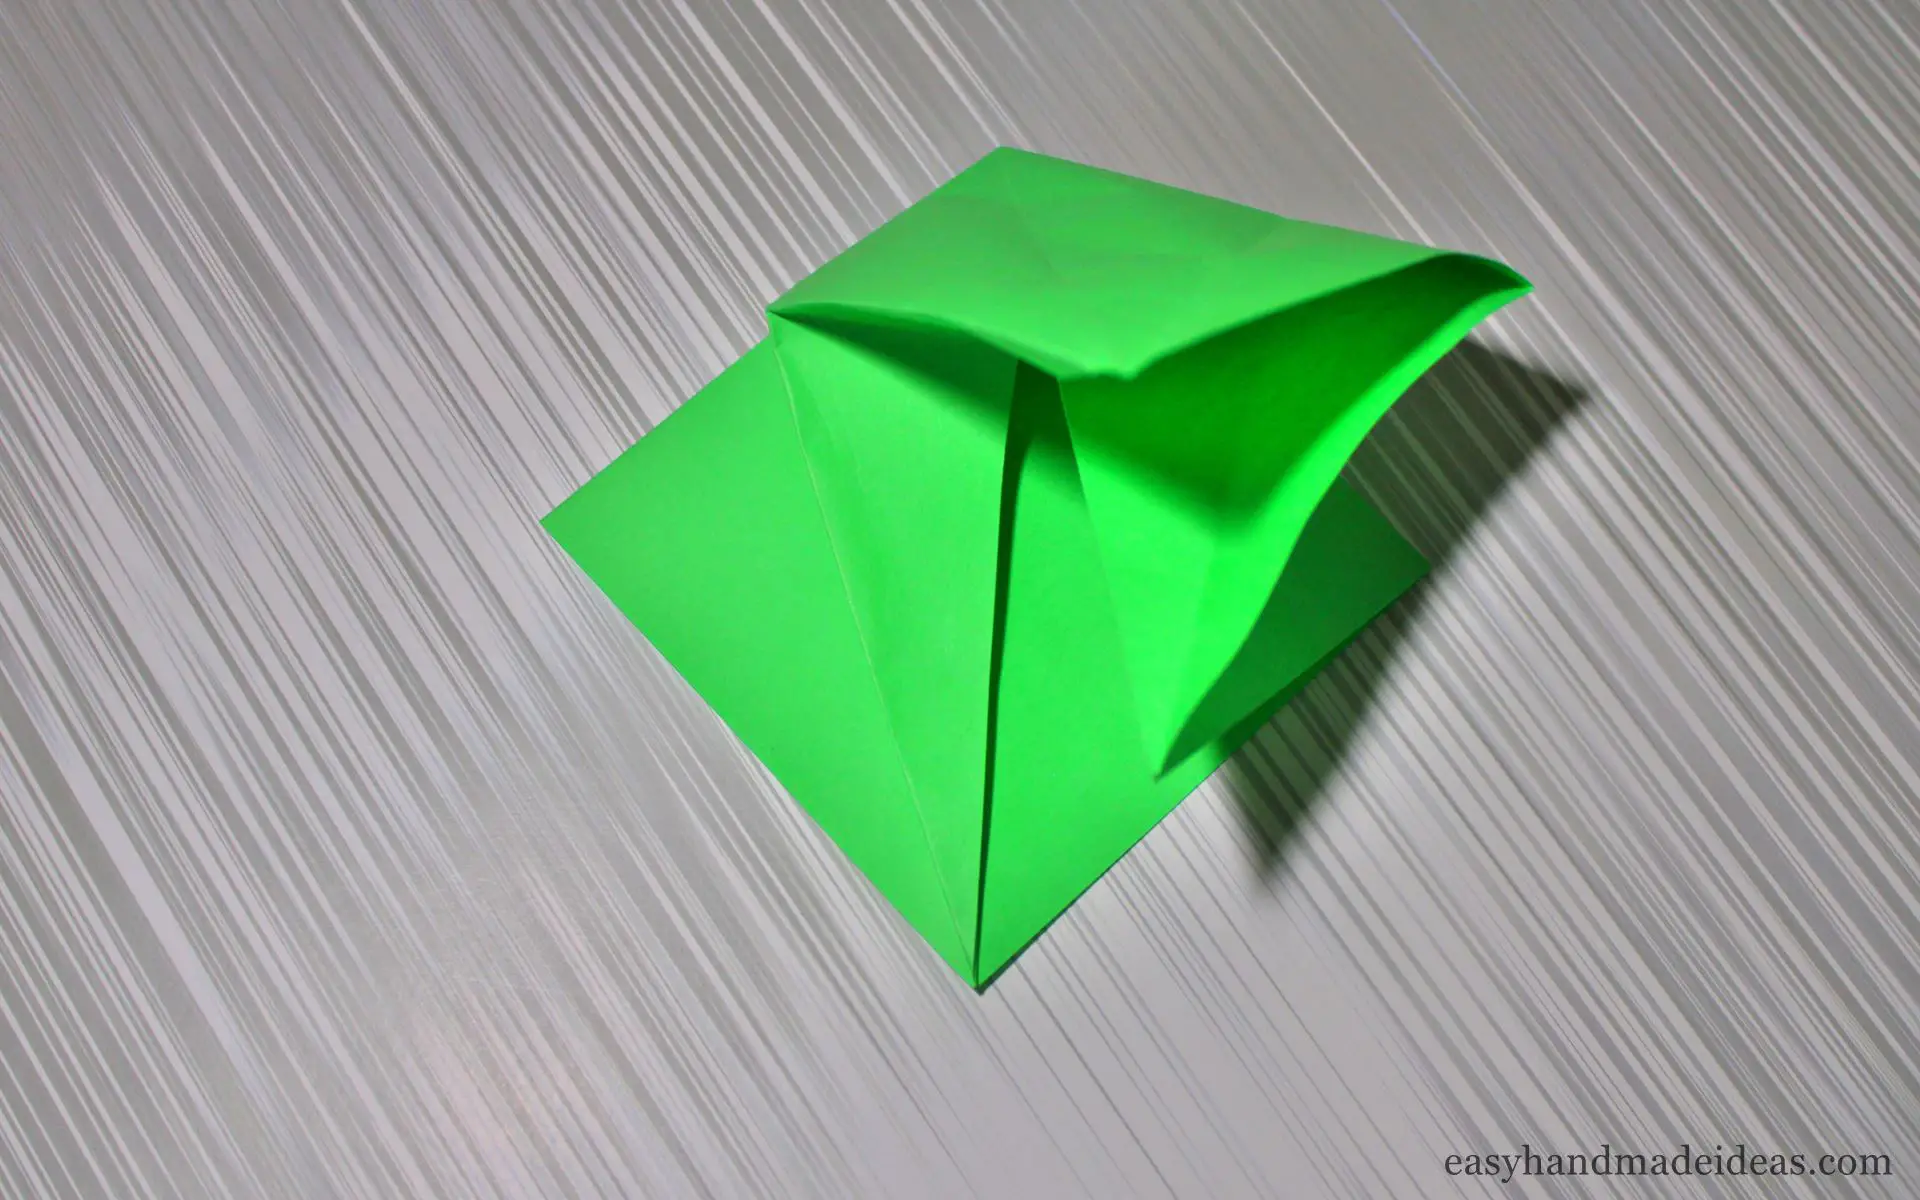
Bring the top square sheet up and fold the triangle inward along the fold lines.
Step 8:
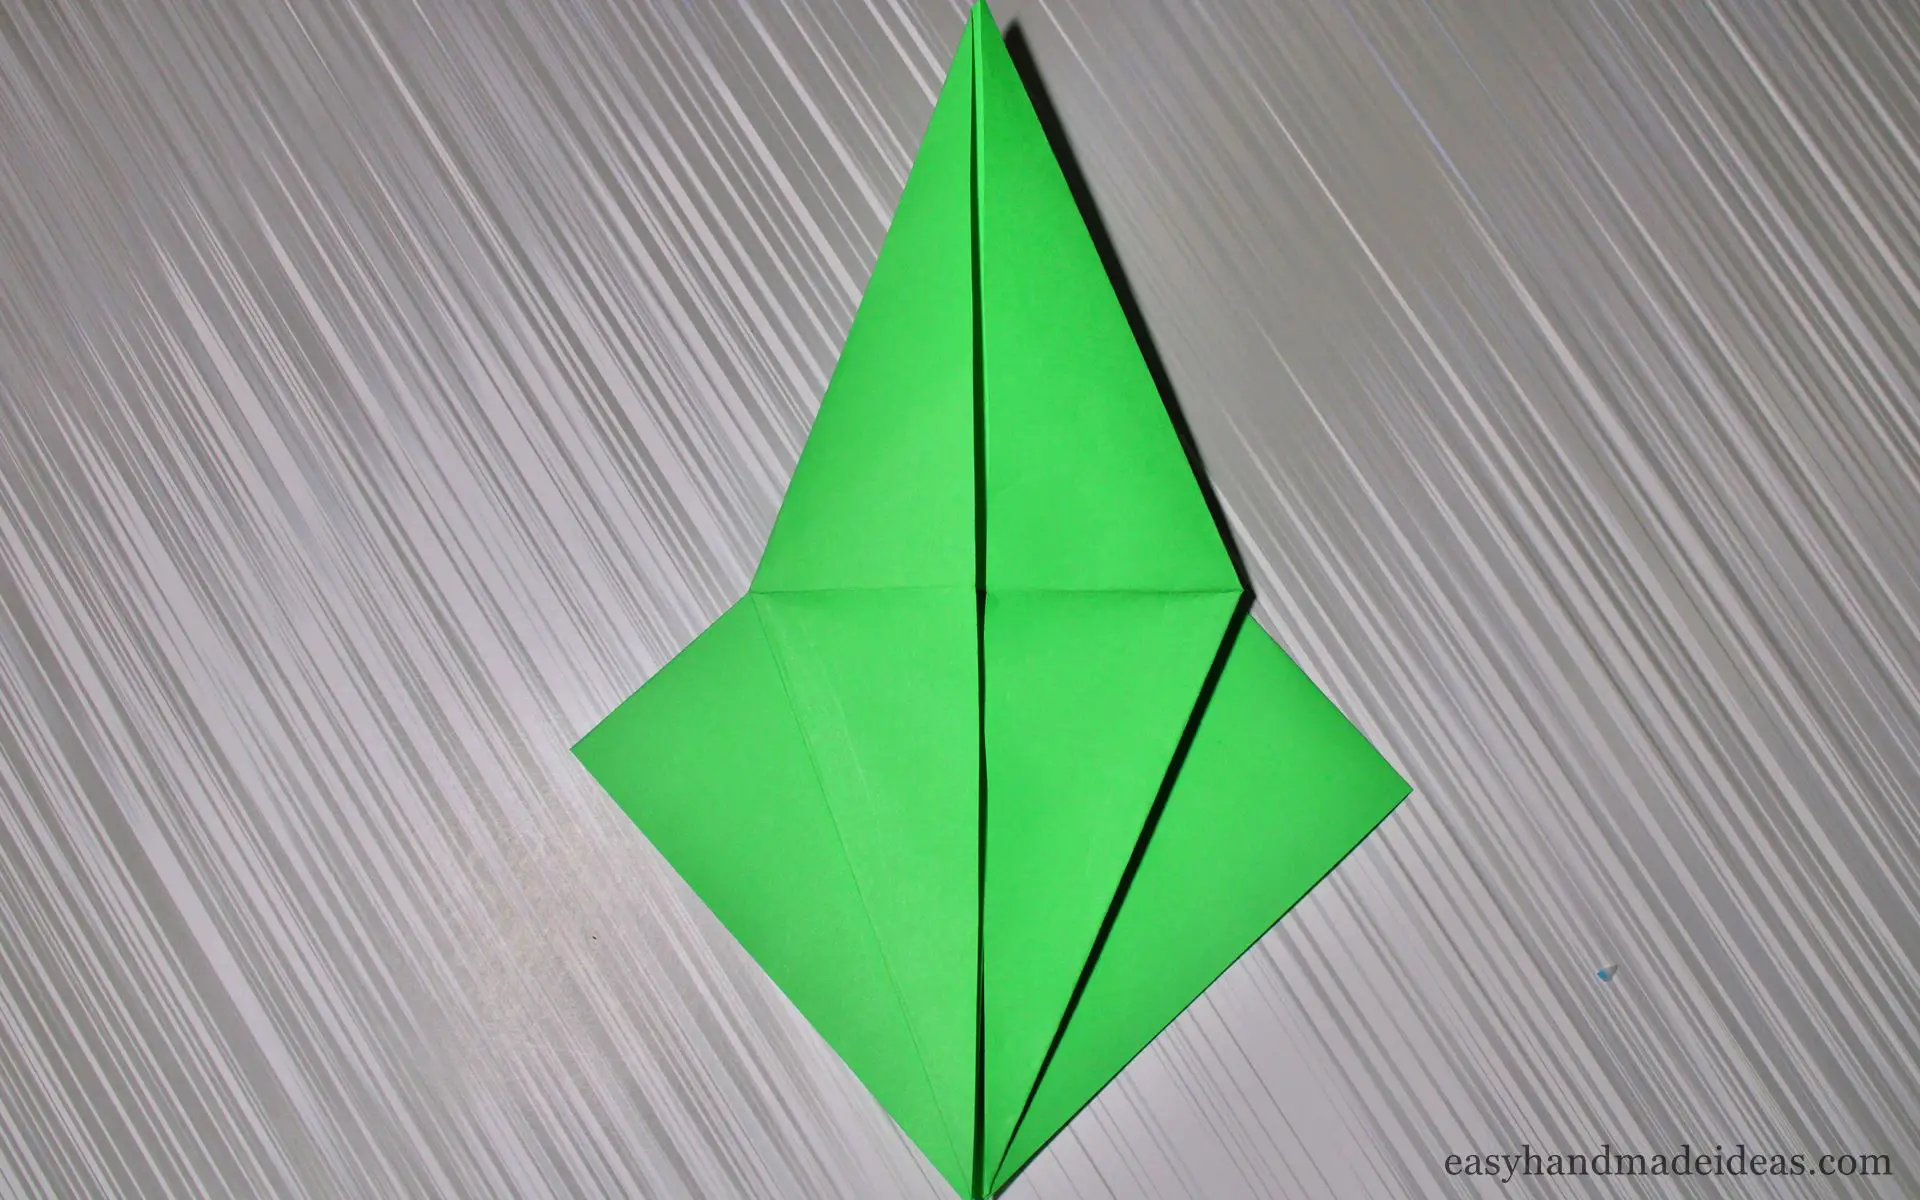
Repeat the process on the other side.
Step 9:
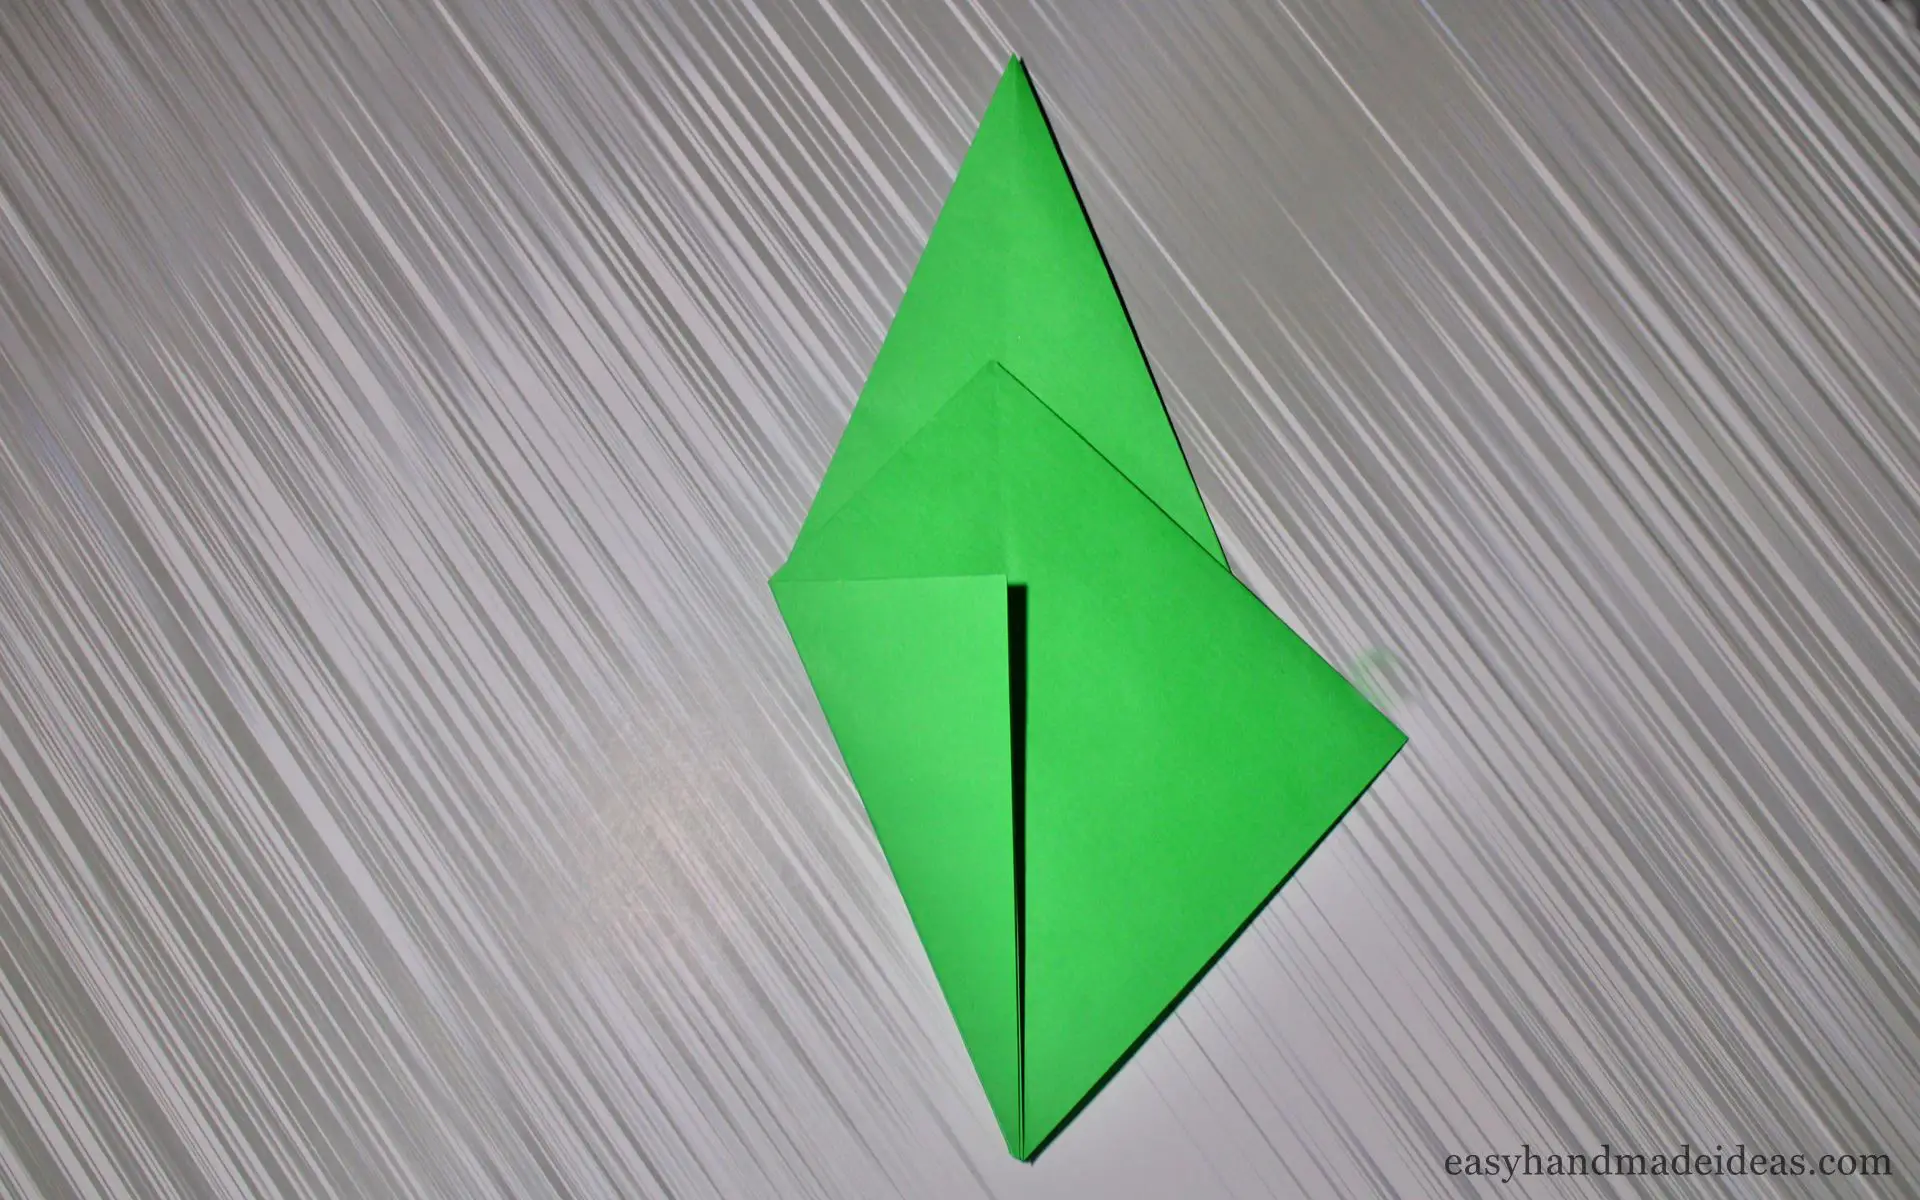
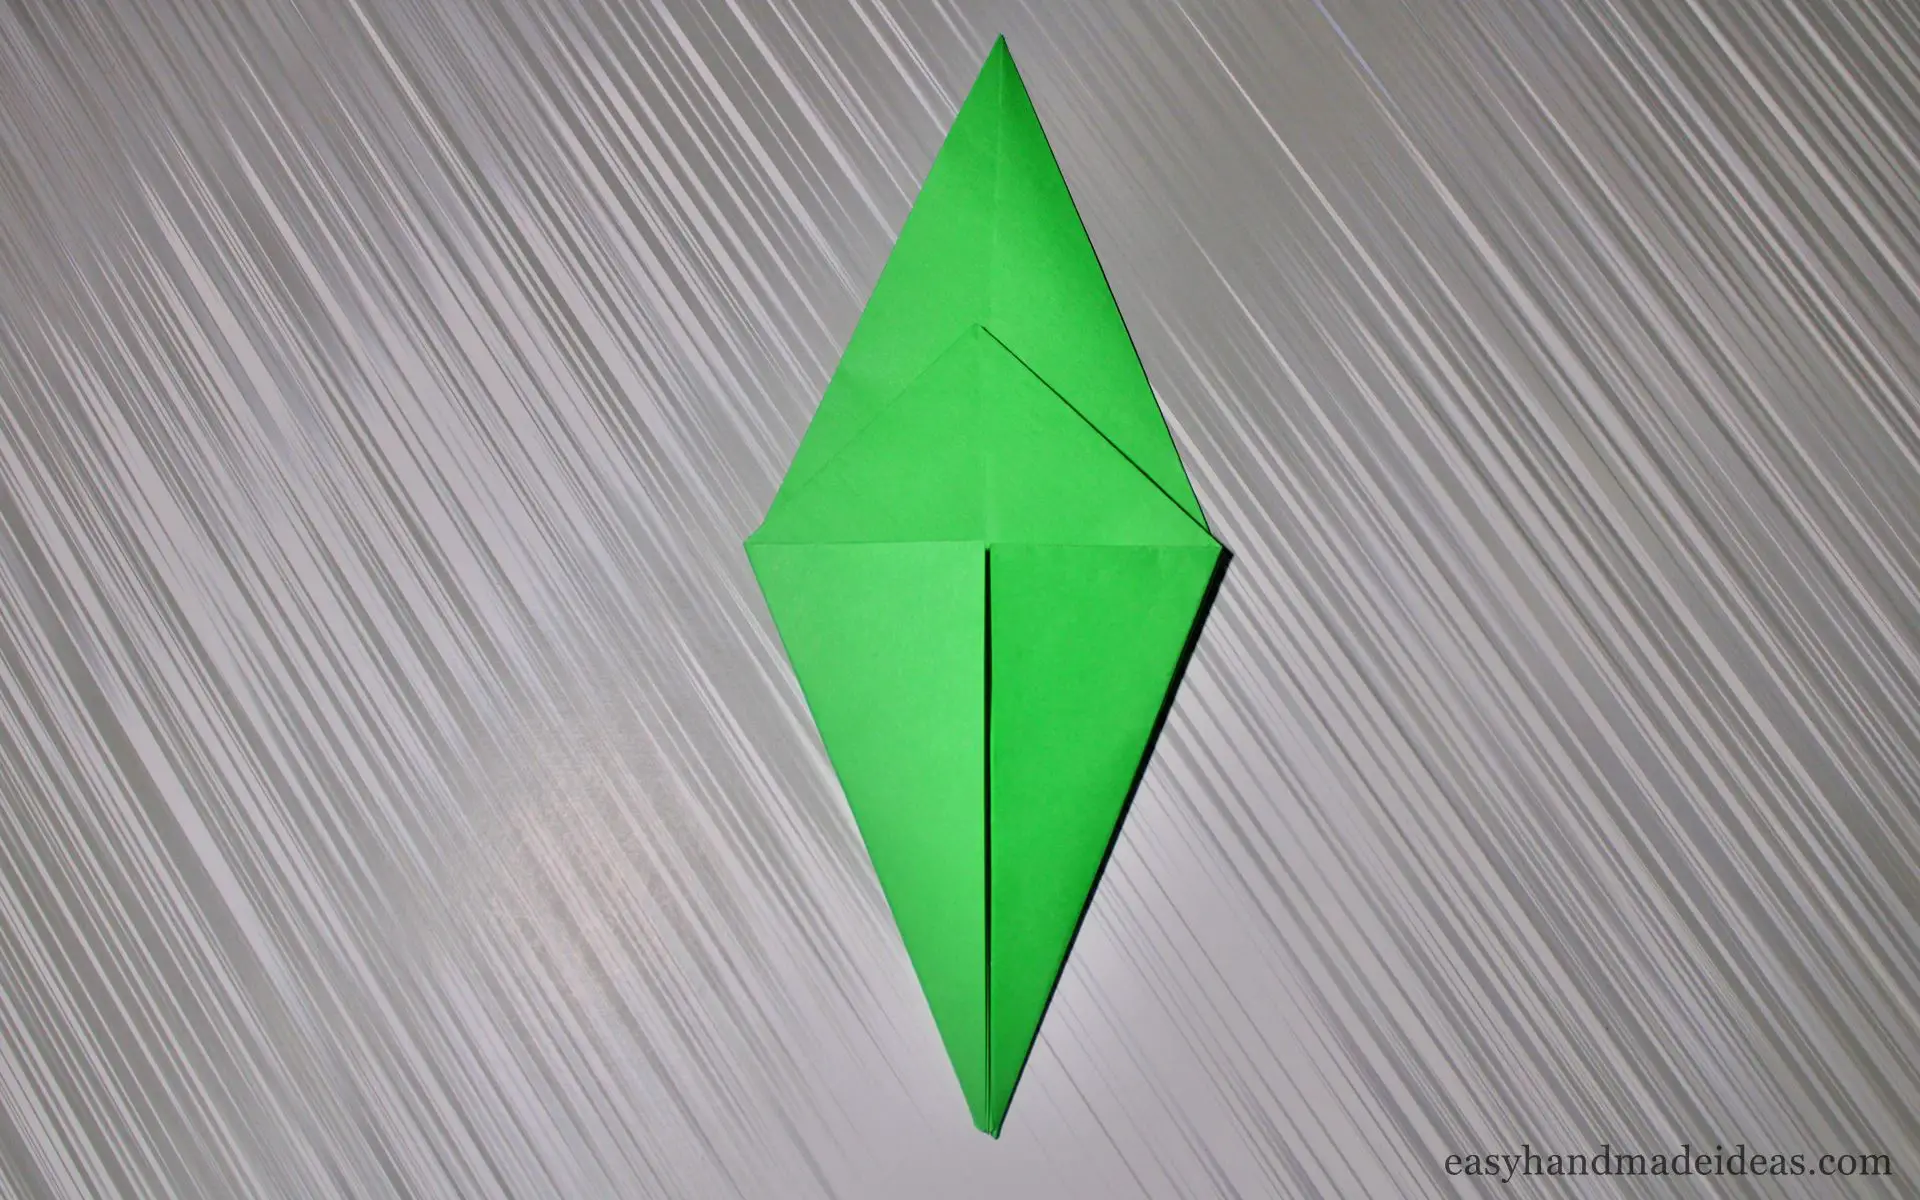
Flip the obtained figure over with the reverse side. Fold the corners of the square inside.
Step 10:
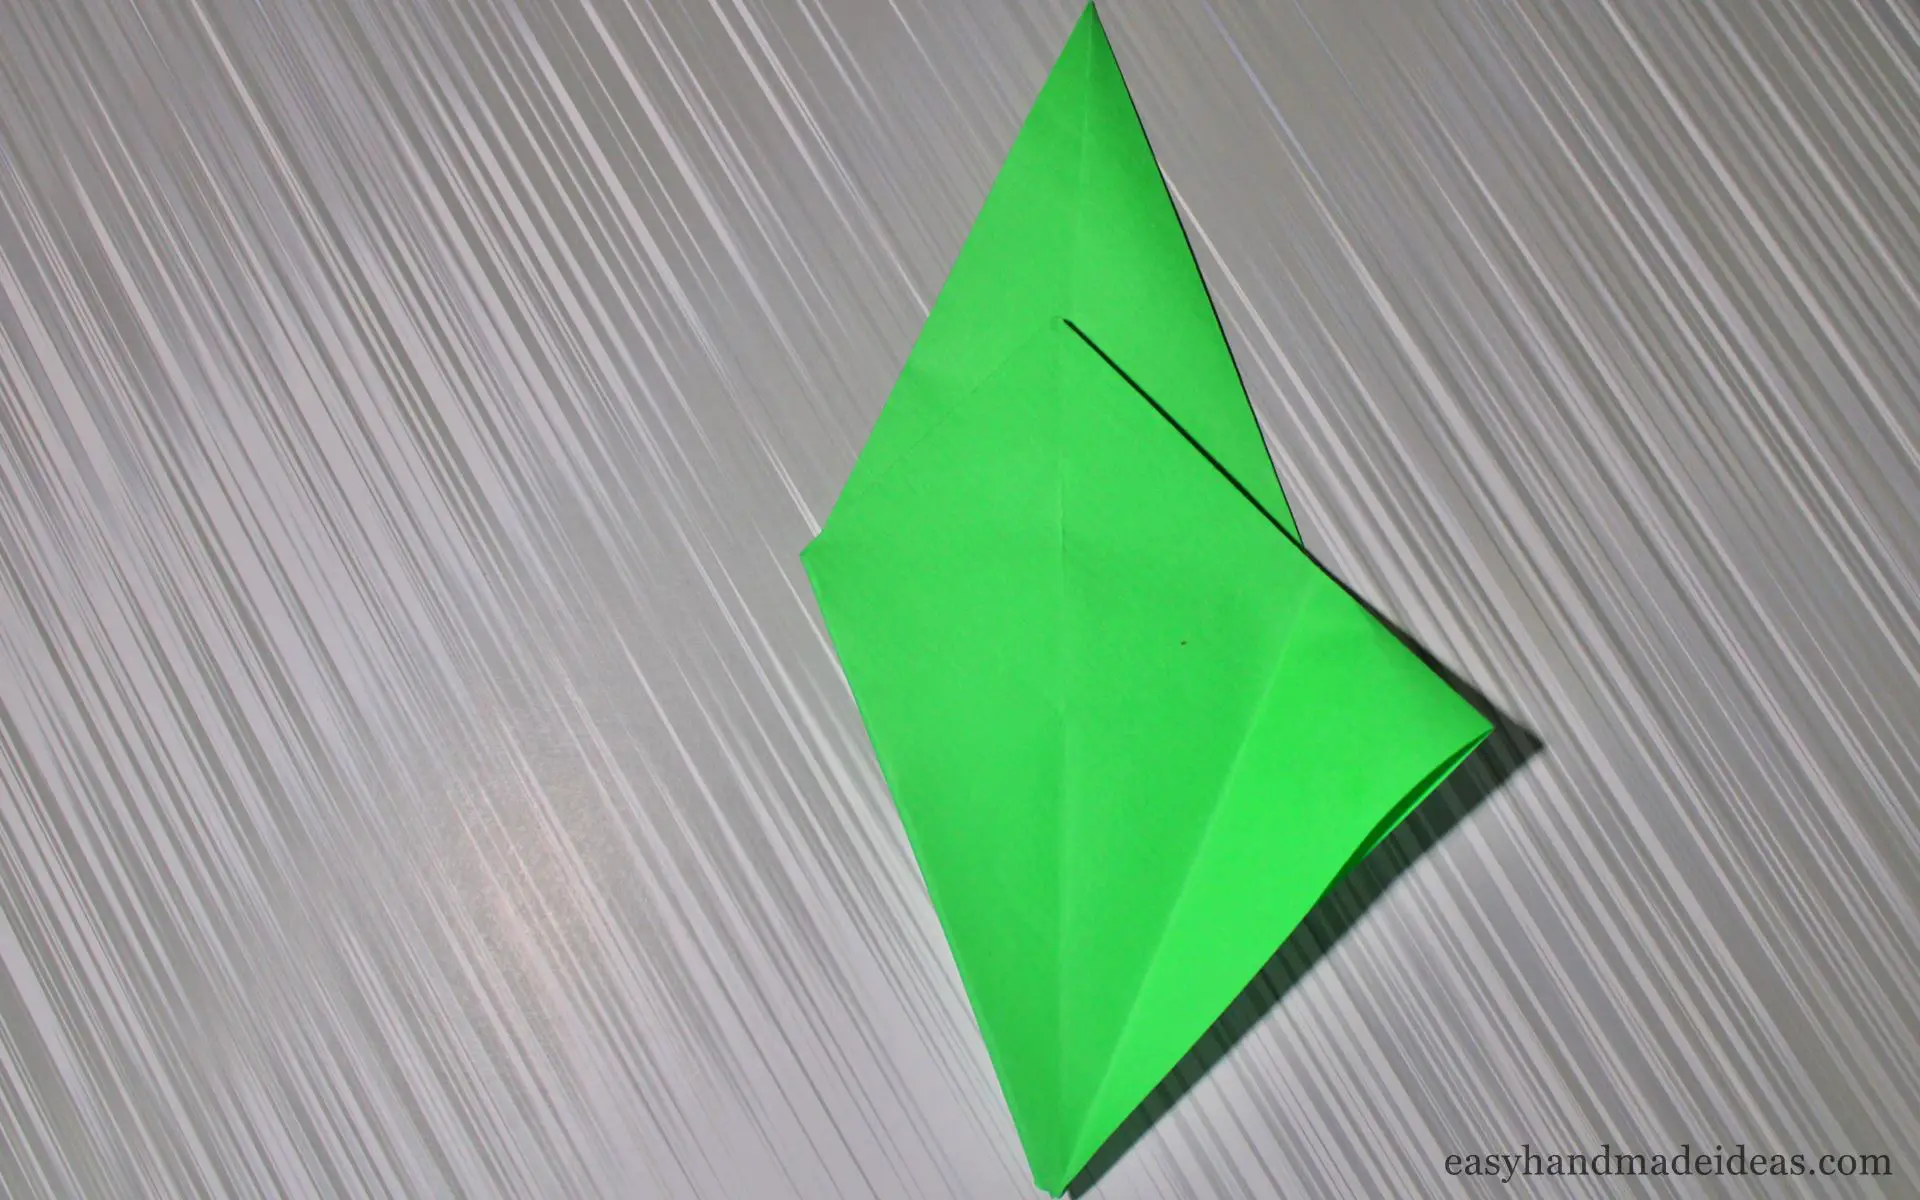
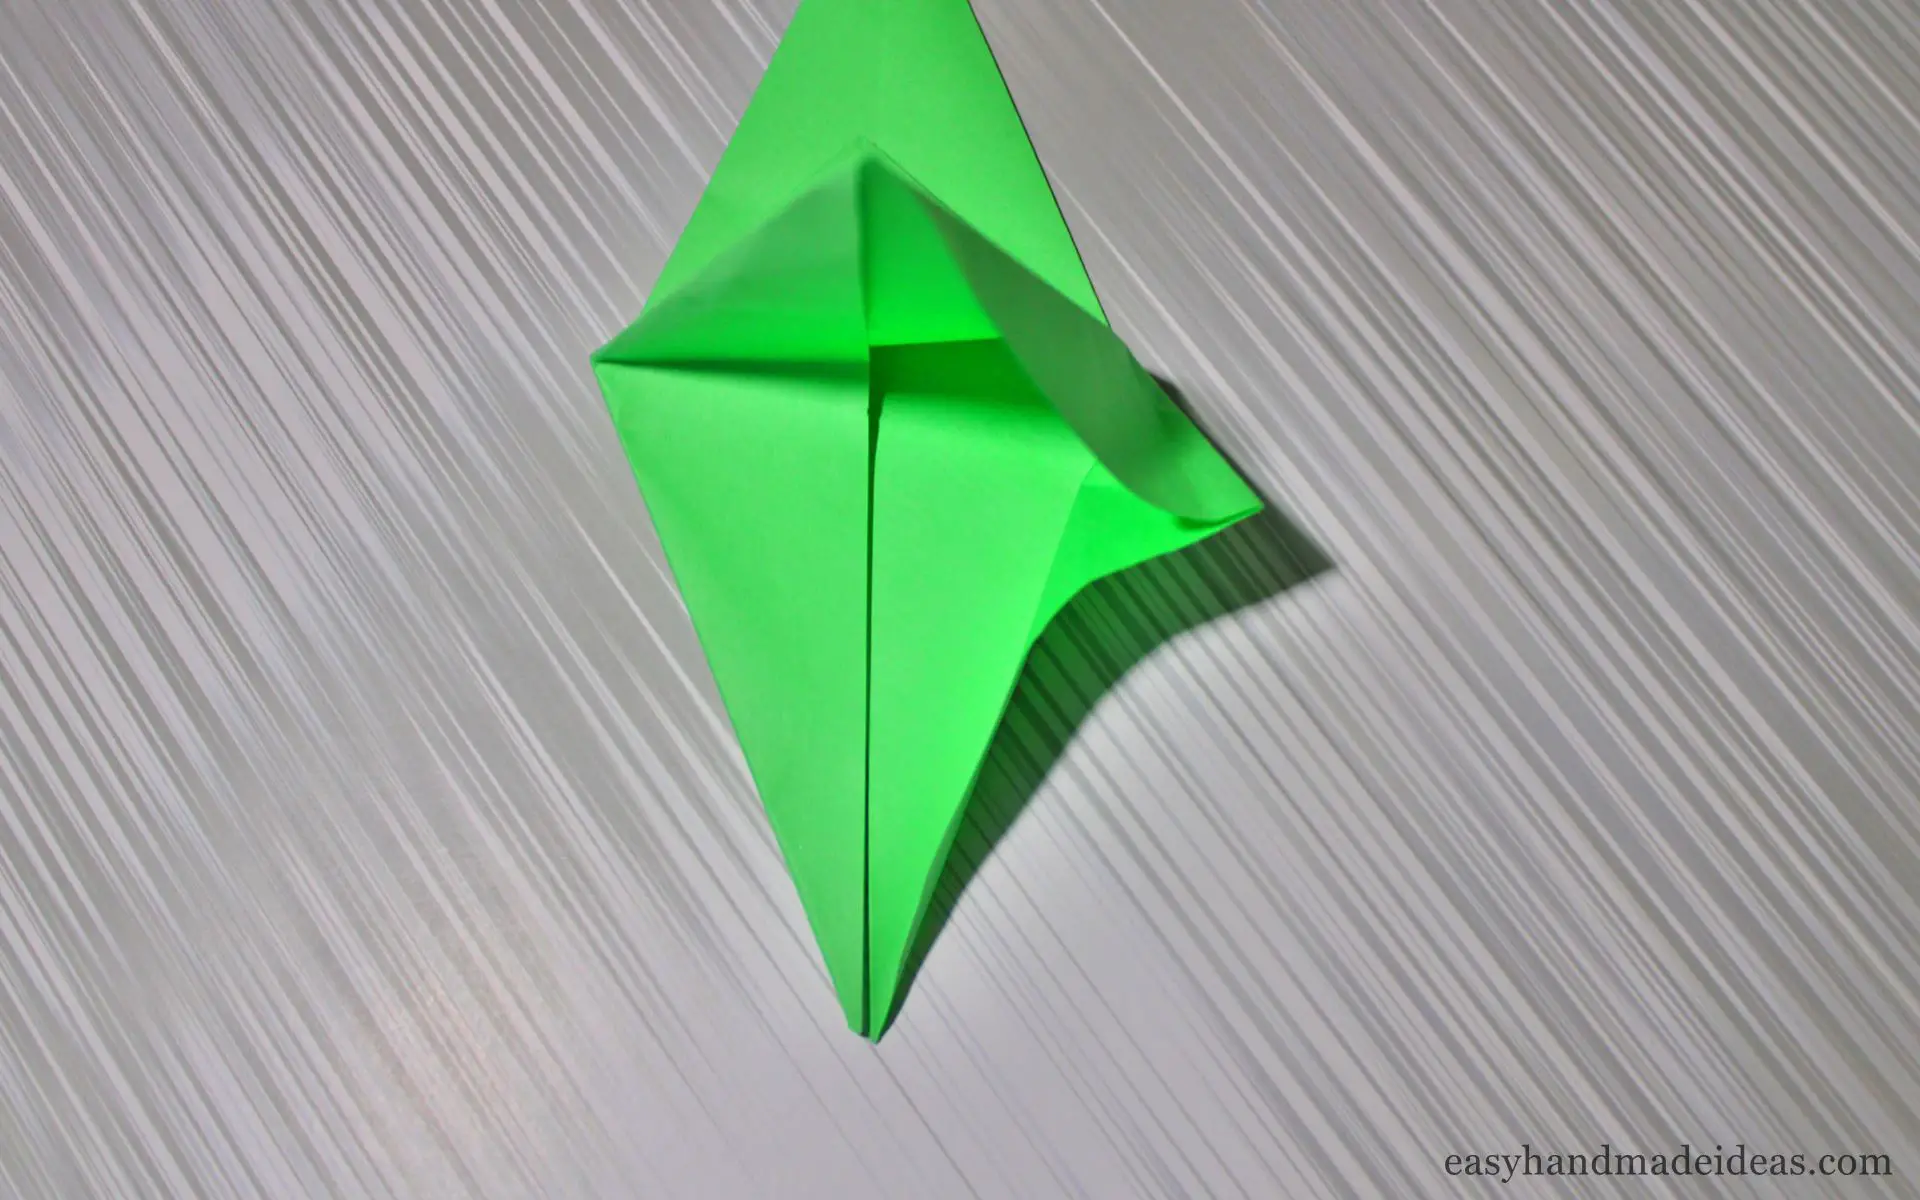
Unfold the folded corners of the square, lift the top sheet of paper slightly and fold the triangles to the center along the fold lines. Repeat on the reverse side.
Step 11:
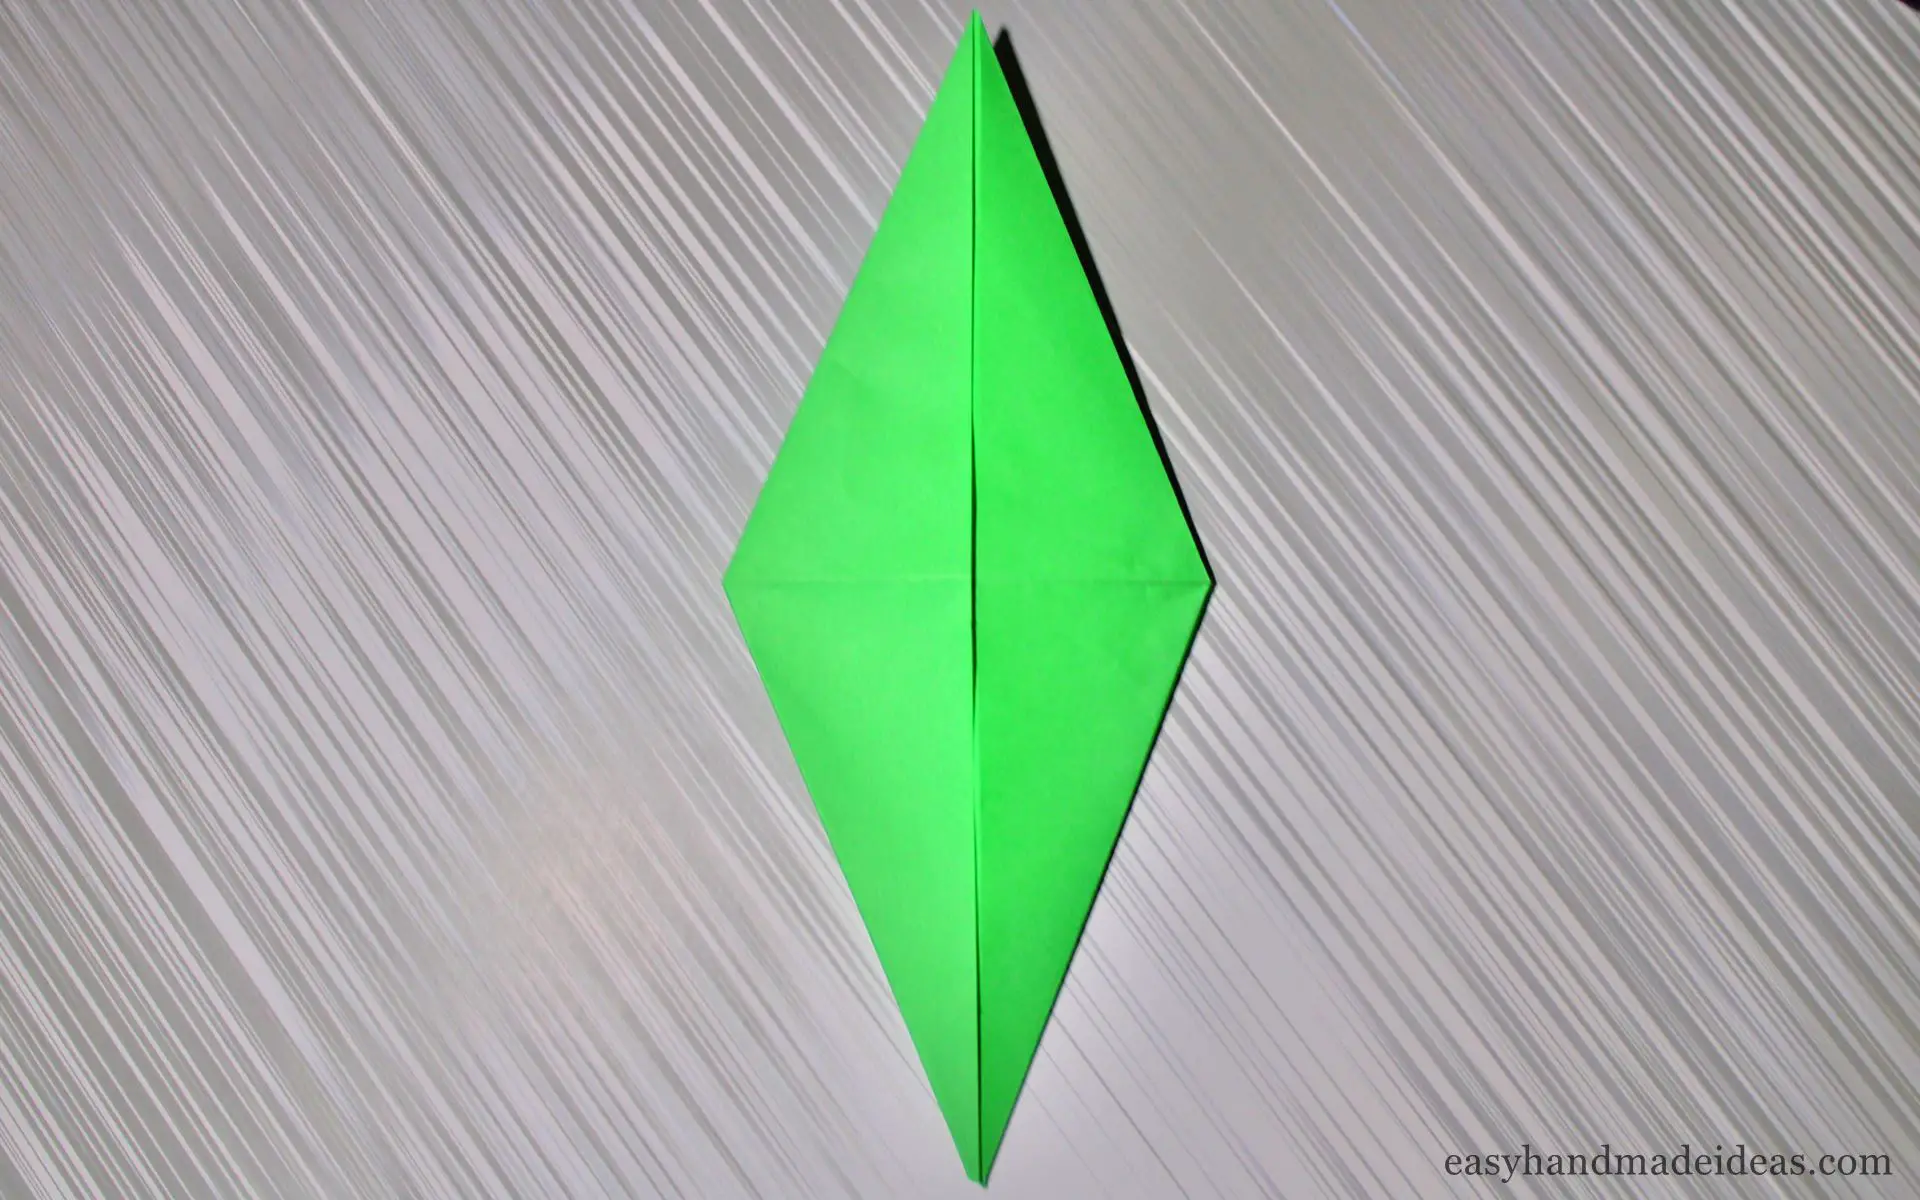
Fold the bottom triangle to the top.
Step 12:
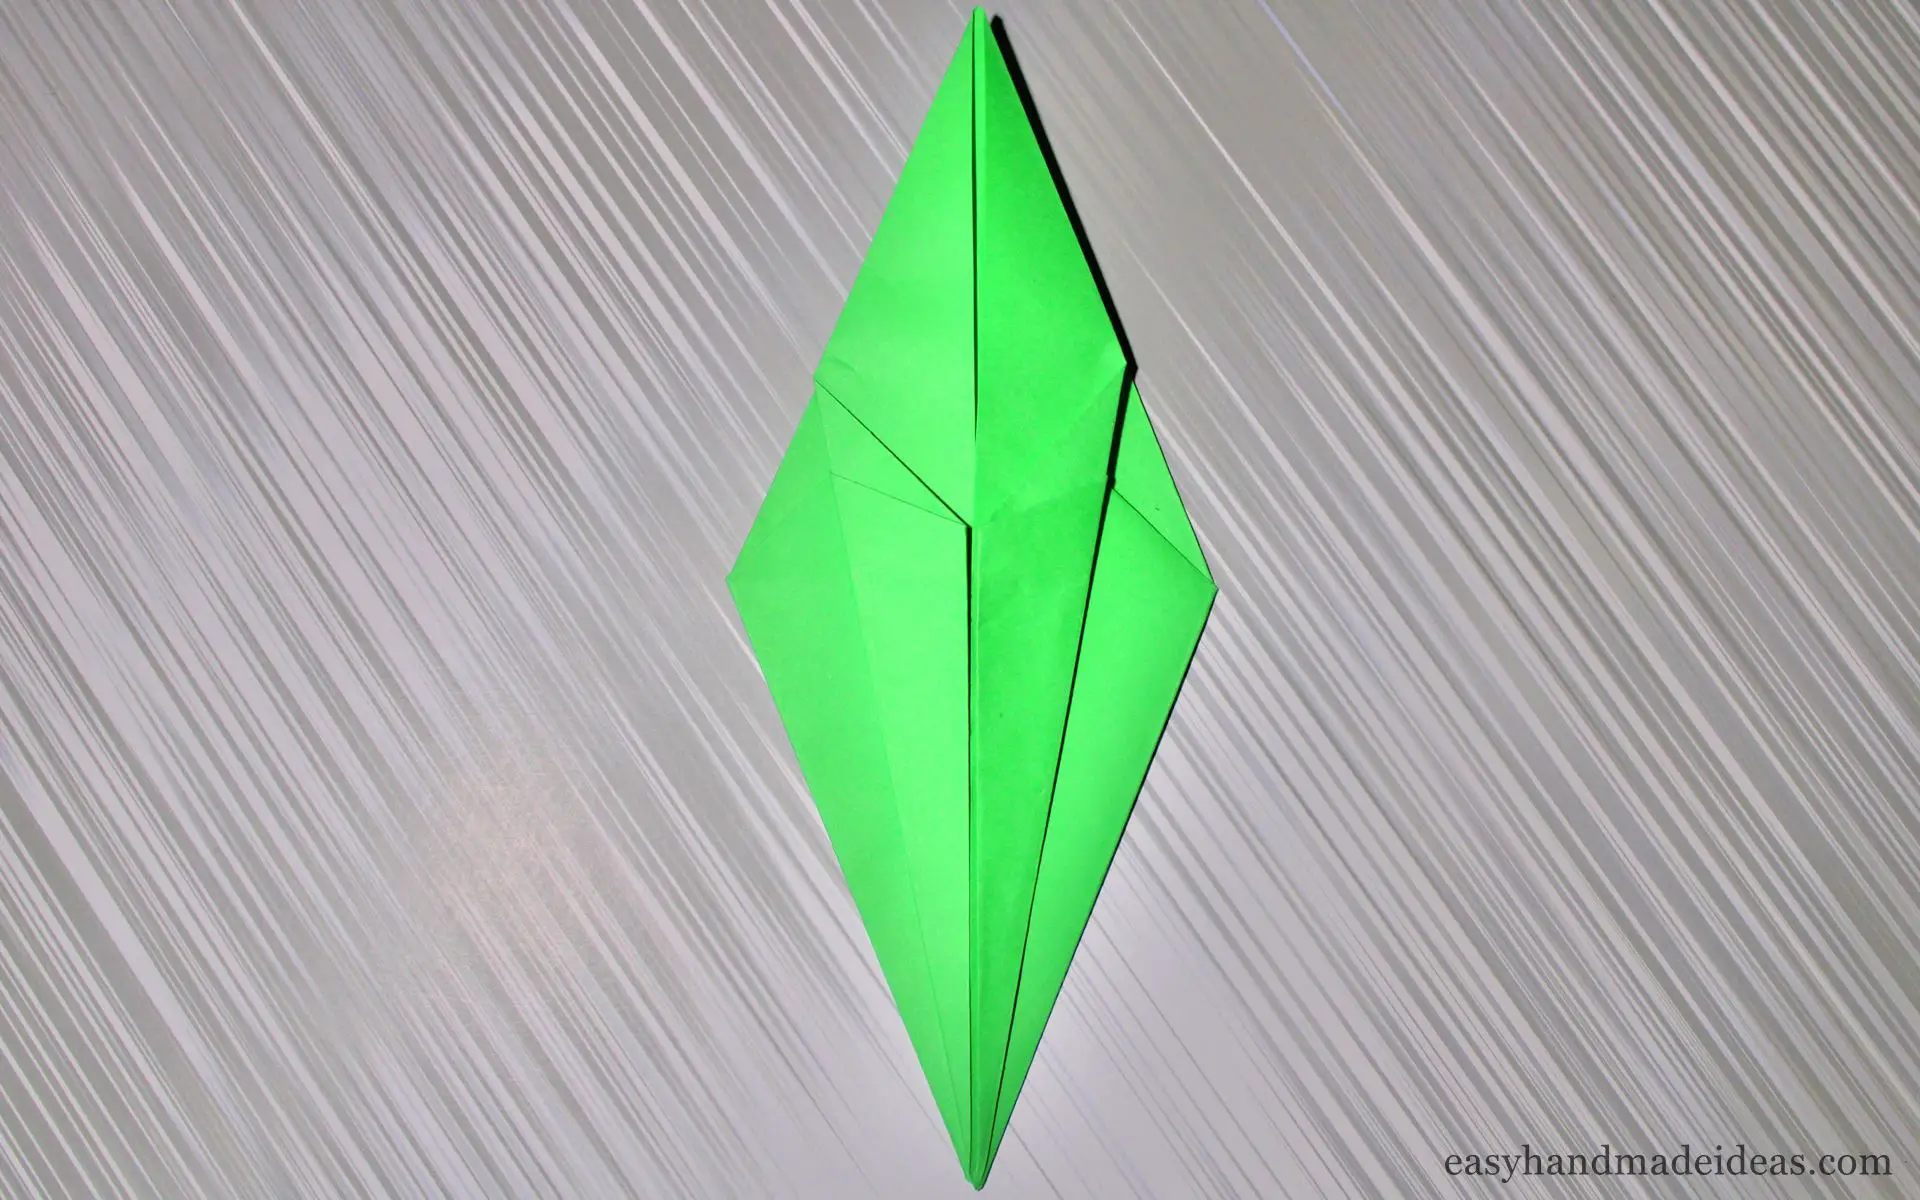
Fold the lower sides of the upper rhombus inside to the center line. To make the tight folds of the paper look neater, without wrinkles and irregularities, you can use any improvised tool to press them: the blunt side of scissors, a pen. The main thing is that the object should not be sharp, otherwise you can damage the paper.
Step 13:
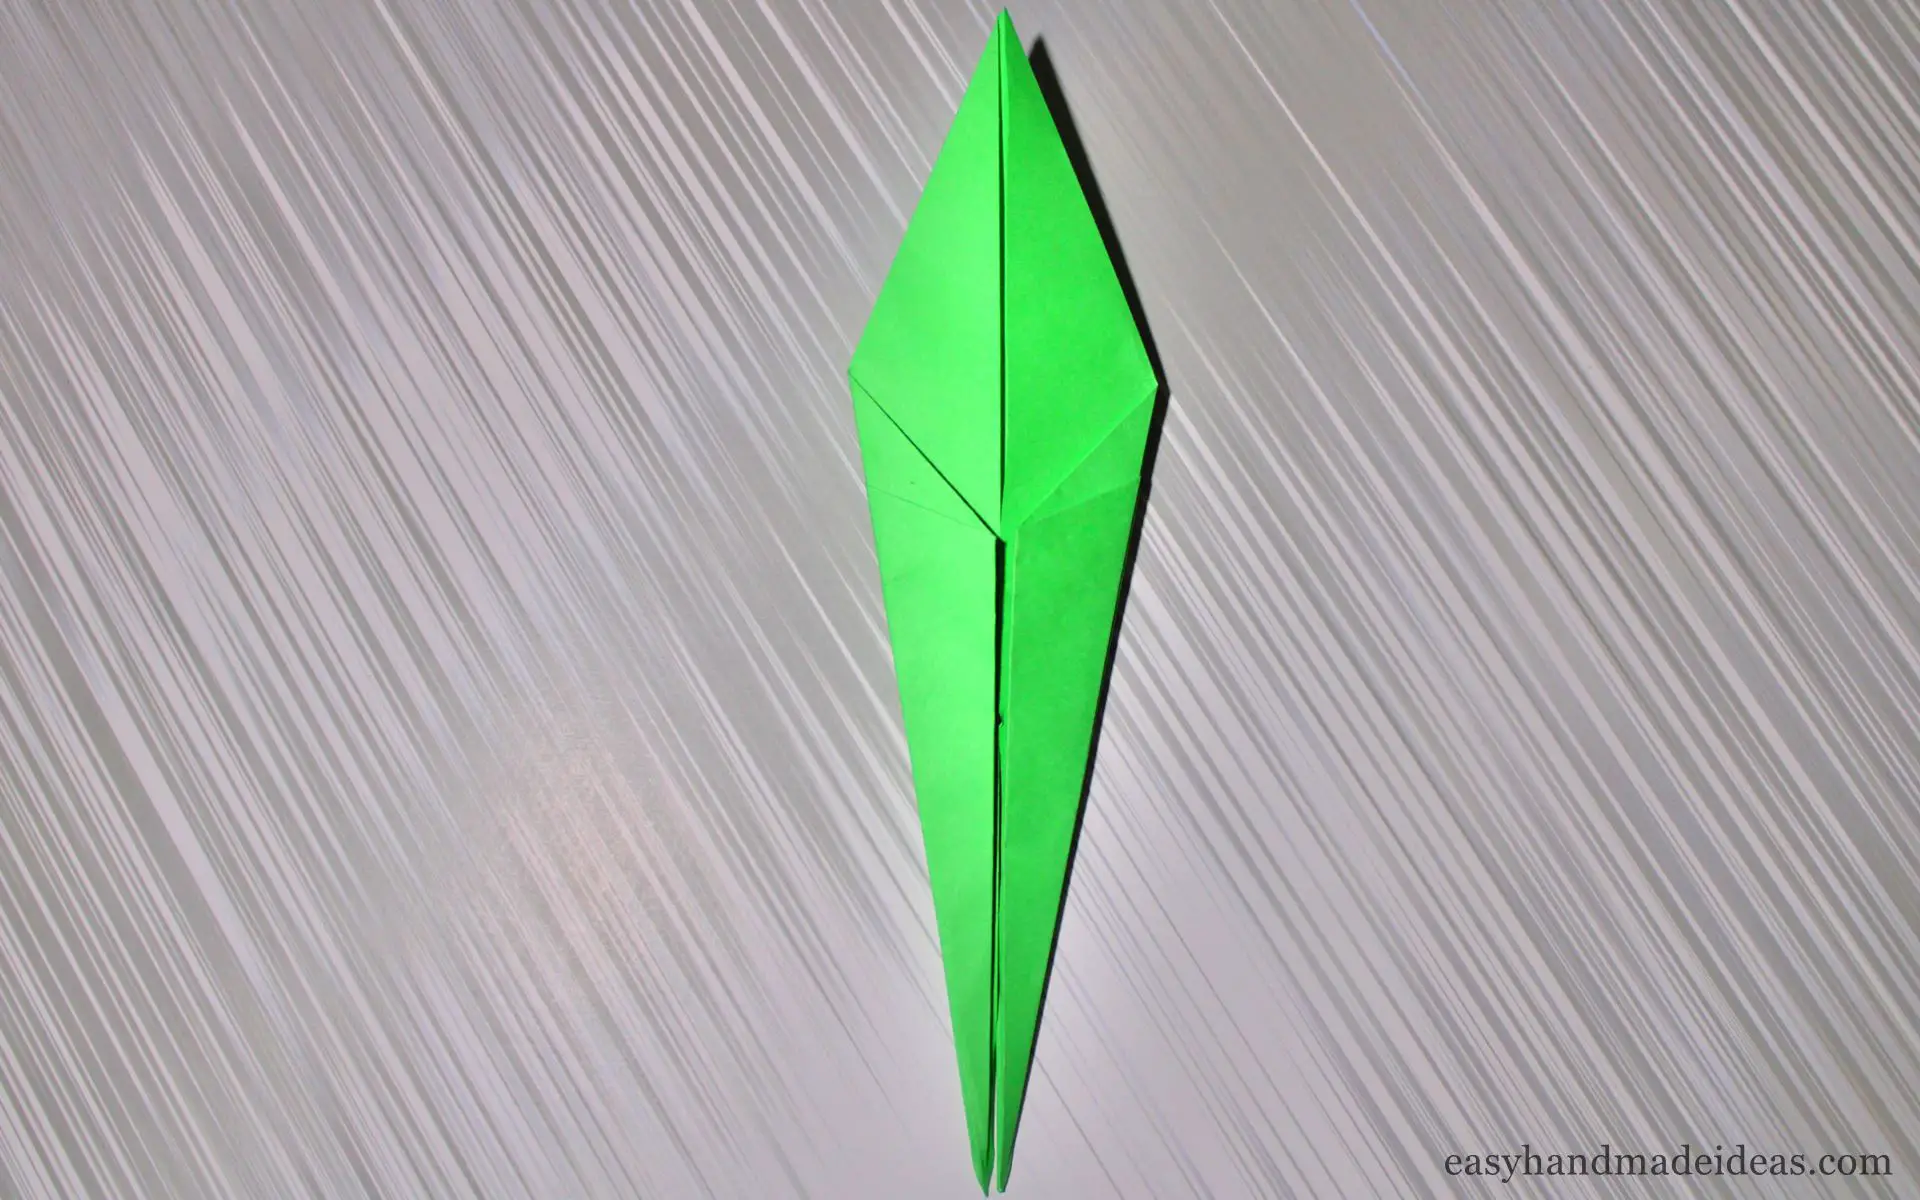
Flip the blank over. Do the same operation on the reverse side.
Step 14:
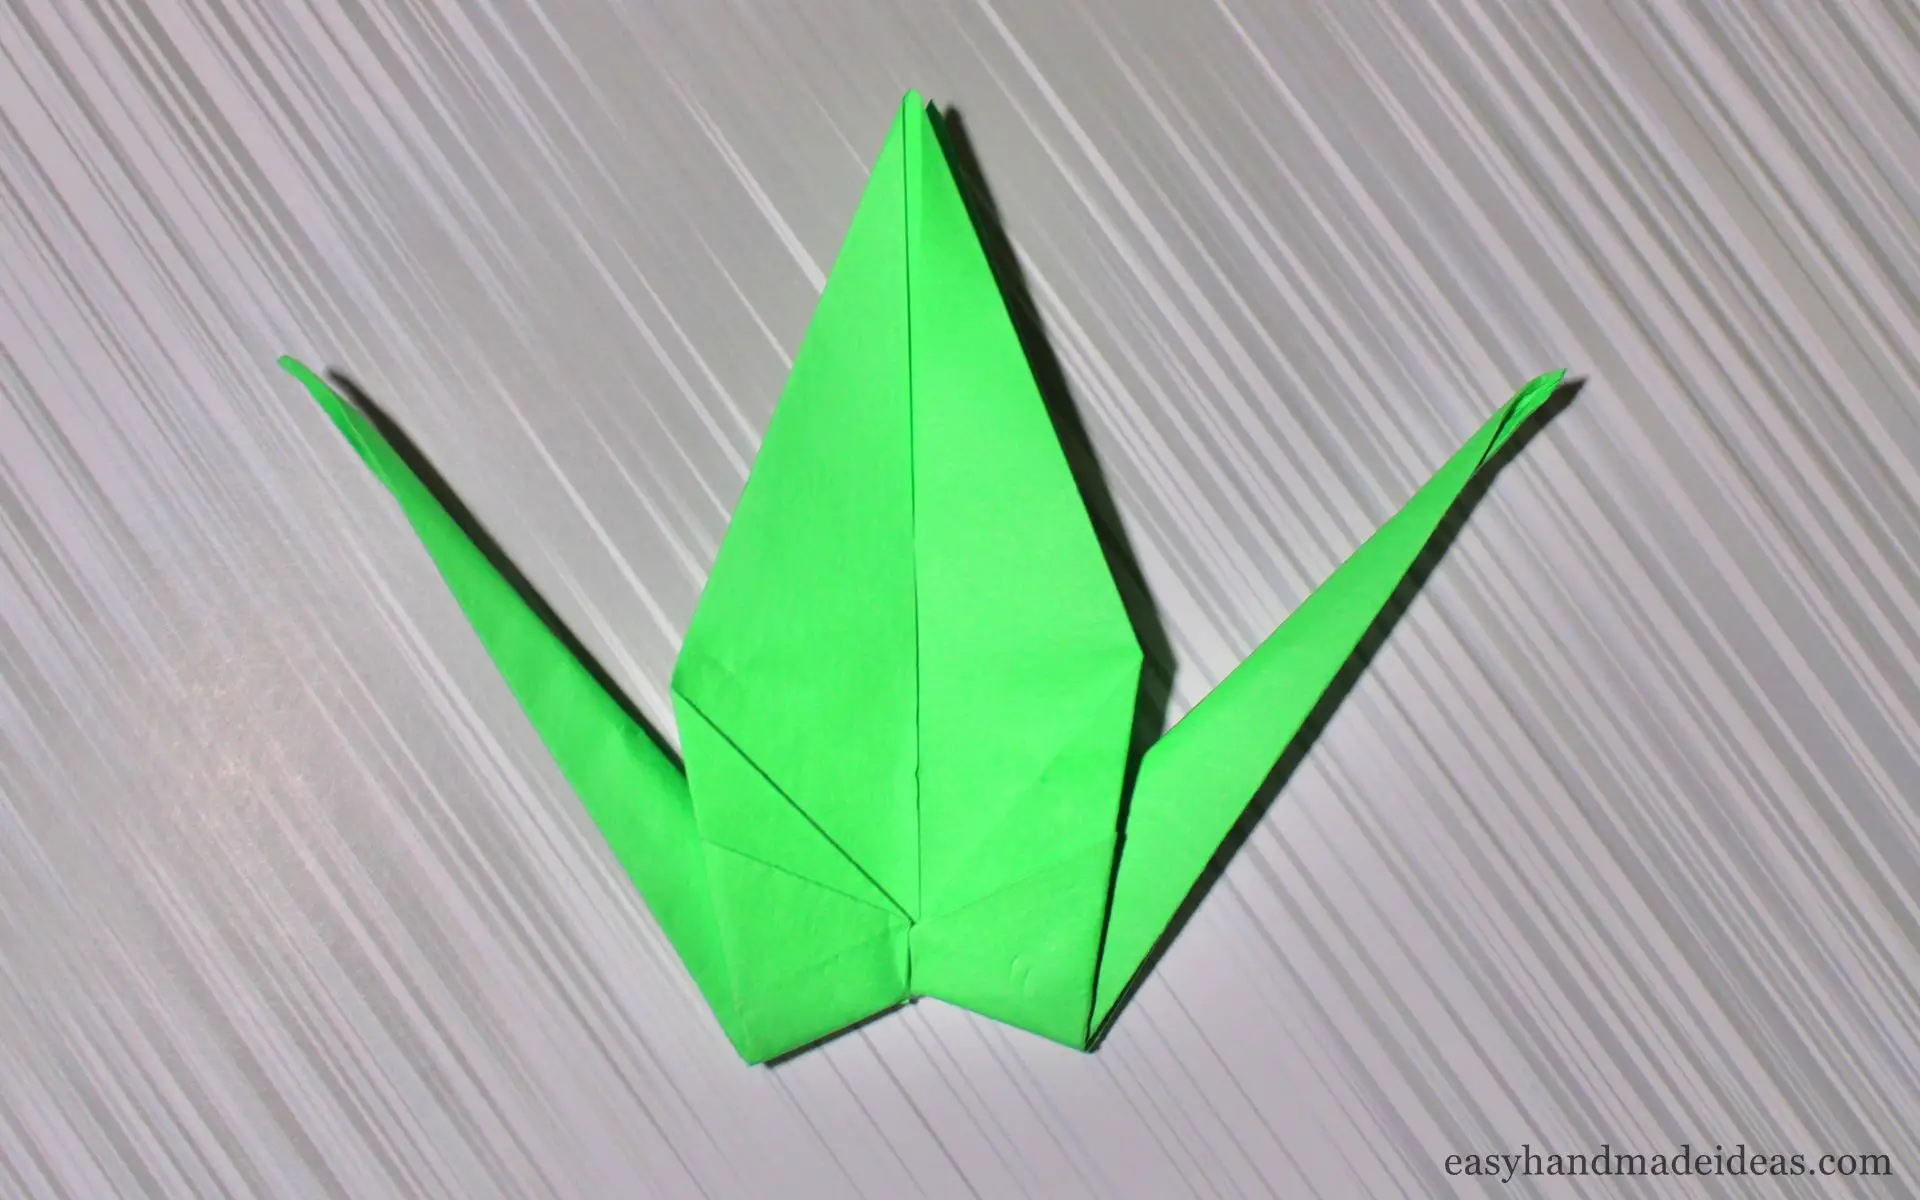
Fold the bottom corners of the figure on both sides to the sides.
Step 15:
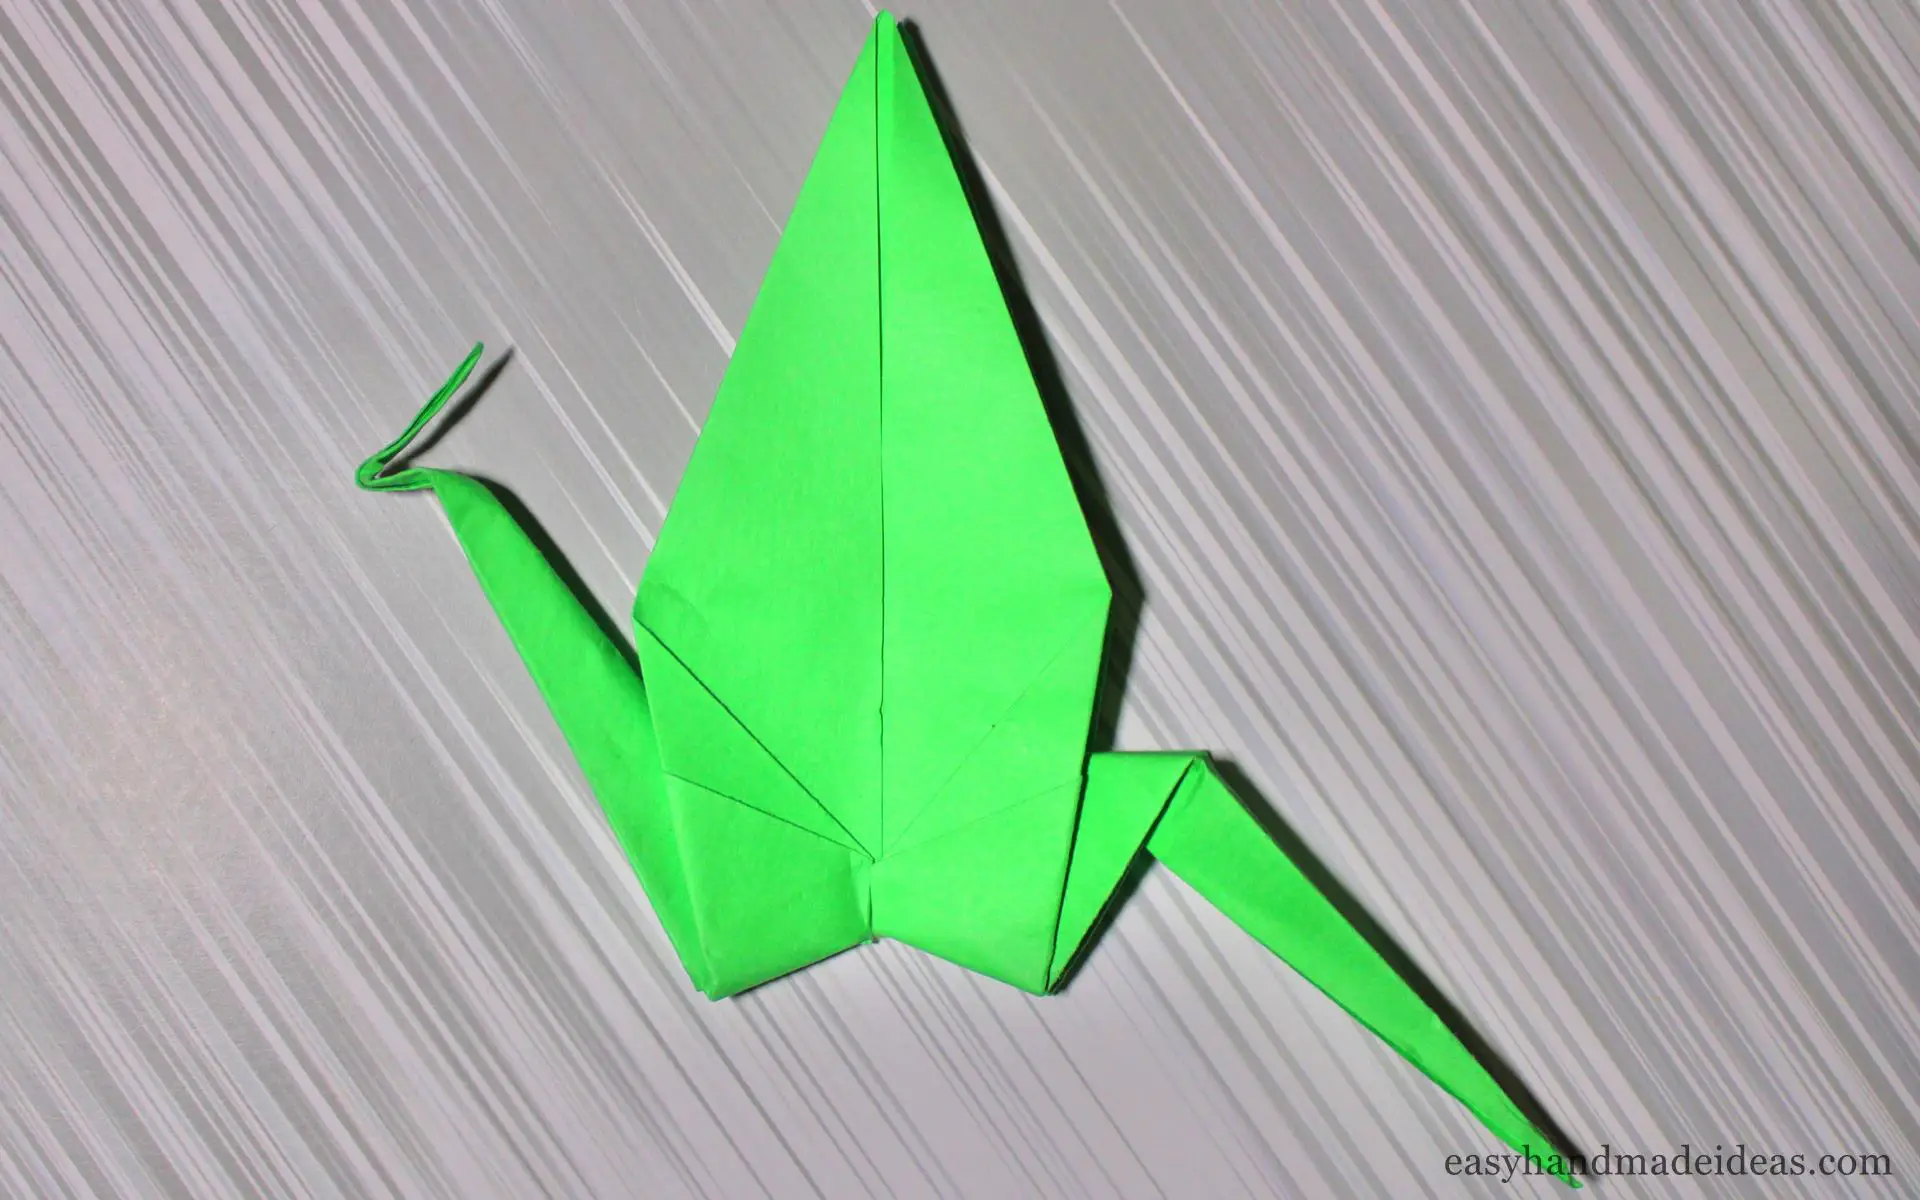
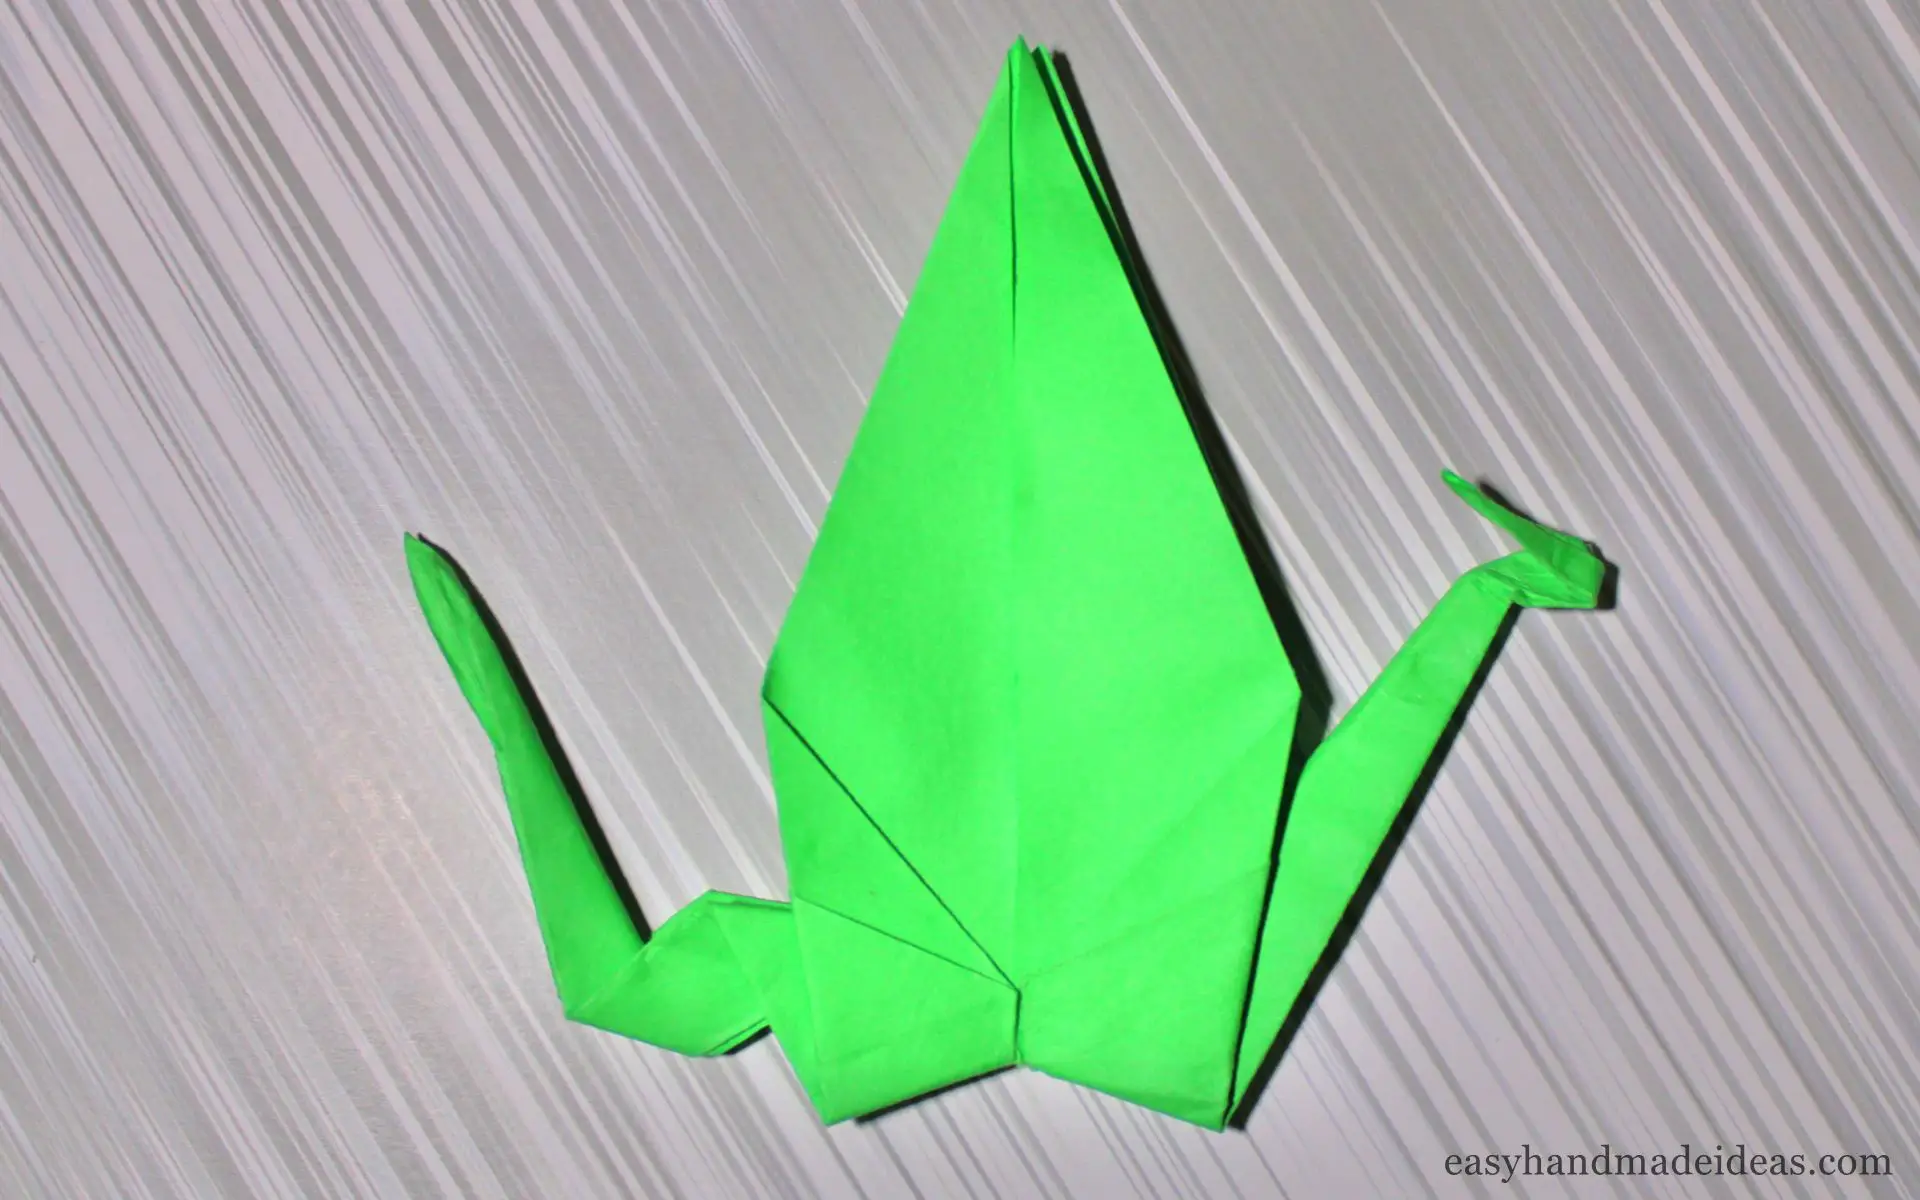
Fold the corners of the tight triangles as shown in the photo. This will be the head and tail of the dragon.
Step 16:
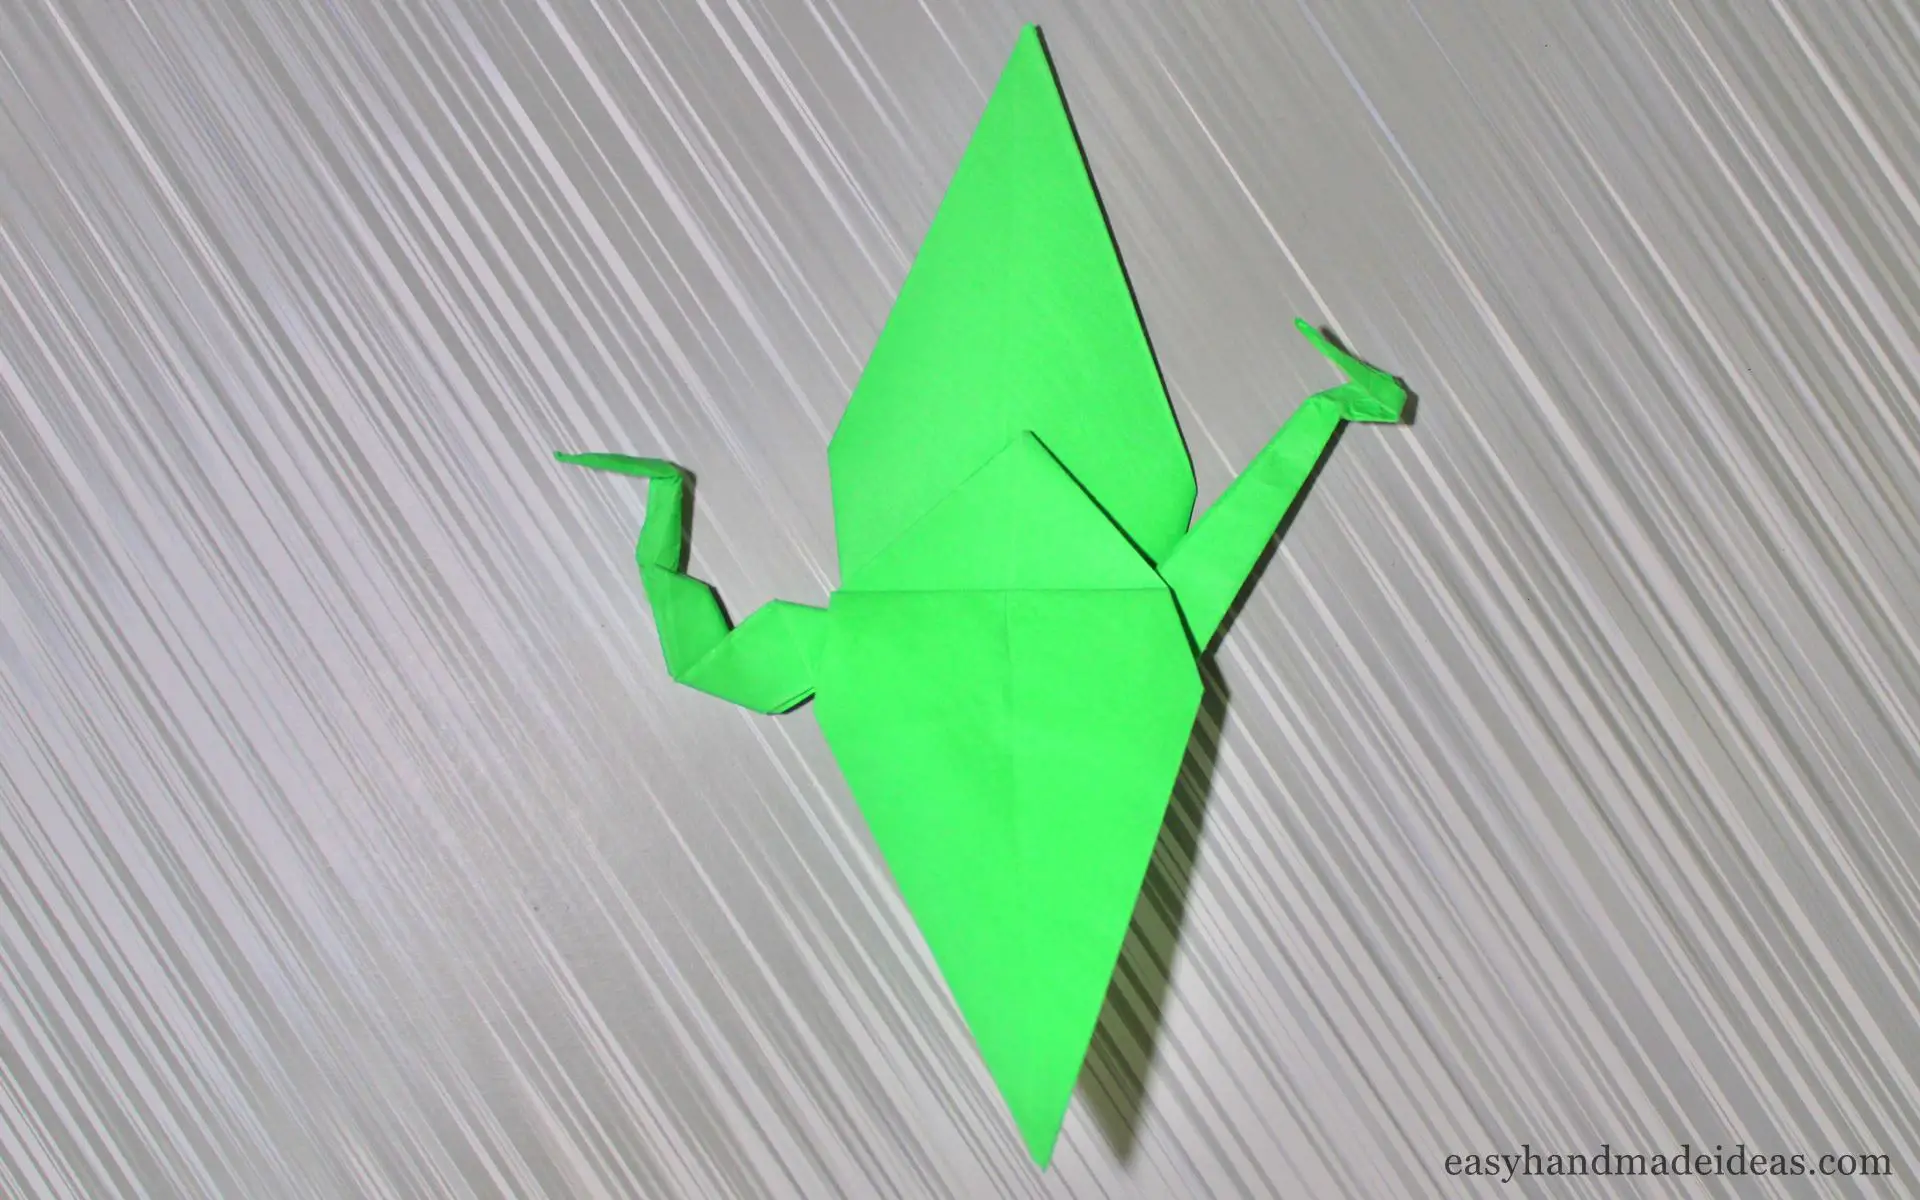
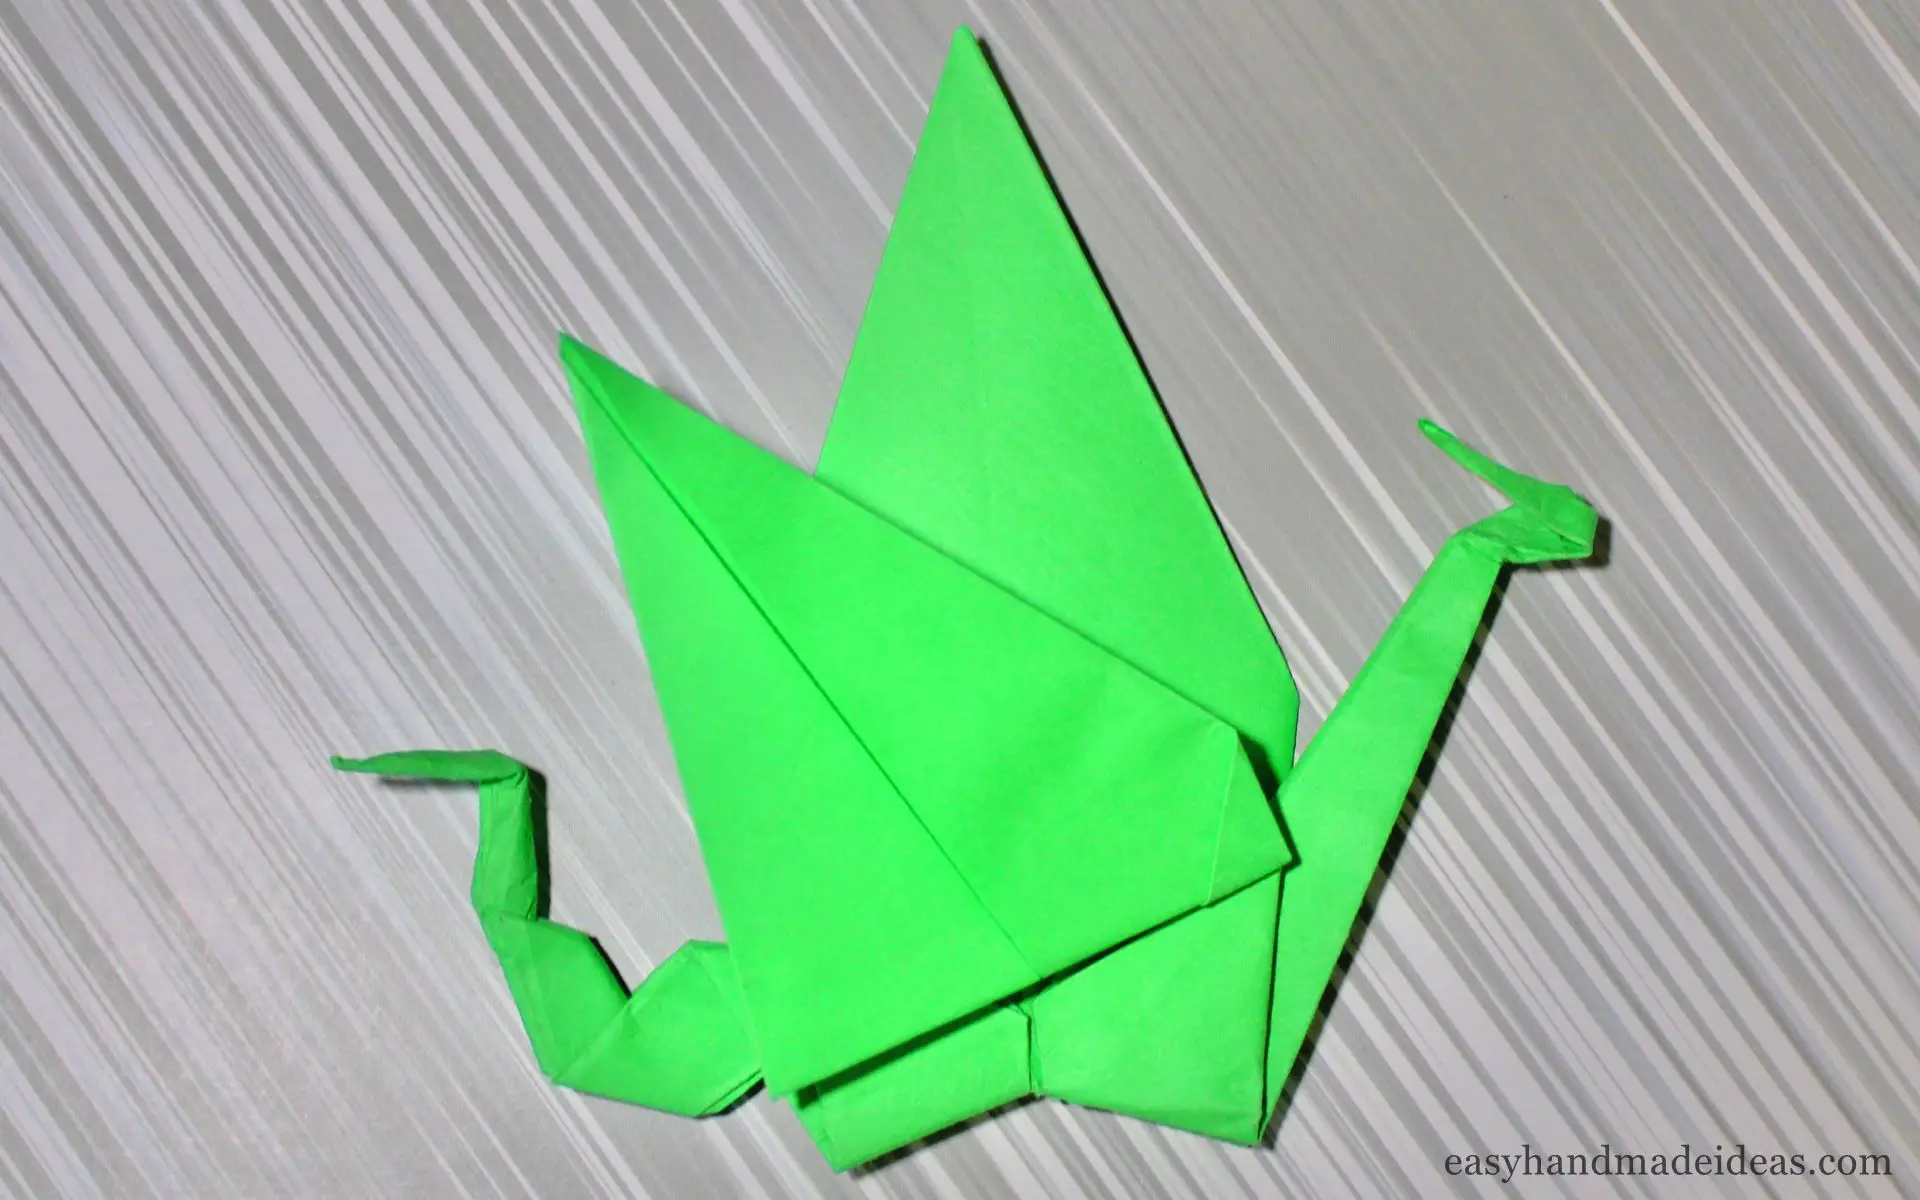
Fold the top large triangle down and then up diagonally.
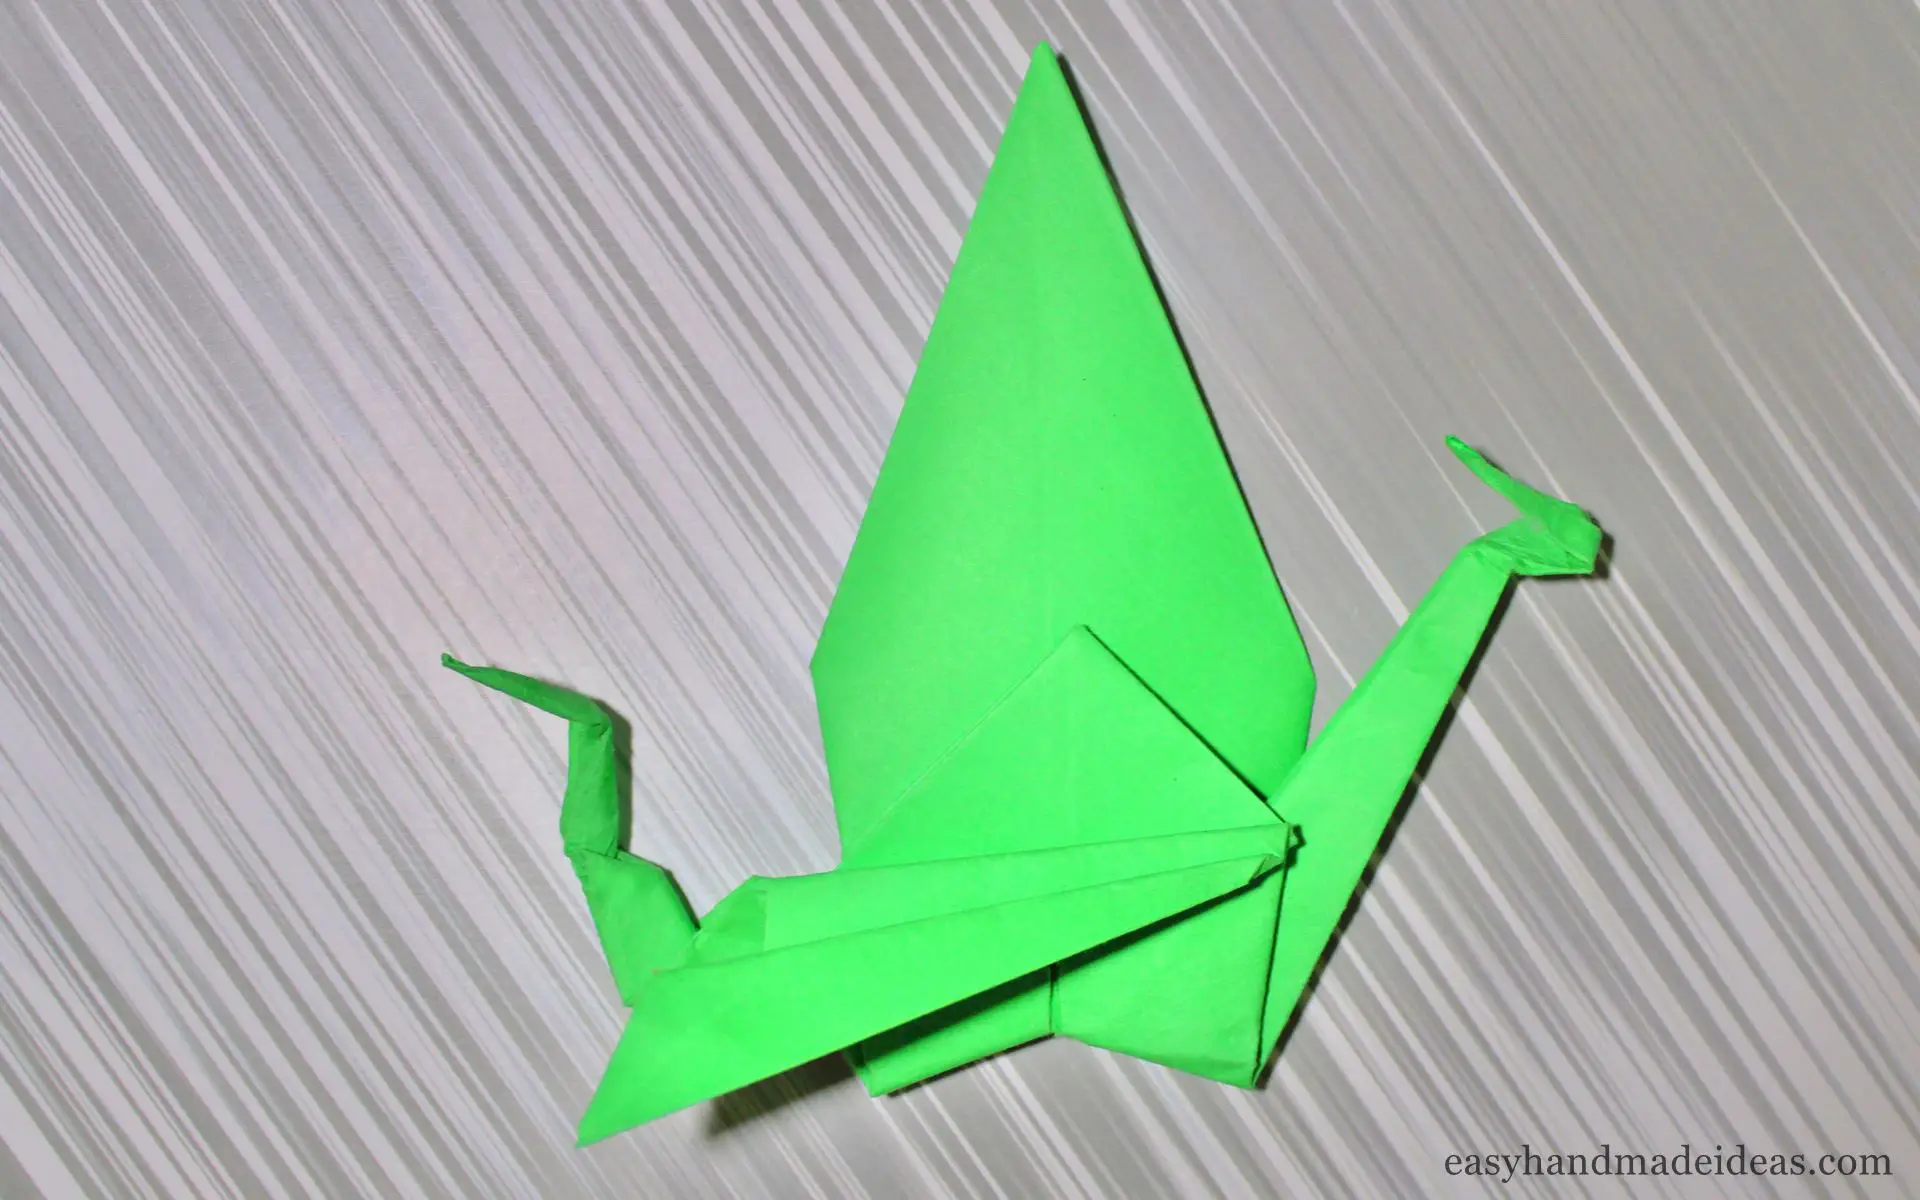
Step 17:
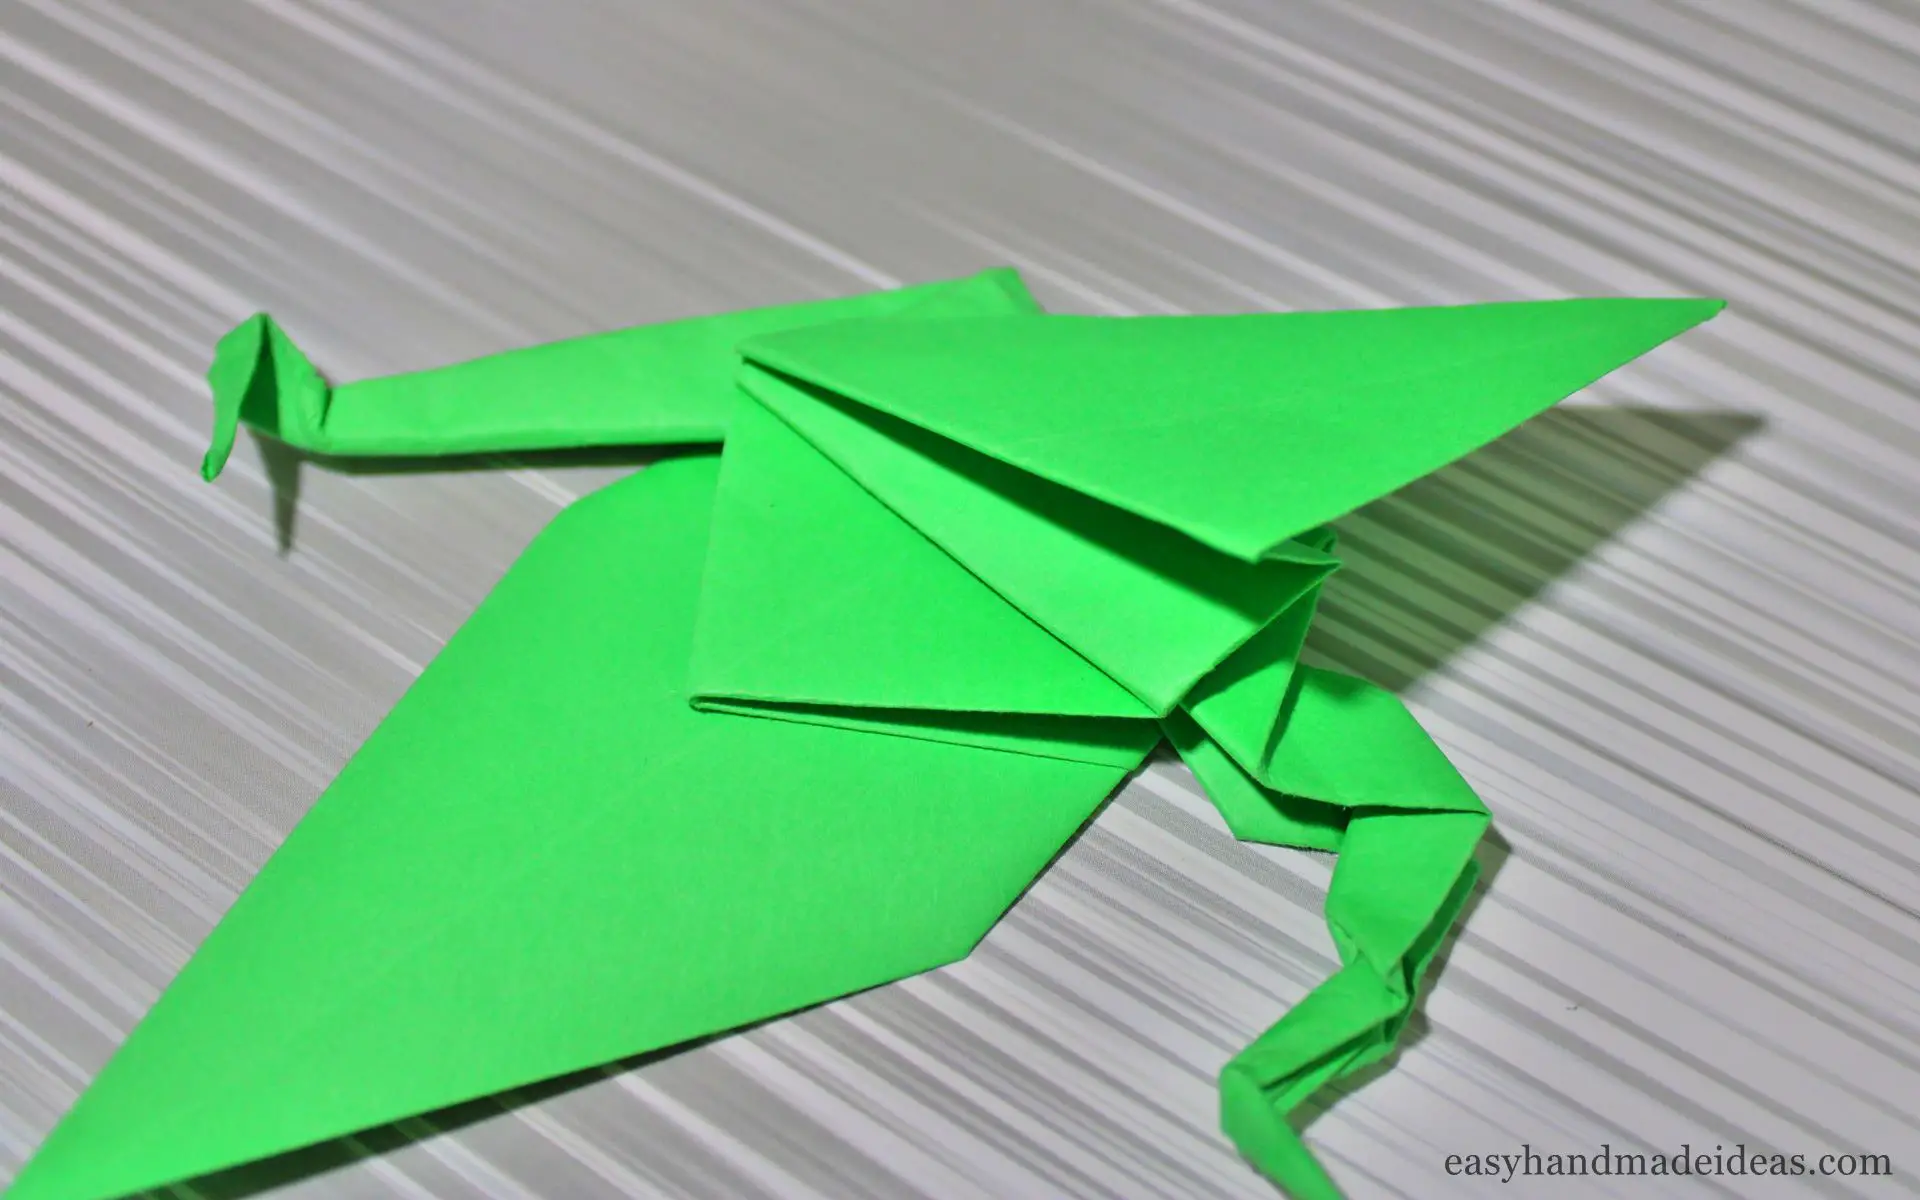
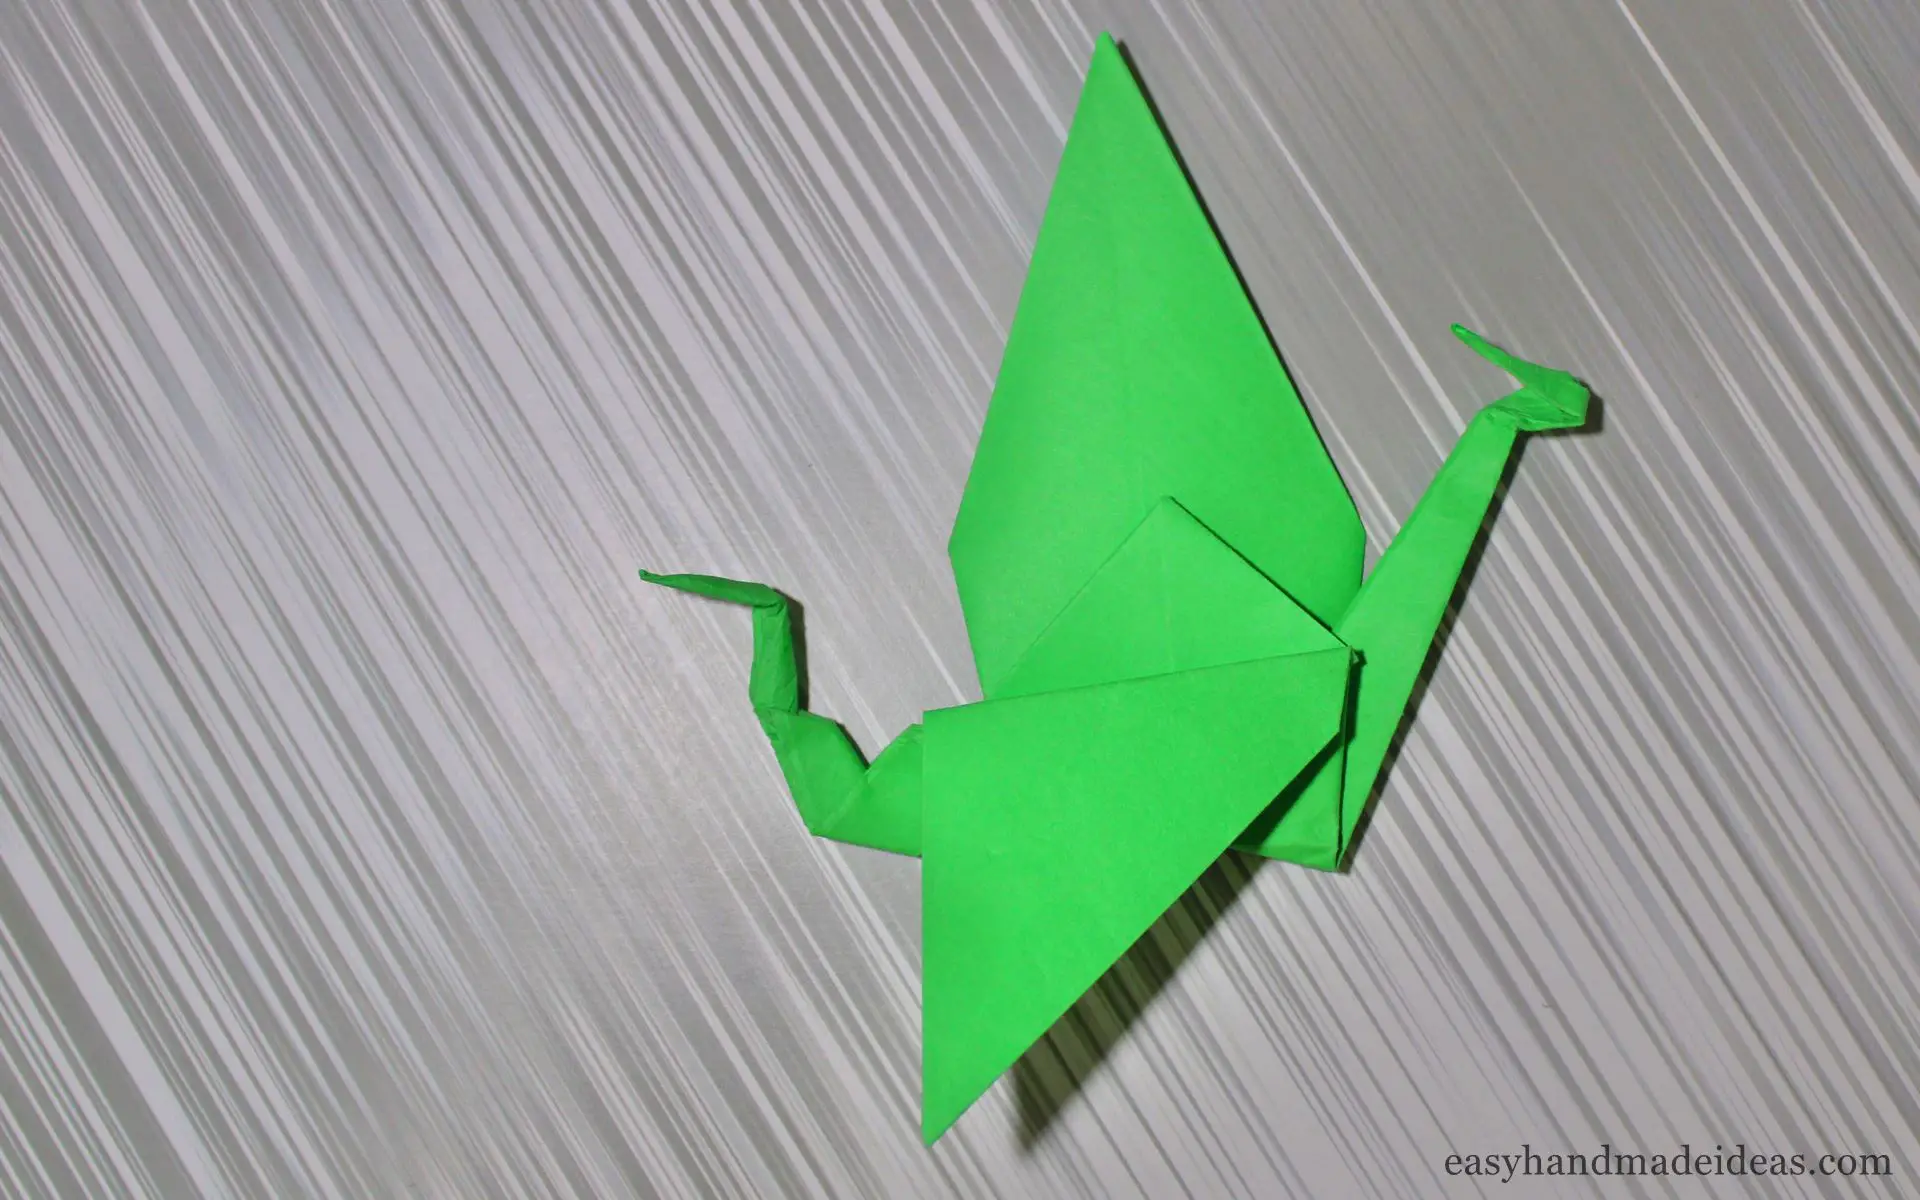
Again fold the top sheet of paper down, connecting with the previous fold, then – up and again – down. The result will be an “accordion” of paper.
Step 18:
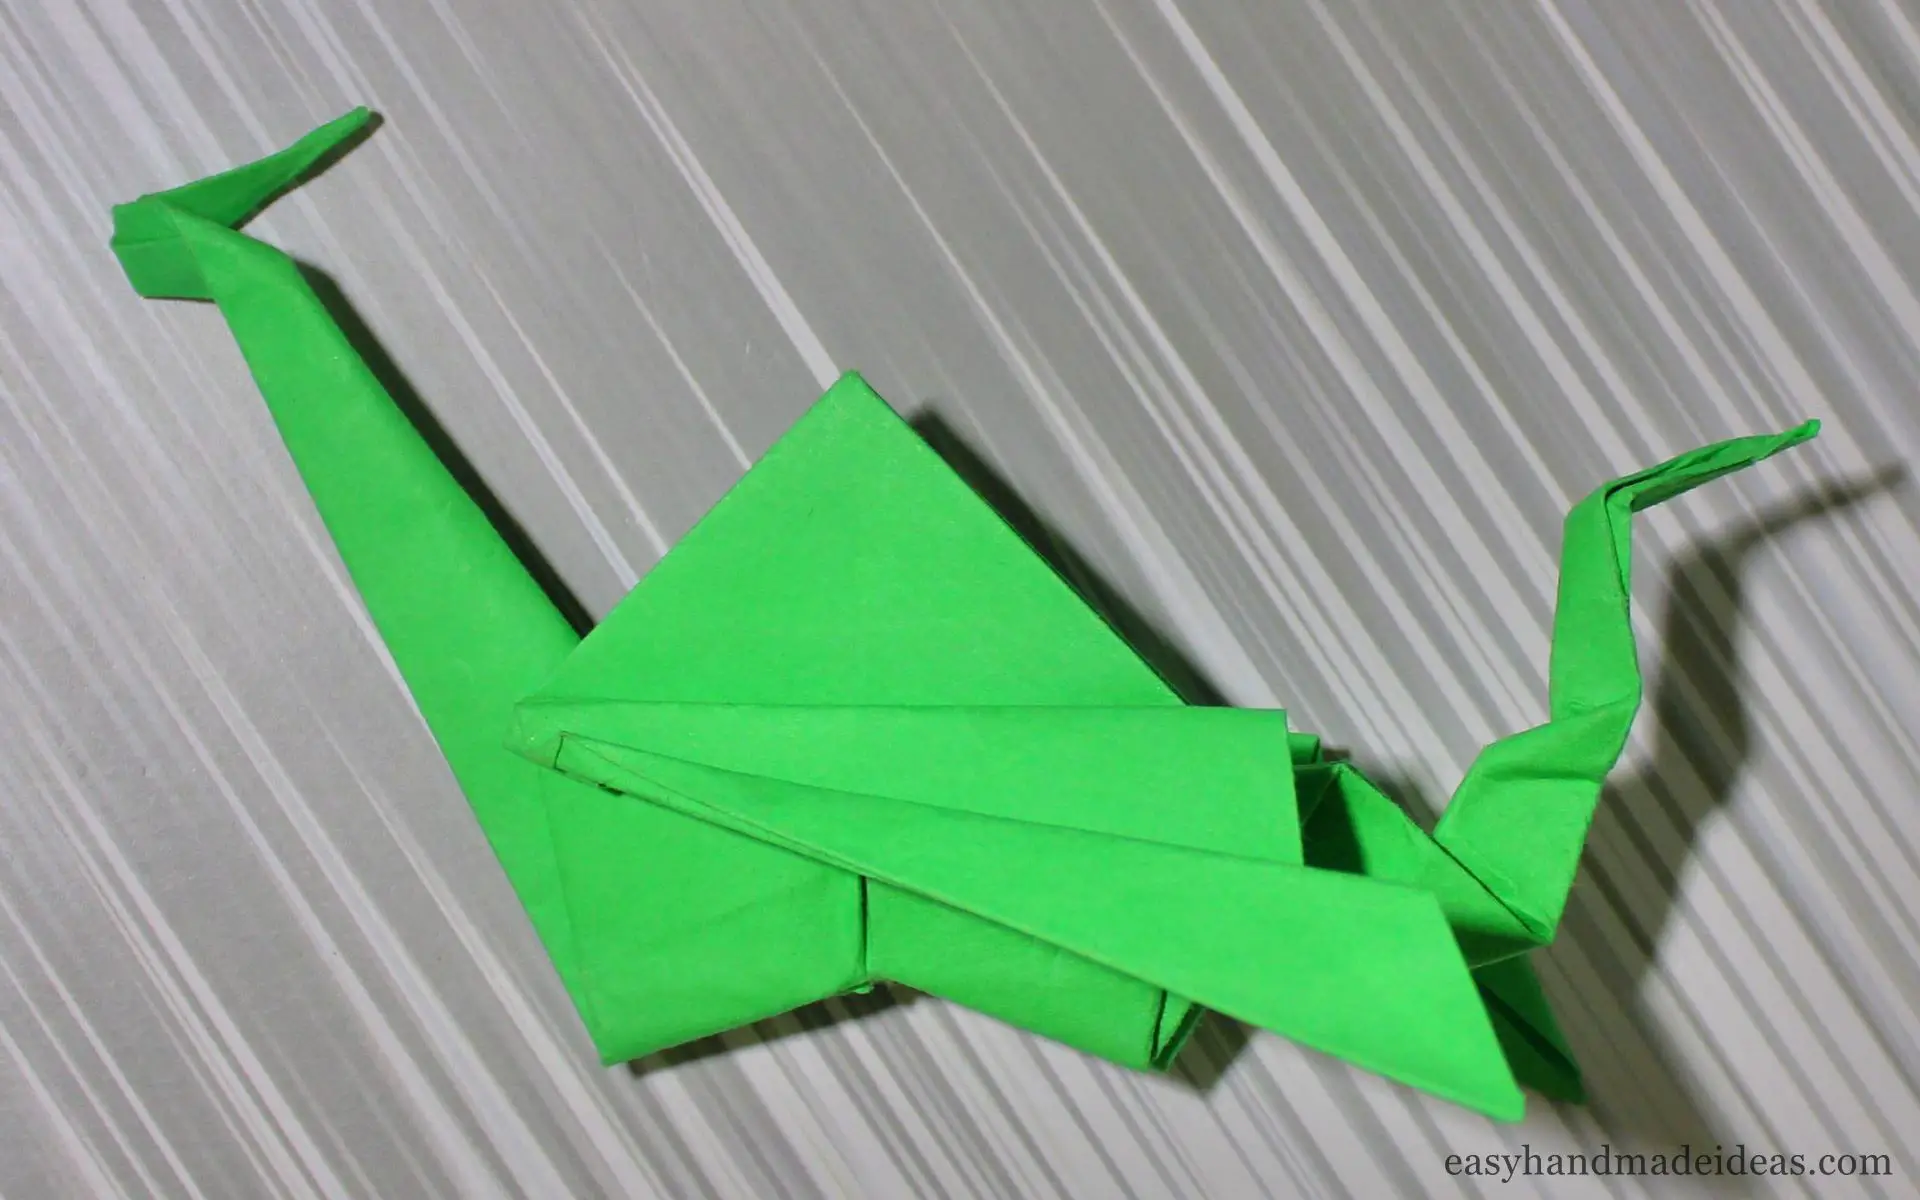
Fold a similar “accordion” on the reverse side.
Step 19:
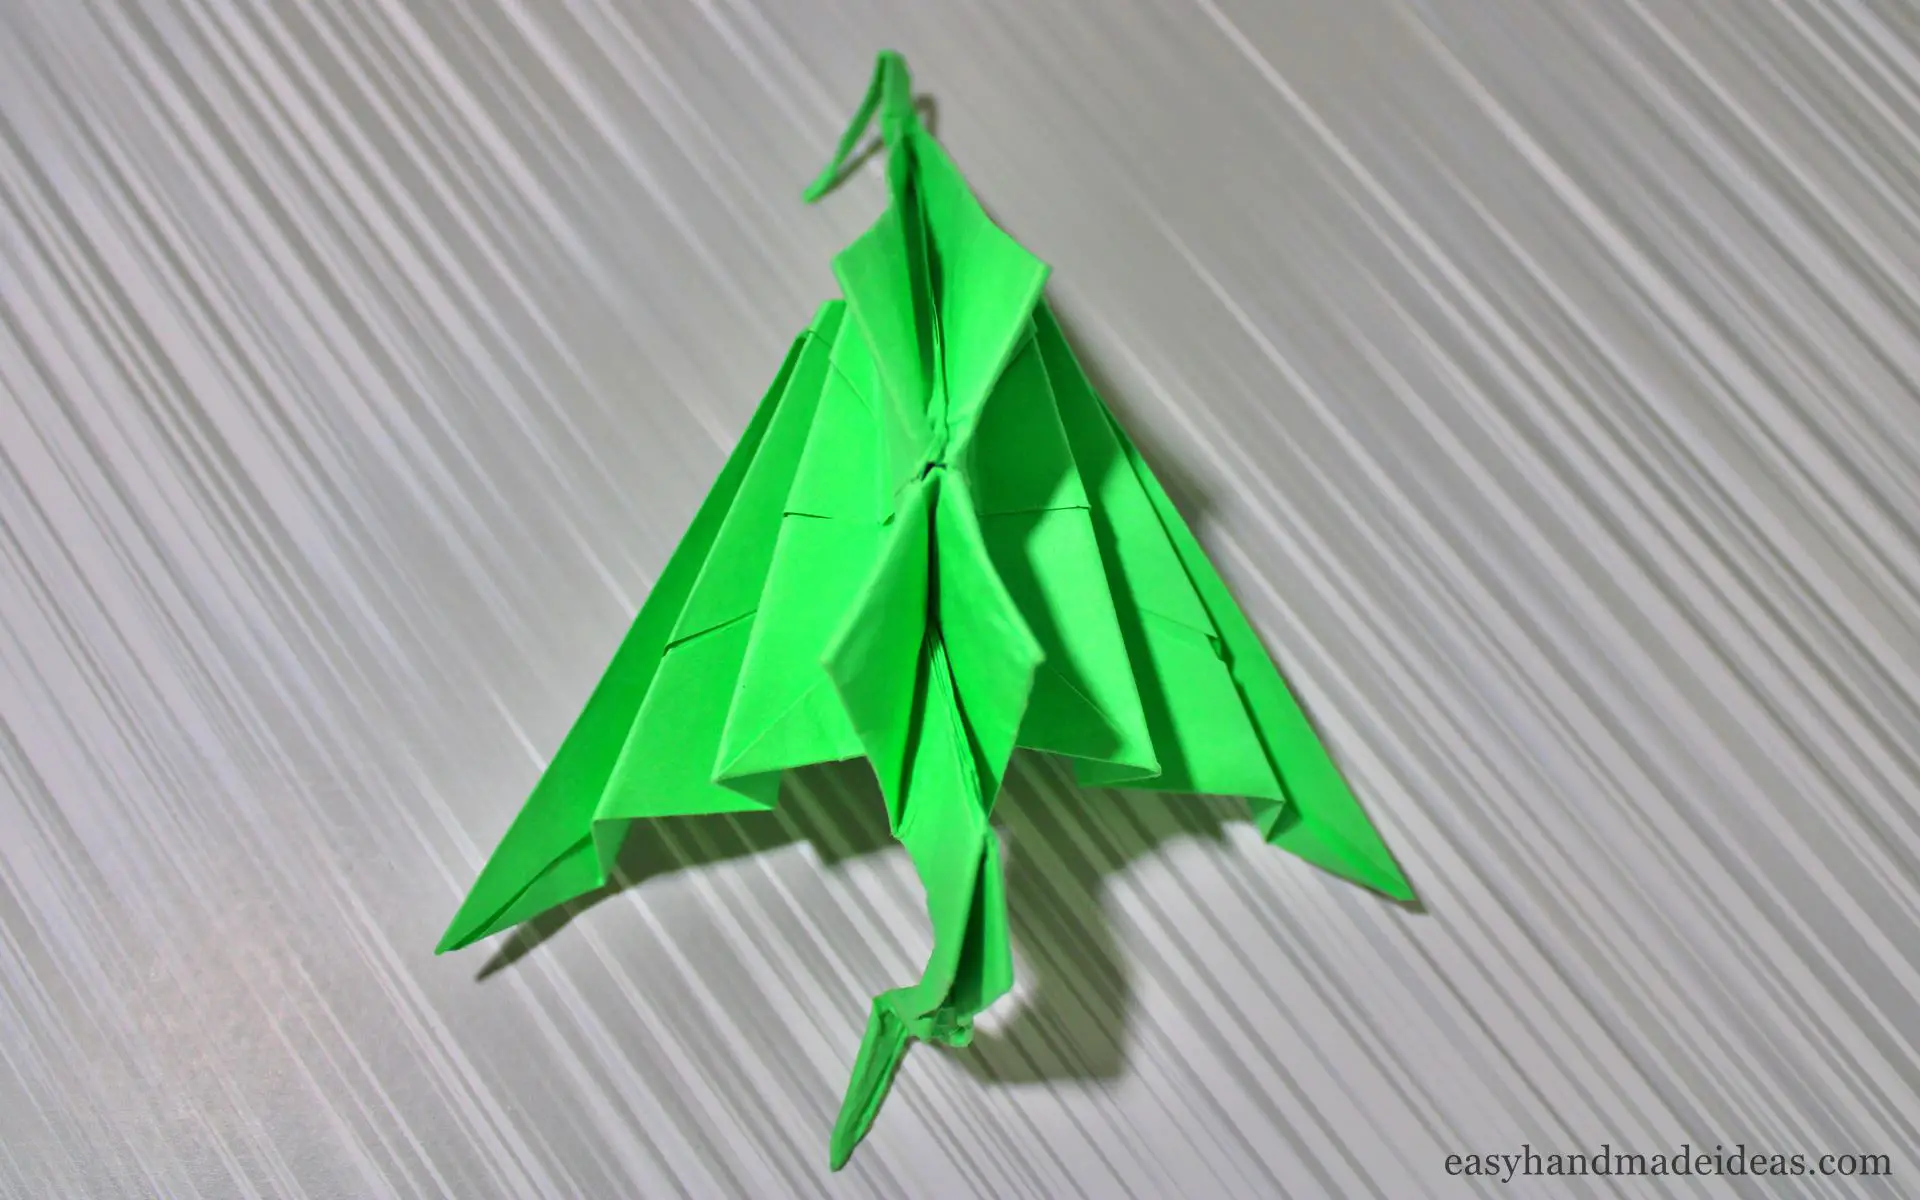
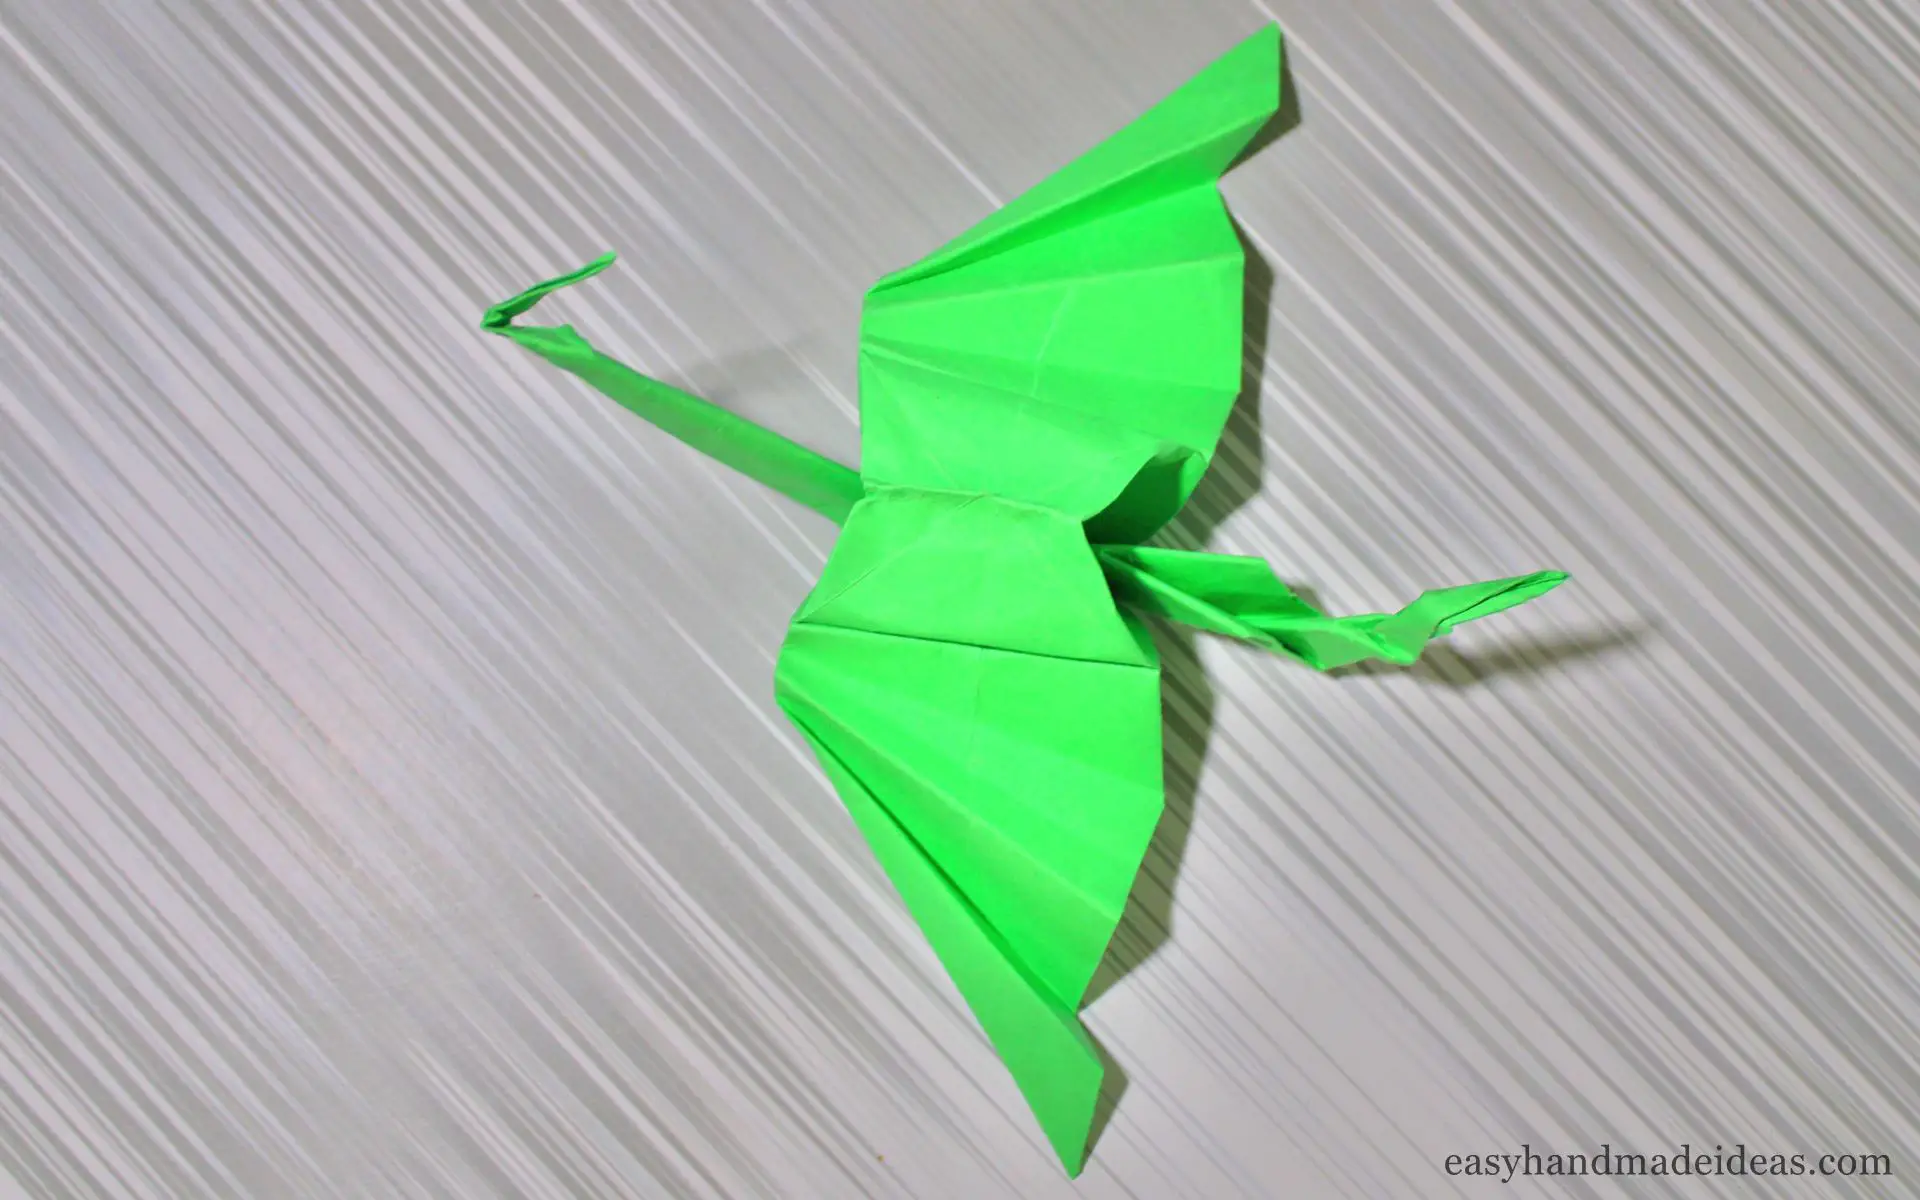
Spread the bottom corners of the folded “accordion” and the top folds of the protruding triangle.
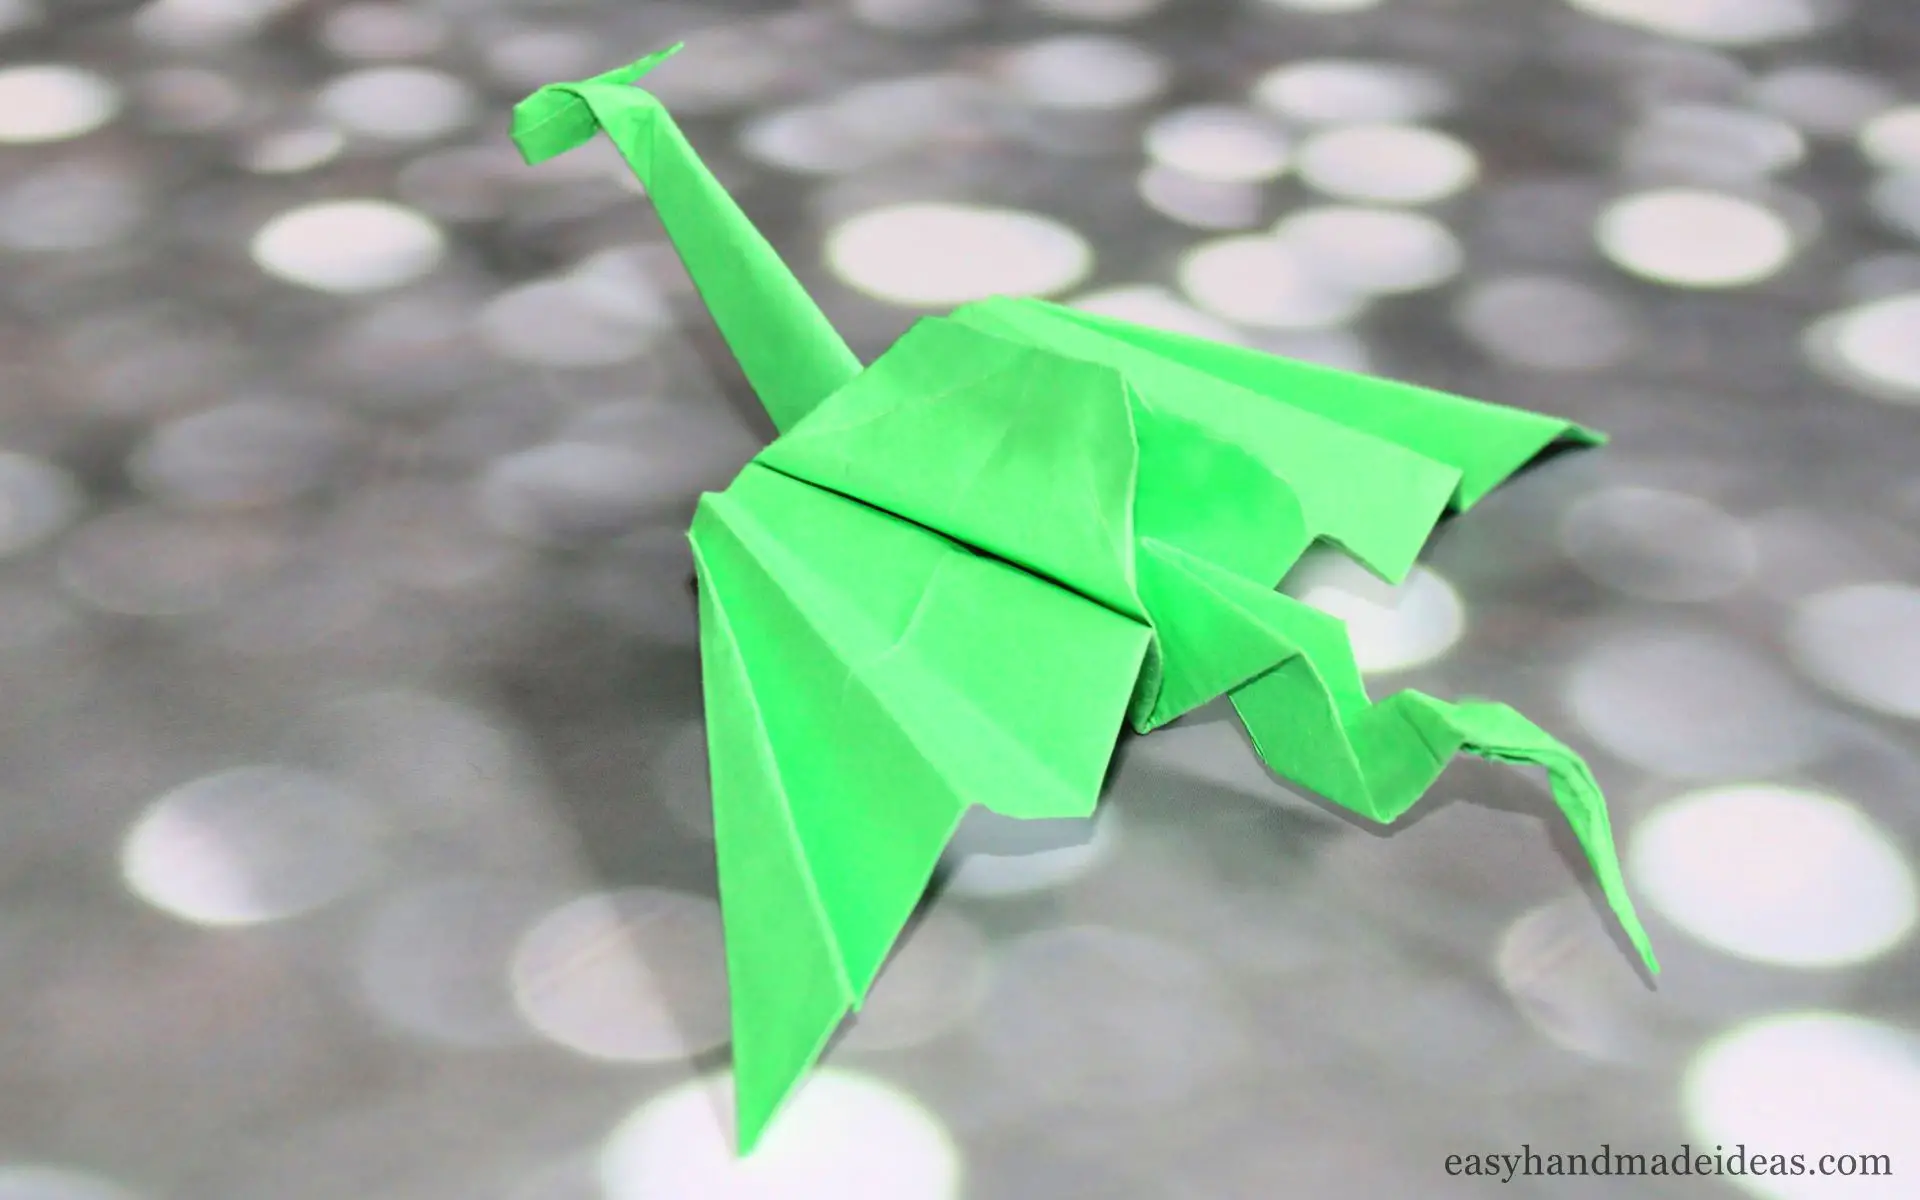
If you like, you can decorate the Green Dragon with glitter or sew a string to hang it up.


