The first flowers of spring that we enjoy are snowdrops. And in this lesson you will learn how to make a 3D paper snowdrop in a vase.

3D paper snowdrop flower
Total Time: 30 minutes
Step 1: Take the paper
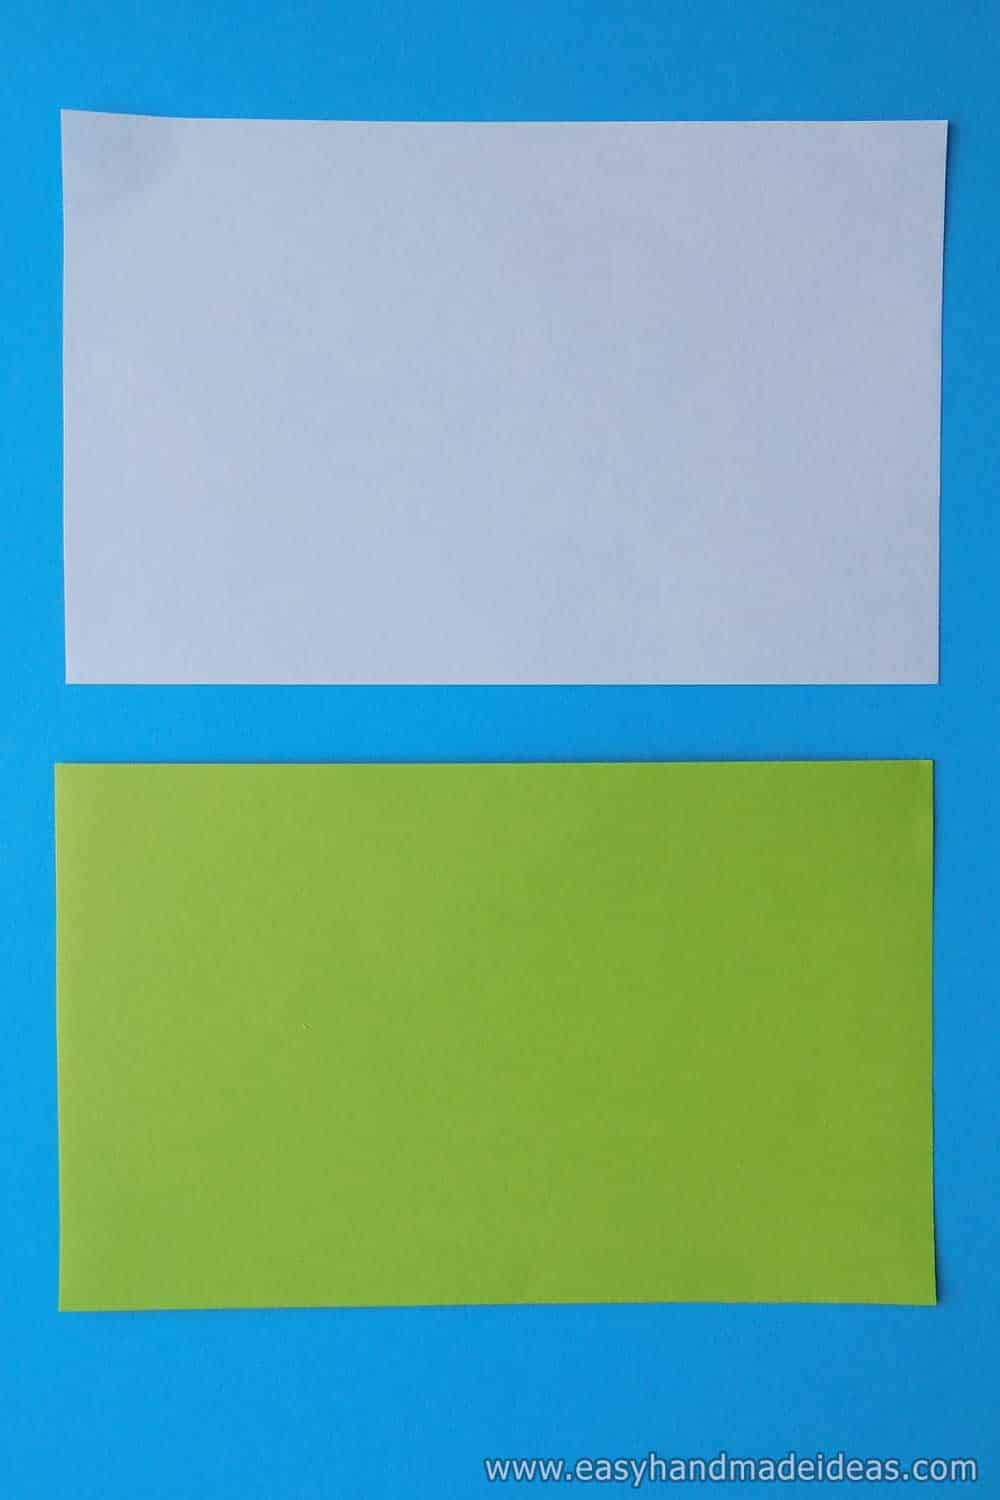
Prepare quarter sheets of green and white paper to make snowdrops.
Step 2: Use scissors

Use scissors to cut the white sheet of paper in half.
Step 3: Cut the paper into small pieces

Cut the halves into thin strips. These will become pieces for snowdrop petals.
Step 4: Make a petal

Glue these strips together to form loops. Apply glue only to the edge of the strip.
Step 5: Glue the petals together

Use three of these blanks to make a snowdrop flower. Glue them together as shown in the photo.
Step 6: Glue the petals for all the flowers

Make some flowers with the remaining white strips.
Step 7: Prepare the green strips

Cut 3 pieces of green paper to make stems.
Step 8: Connect the stem to the flower head

Fold the green strip in half lengthwise. Paste the white flower on the edge of the stem.
Step 9: Fold the green strip

Fold down the upper part of the stem.
Step 10: Make a bouquet

Make the rest of the snowdrops using the same principle.
Step 11: Take three green strips

In addition, cut out 3 oblong leaves from green paper.
Step 12: Use white paper

Cut a trapezoid shape from white paper to make a vase.
Step 13: Cut the shape

Cut this trapezoid into horizontal strips.
Step 14: Create a creative vase

Glue the strips to the cardboard blank. Apply glue only to the edges of the strips. The vase should be slightly raised above the surface of the cardboard to create a gap.
Step 15: Finish your craft

Add the flowers and leaves to this vase. Your voluminous paper craft is finished.
Supply:
- cardboard of blue color;
- white and green paper.
Tools:
- scissors;
- glue stick.

These amazing flowers can be a unique gift for family and friends.
