When there is not much time left before Christmas and New Year’s Eve, it is time to start thinking about how to decorate your home. Of course, we will all decorate our house with garlands and toys, but this is not enough to feel the New Year’s atmosphere. Snowflakes that you make with your own hands will help you a lot. And if you want to surprise your housemates, the best way is to make them voluminous.
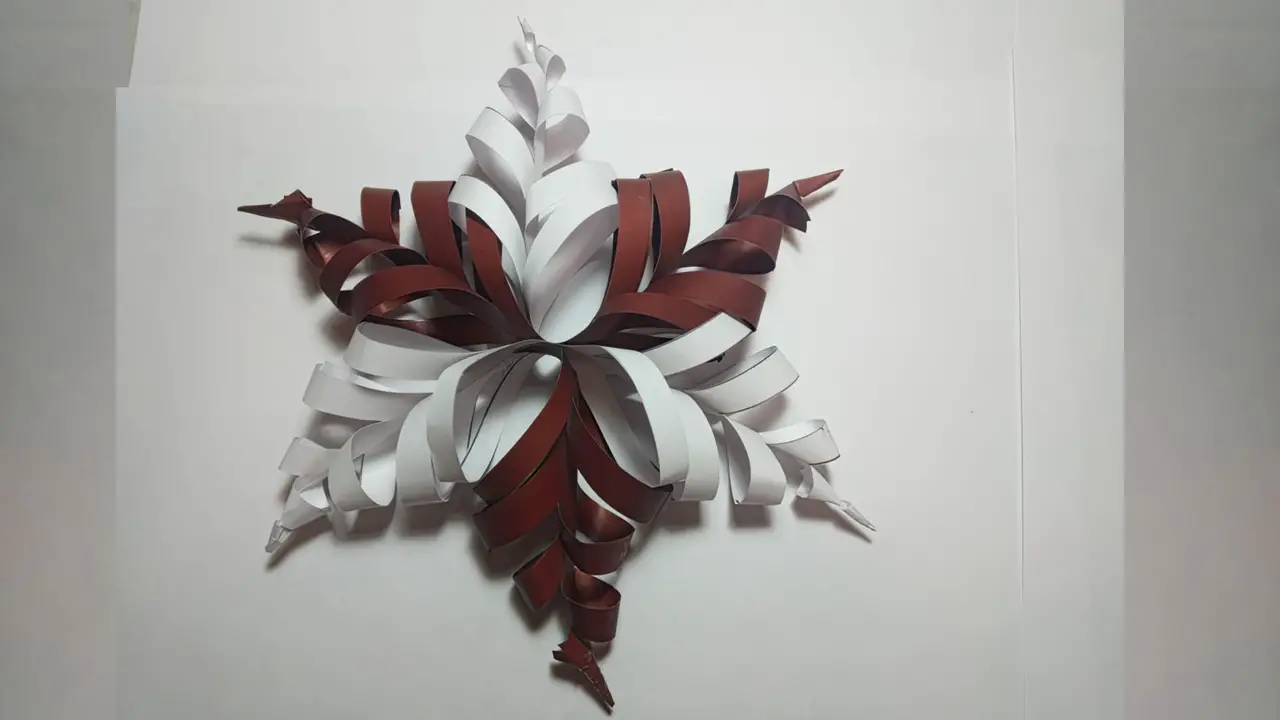
In my masterclass you will learn how to make a voluminous paper snowflake.
Total Time: 20 minutes
Step 1: Get the supplies you need ready
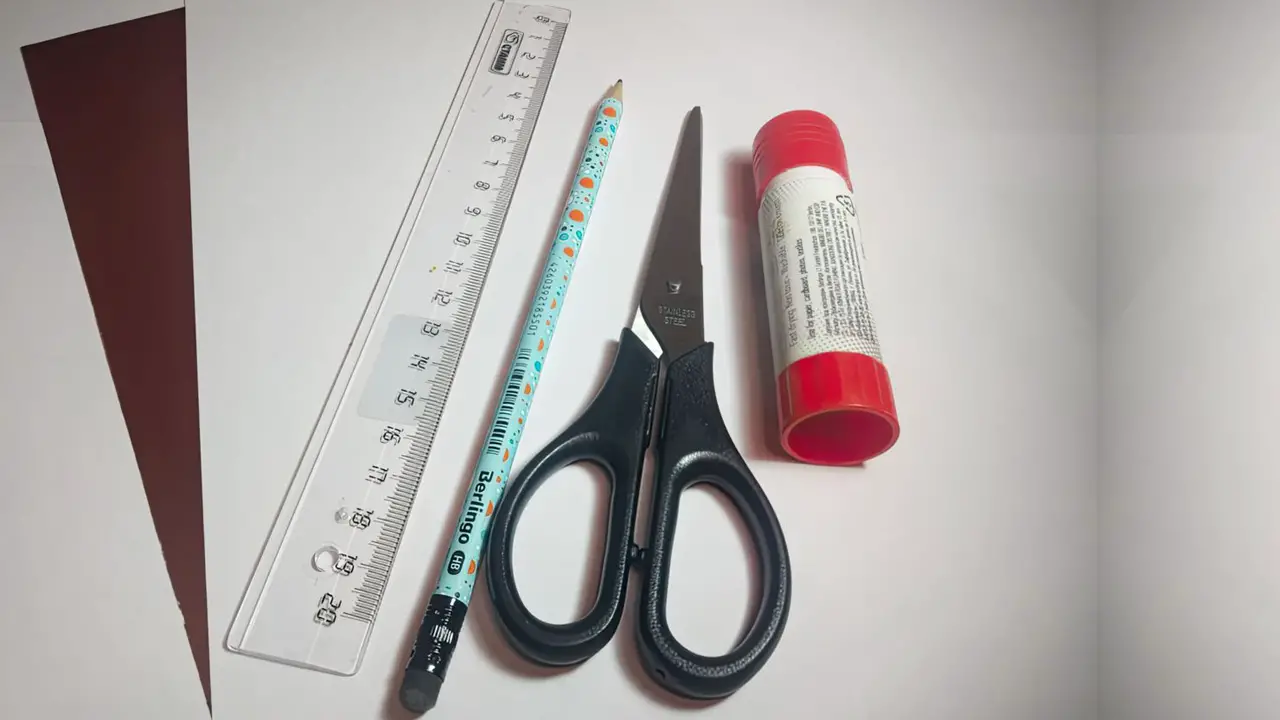
Prepare the materials you’ll need to make the craft.
Step 2: Use scissors
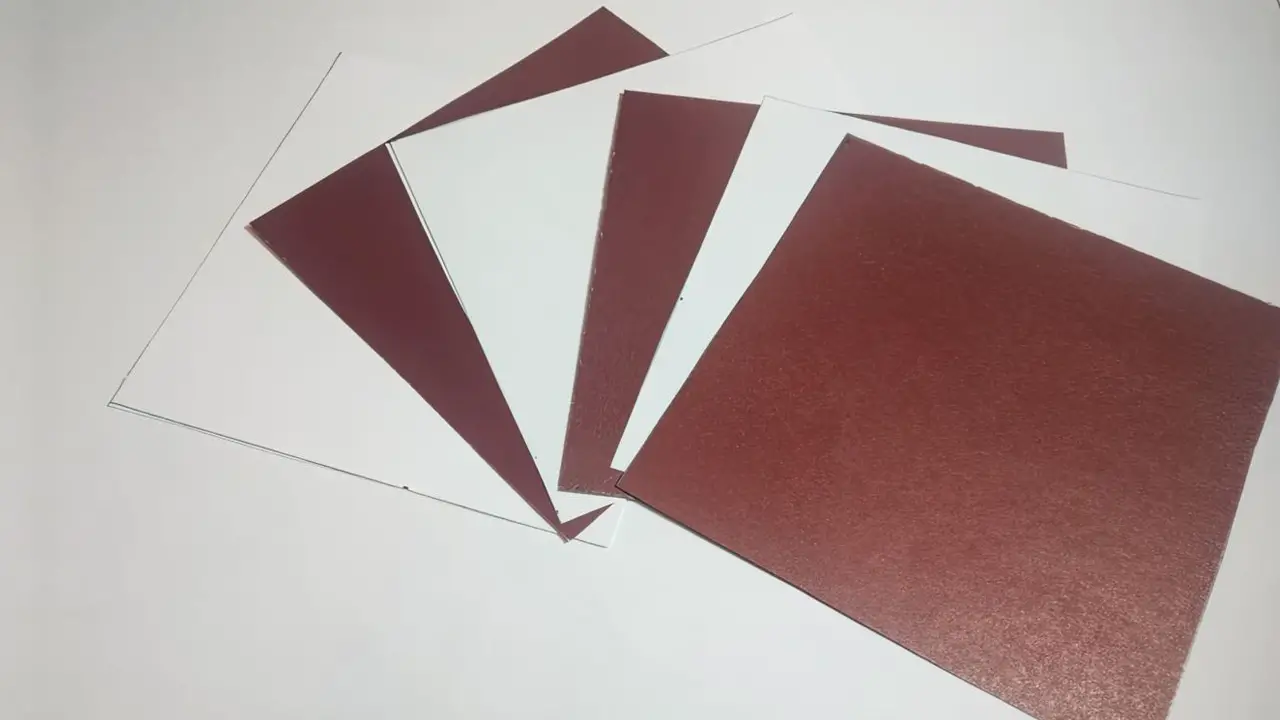
Cut out 6 squares from the pieces of paper. You can cut out squares of any size you want. This will only affect the size of your craft.
Step 3: Join the opposite corners of the square diagonally
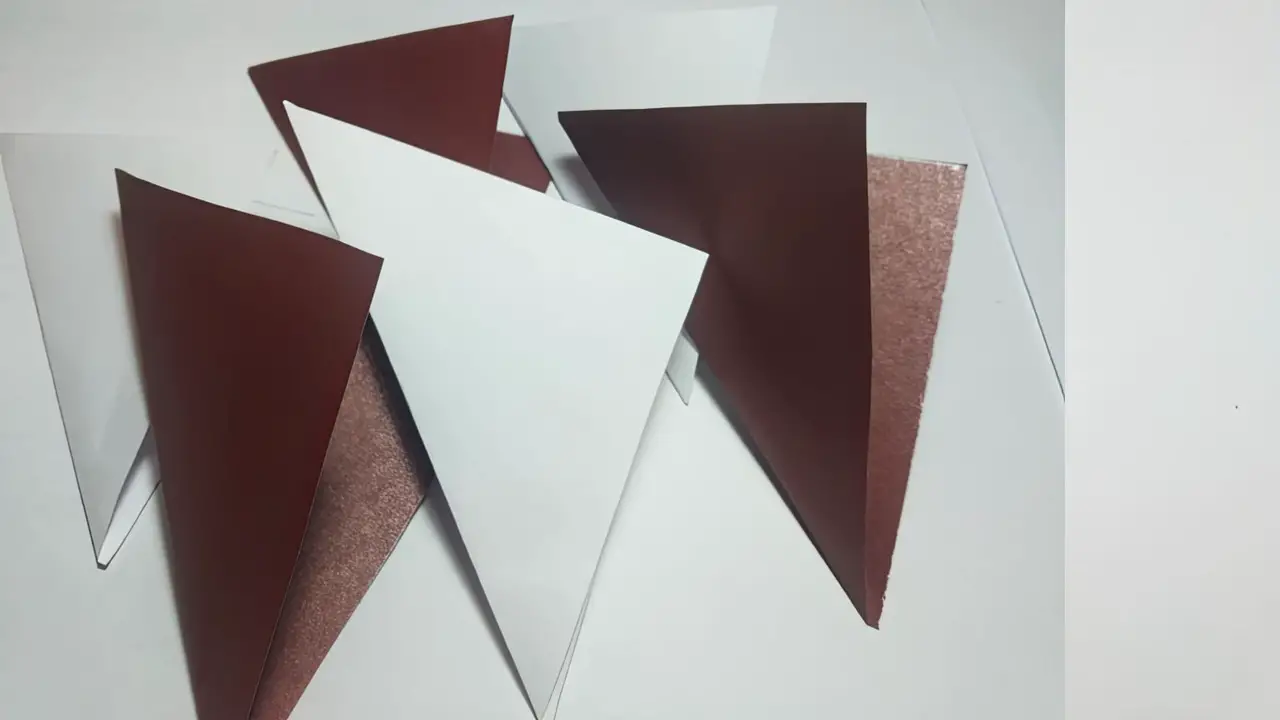
All 6 squares need to be folded diagonally.
Step 4: Line up the stripes on the figure
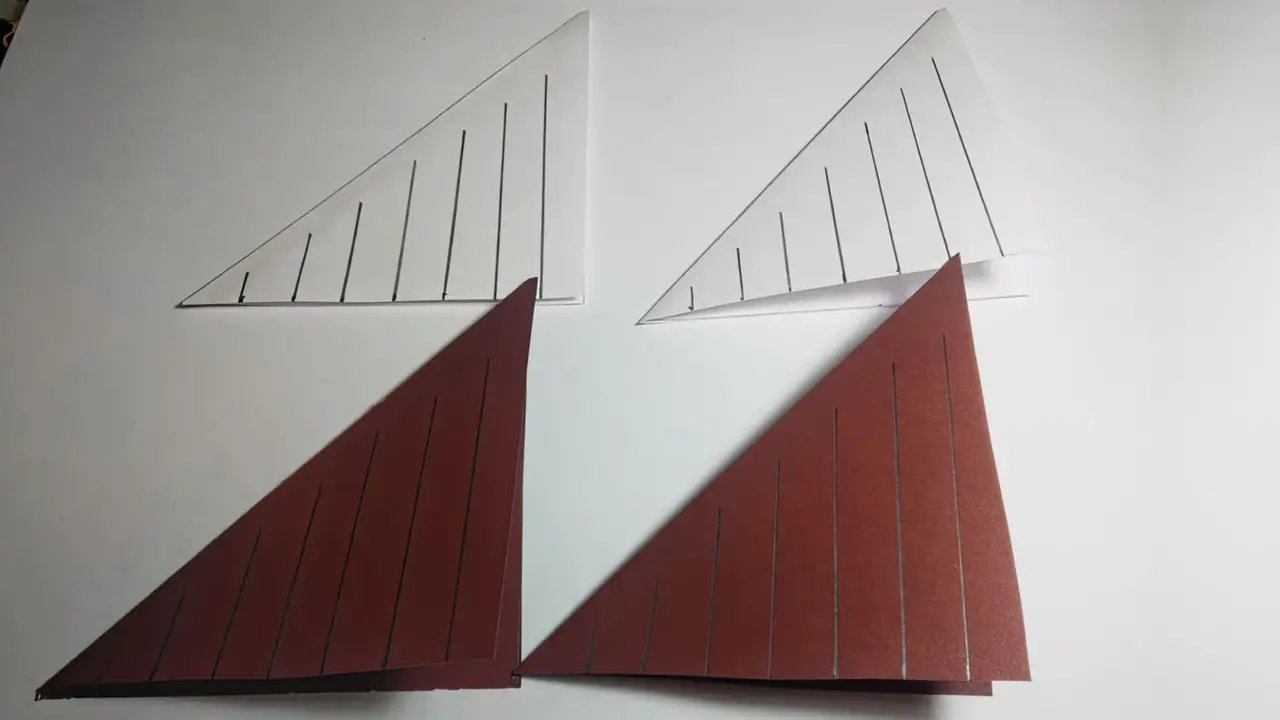
Place the triangle with the fold on the left side. Using a ruler, draw 8 straight parallel lines, but not reaching the fold.
Step 5: Make cuts along the straight lines
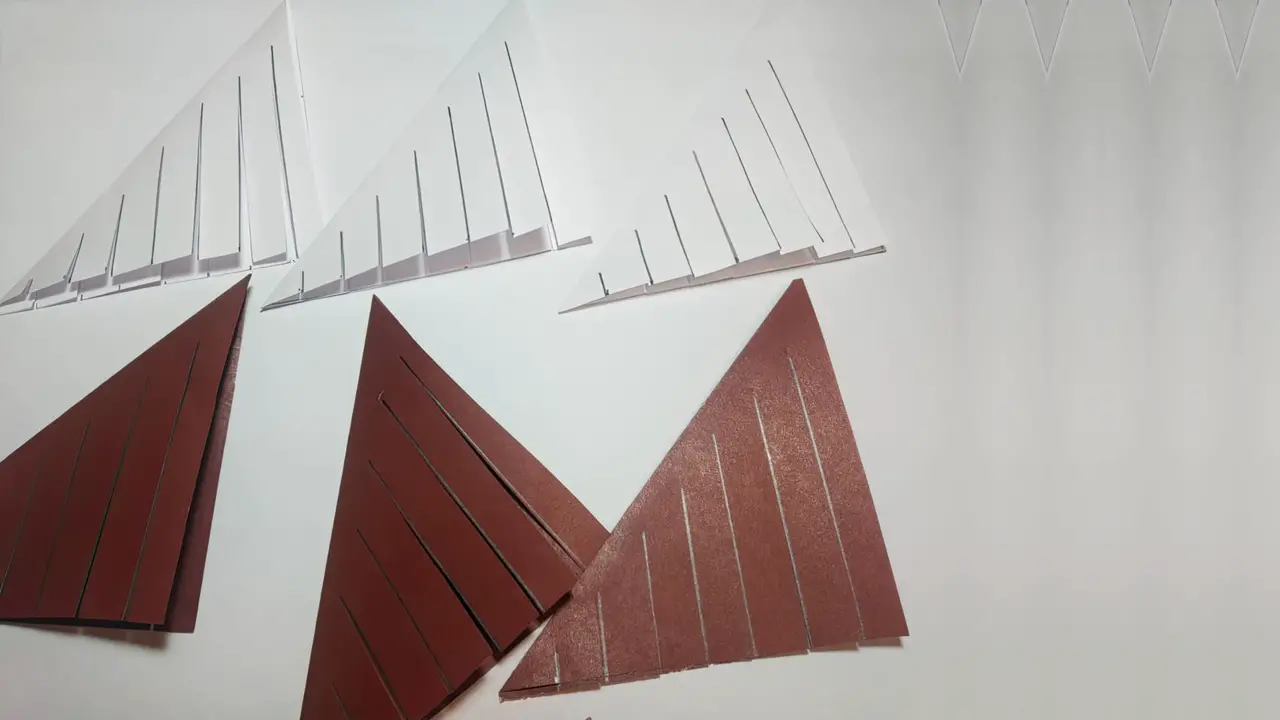
Cut all the triangles along these lines as shown in the photo, but without cutting the triangle all the way through.
Step 6: Straighten the triangles
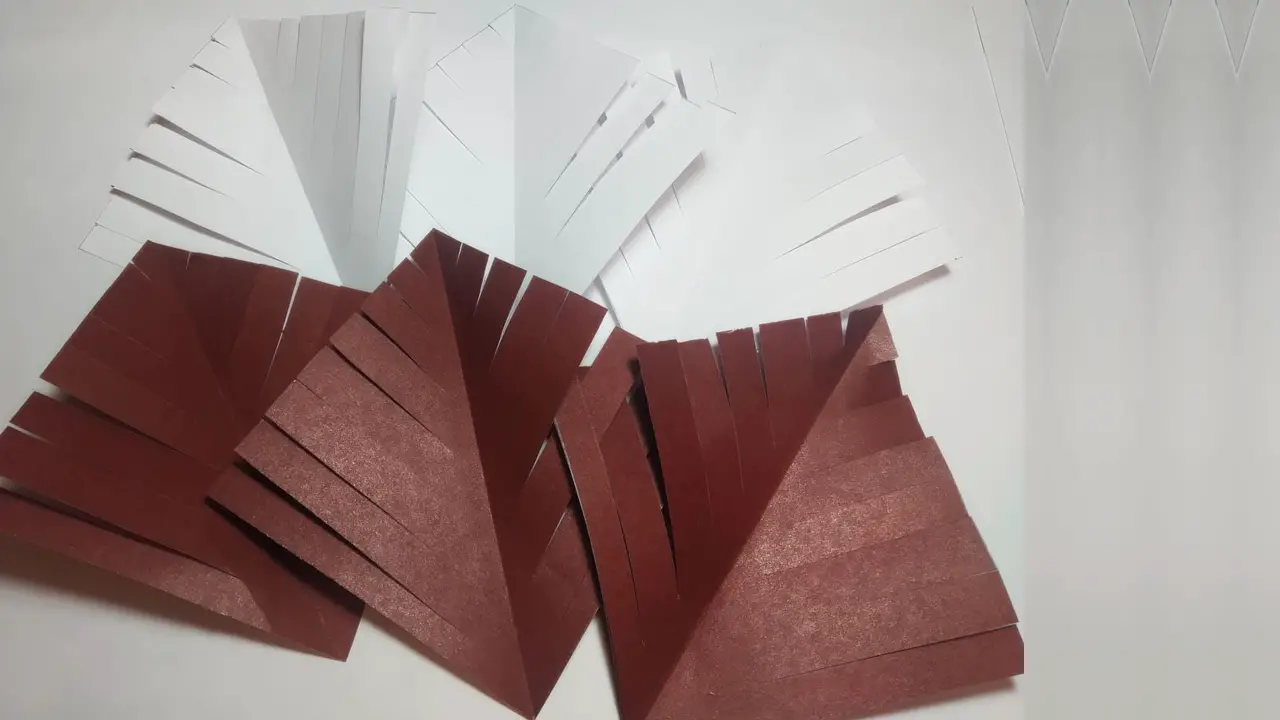
Unfold all the cut pieces so that you have squares on the table in front of you.
Step 7: Use glue
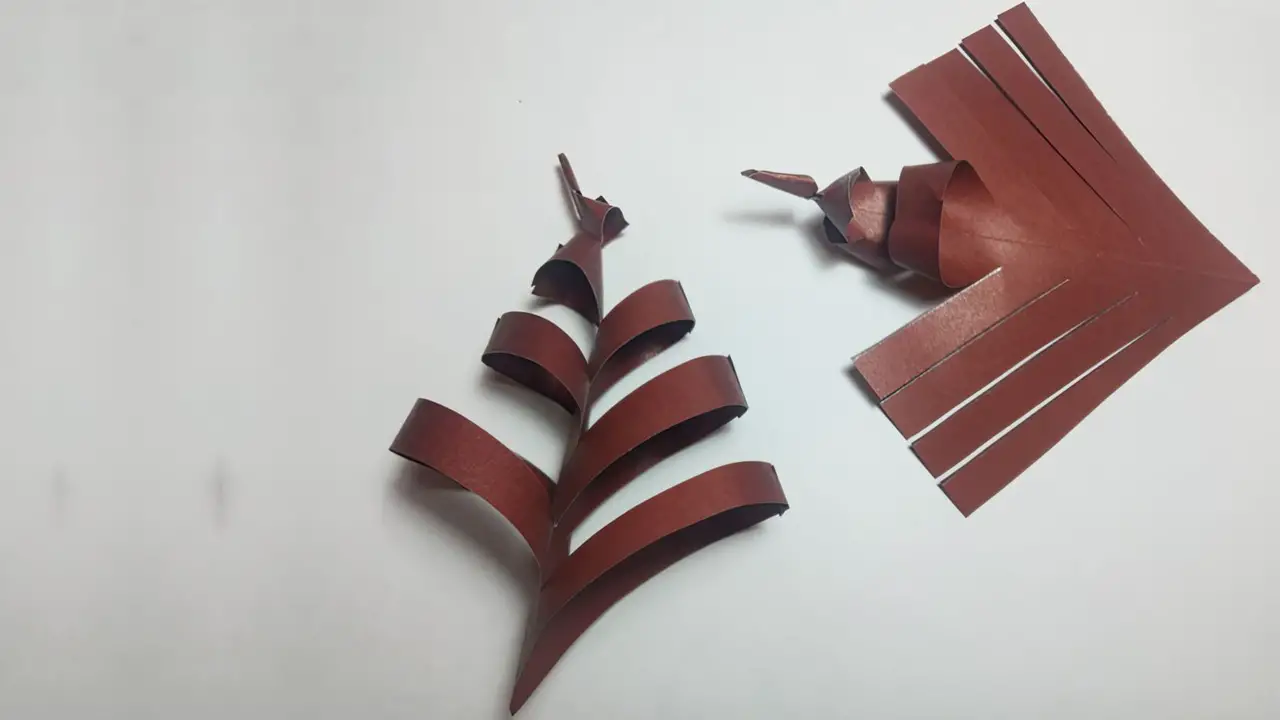
Take the top smallest strips and join them together using glue. Then flip the square over to the other side and glue the other corners of the square in the same way. This way, all the rest of the pieces need to be glued together.
Step 8: Repeat step 7 for all the squares
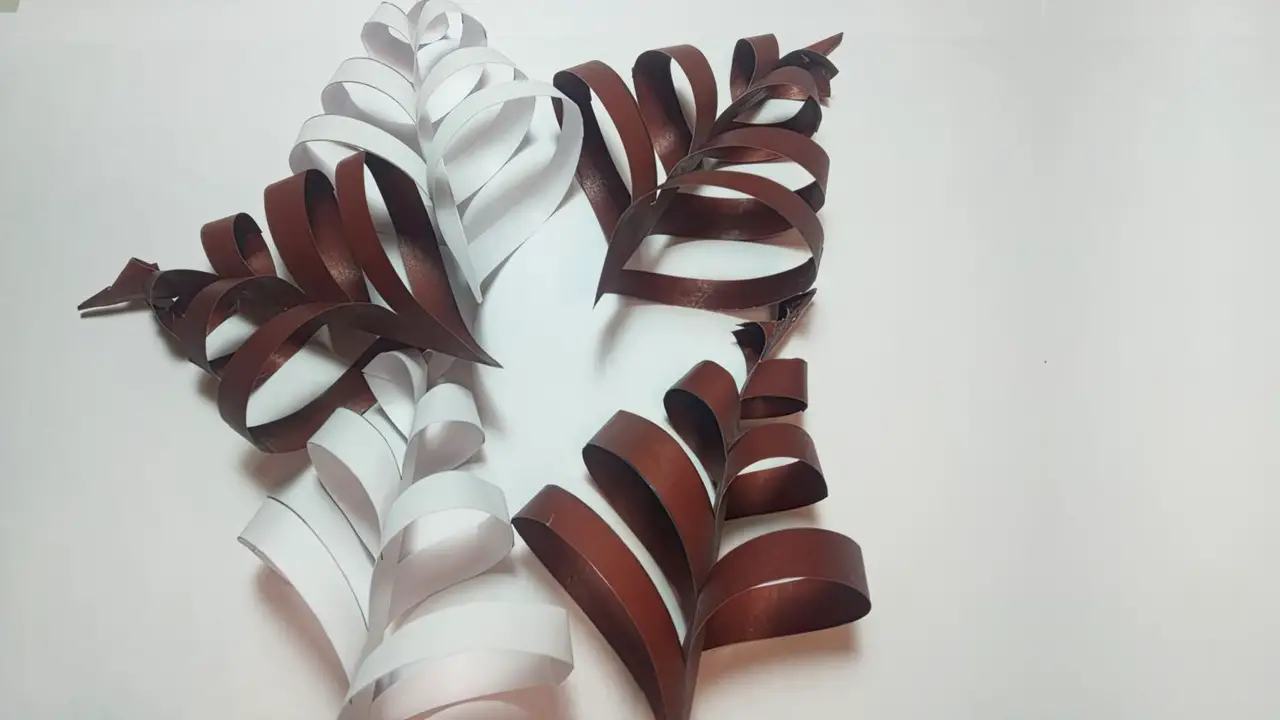
Glue all the squares together as shown in the photo. You will end up with 6 snowflake corner pieces.
Step 9: Glue the two pieces together
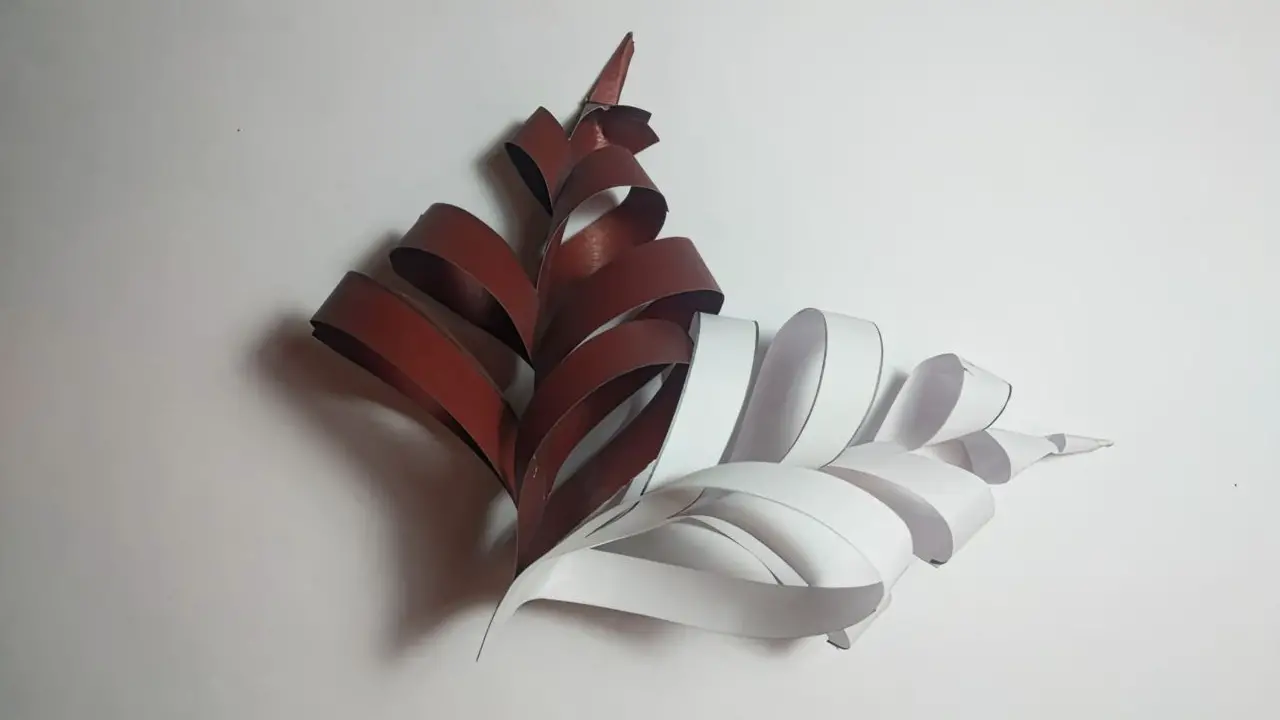
Take the finished pieces and glue them together with the bottom part. Attach all the pieces to each other one at a time, very carefully.
Step 10: Final step
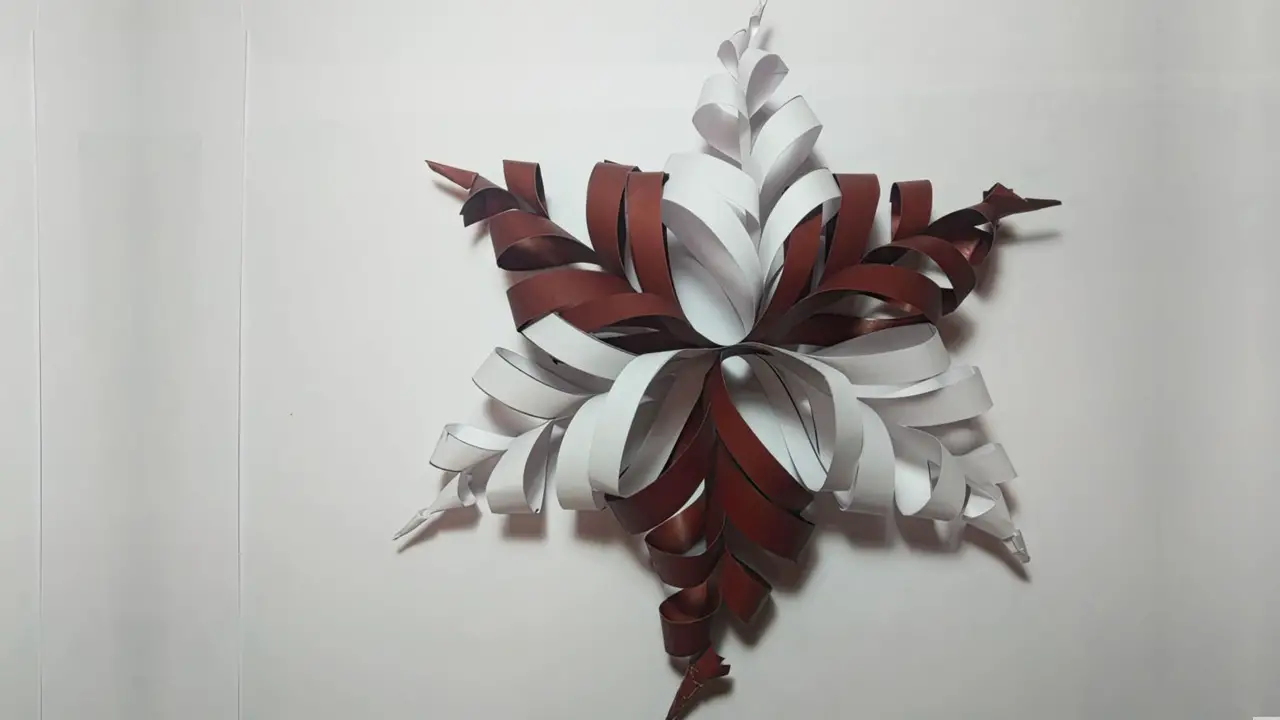
When you glue the fifth and sixth pattern together, then glue the sixth pattern to the first pattern. This means that the pieces will be glued in a circle.
Supply:
- brown and white colored paper (you can use any other color if you want).
Tools:
- scissors;
- glue;
- ruler;
- a simple pencil.
Your New Year’s decoration is ready. Such a handicraft, depending on its size, can be placed on the Christmas tree, window or furniture. A garland made of such a handicraft decoration will look very beautiful.


