Make bright ghosts out of pink and blue clay with the children. They are not scary, but cute and so funny with smiling faces. The clay boy and girl are not meant to scare anyone. They are just a symbol of Halloween. Let’s start making a cute pair of clay ghosts.
How to Make Ghost Figures
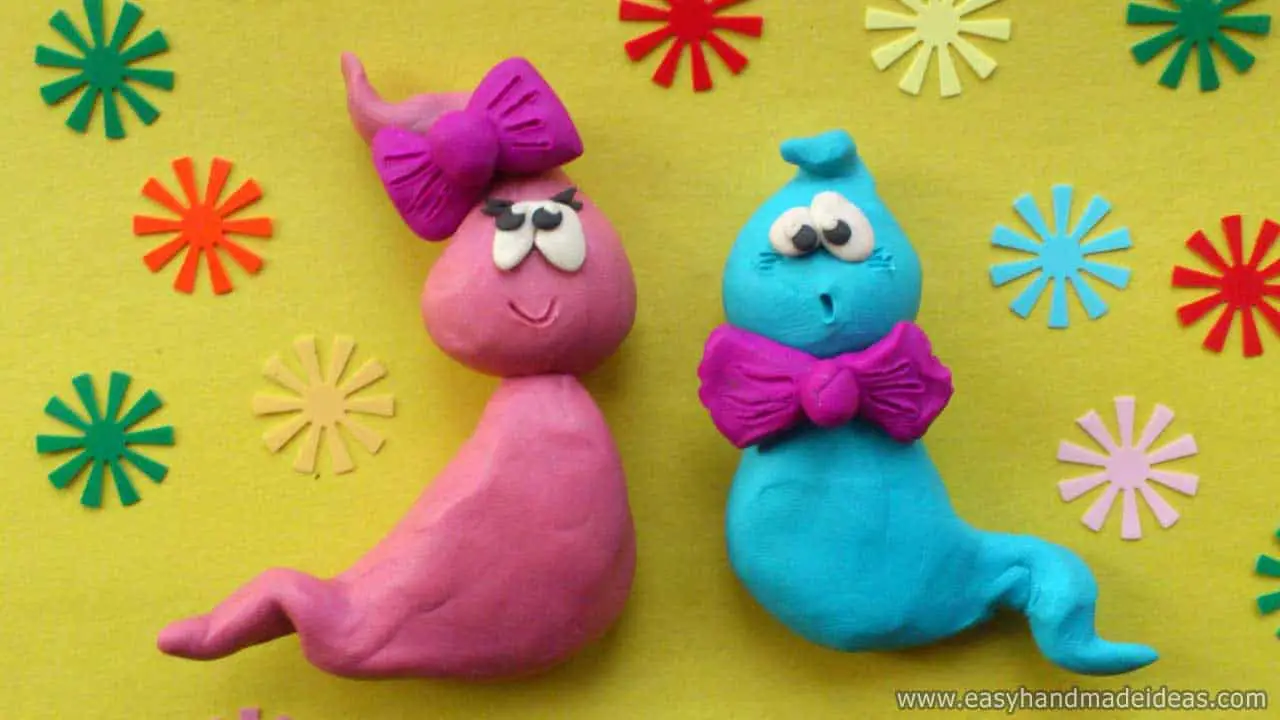
Plasticine ghosts
Total Time: 15 minutes
Step 1: Divide the modeling clay
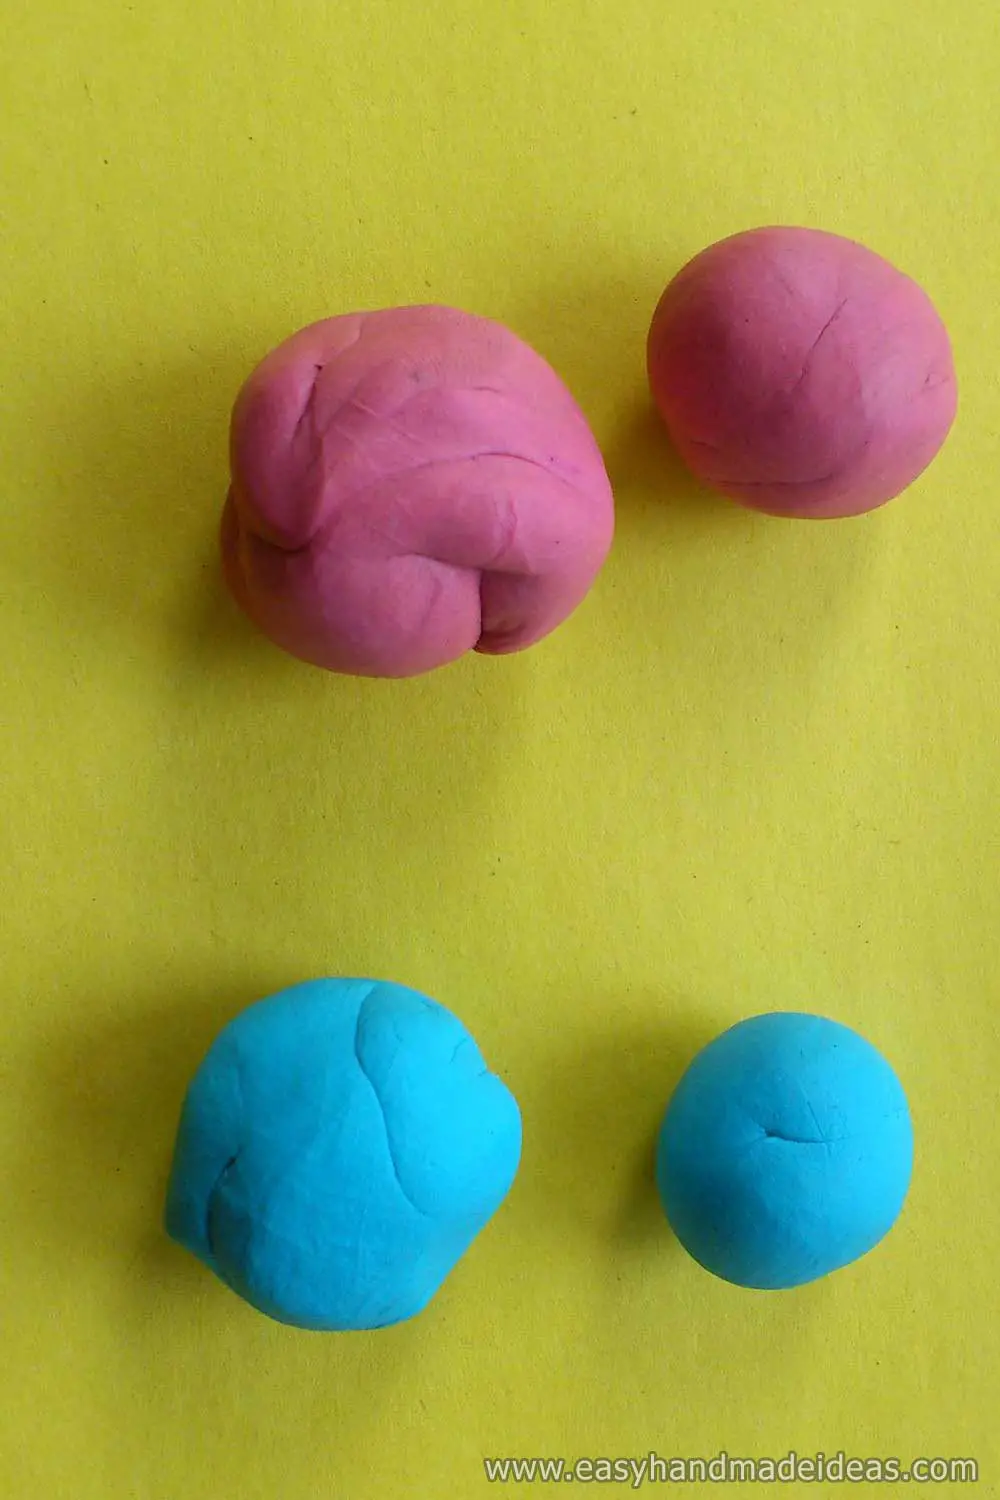
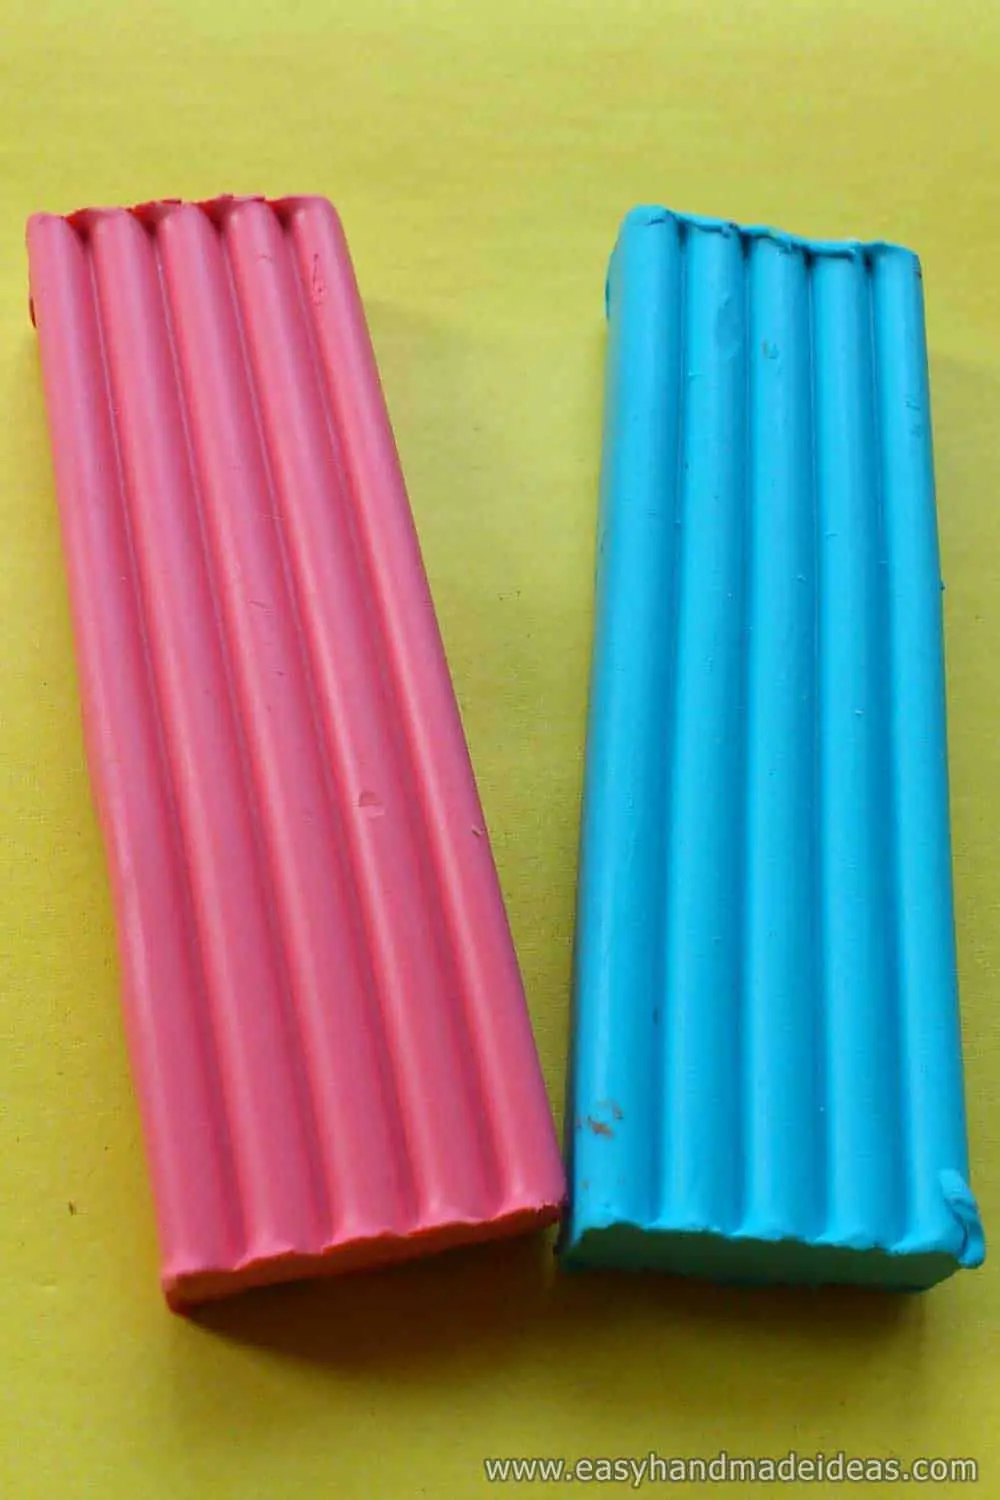
Take a block of clay and divide it into two pieces: a small piece and a large piece. Mash each piece to create a head and torso.
Step 2: Shape modeling clay
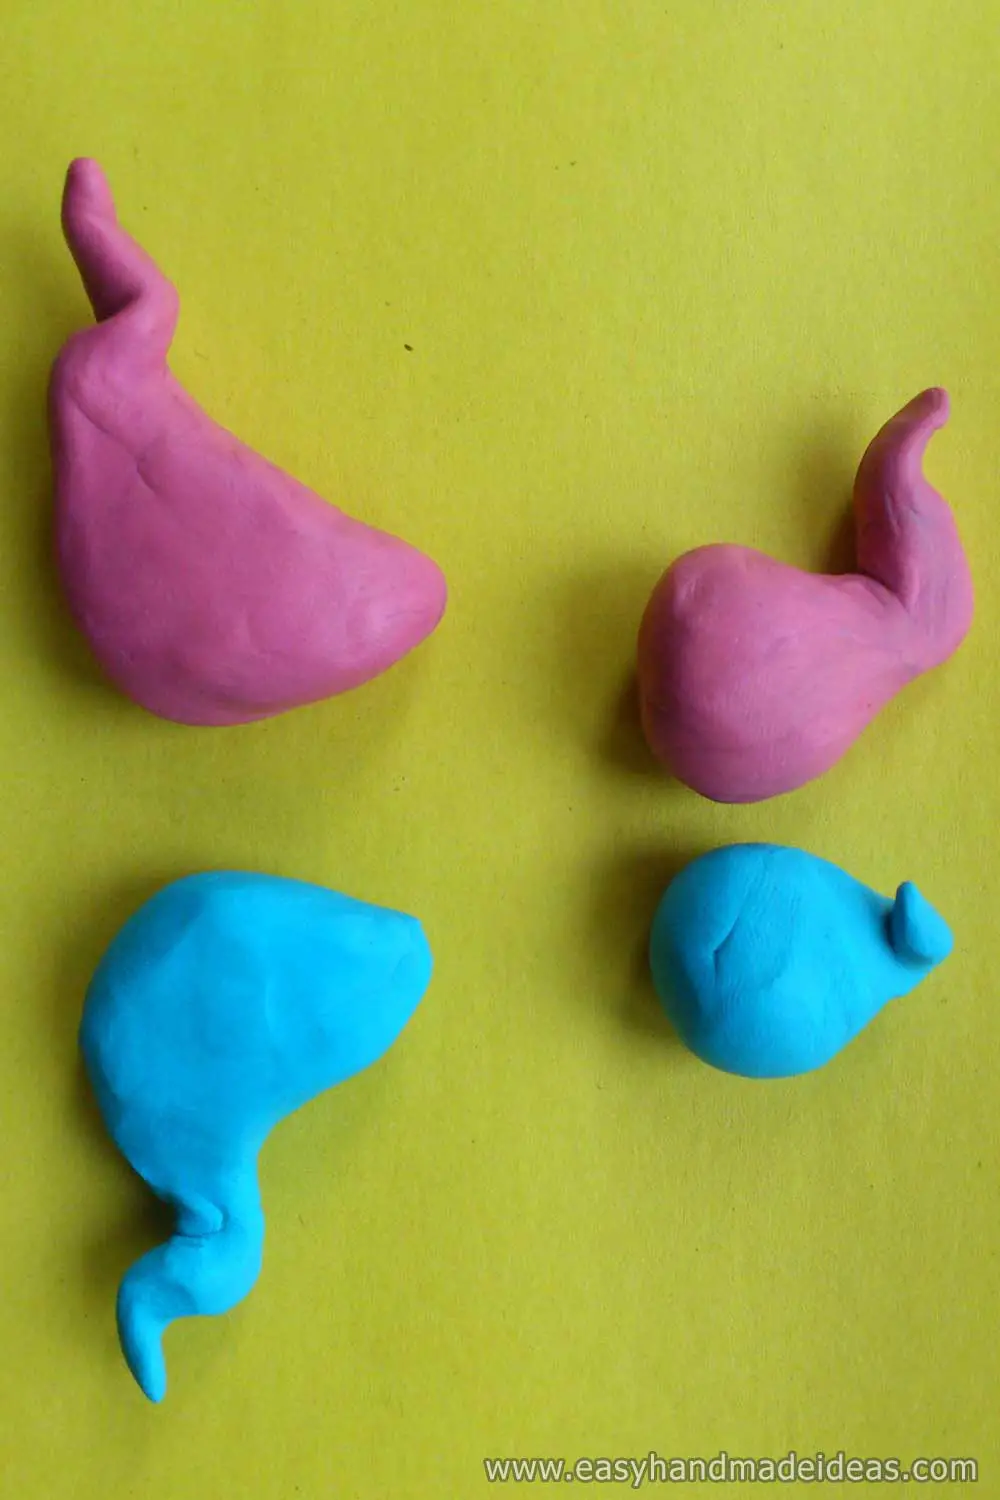
Make pairs of soft pieces that resemble the shape of drops. Pull the narrow part of the drop into a thin tail and fold it. This will give you a head with a long brush and a body with a shapeless tail.
Step 3: Create a Ghost body
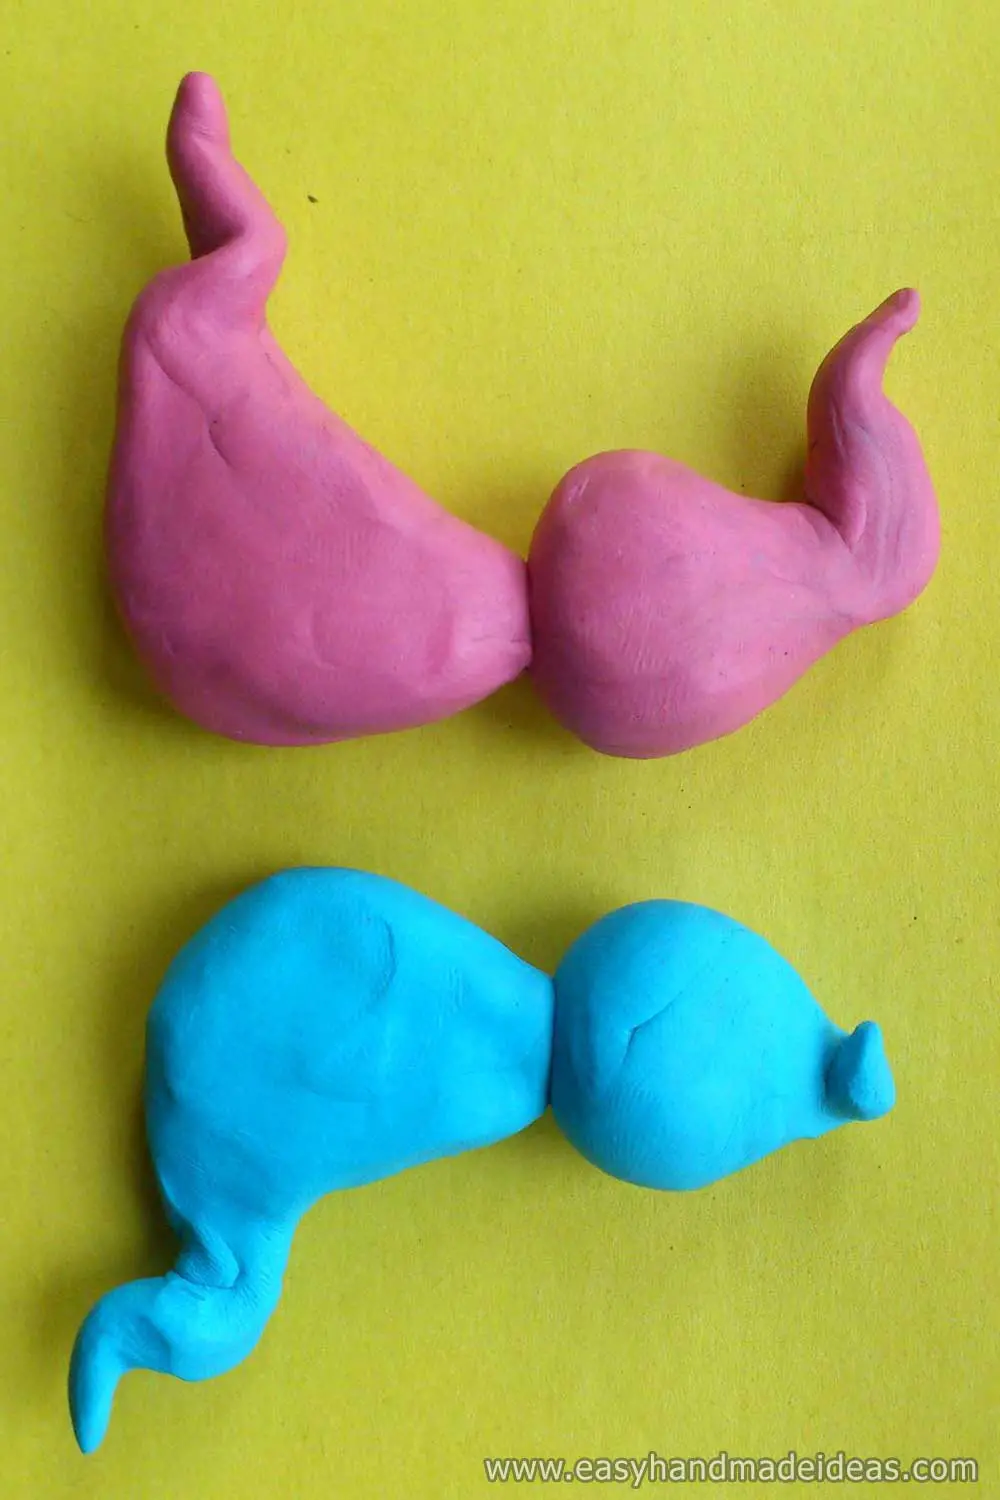
Join the two pieces for each figure. Pull the tails and topknot to the sides. The main figure is finished. Create emotions for their faces. For example, a boy might be surprised and a girl might be smiling.
Step 4: Make a face
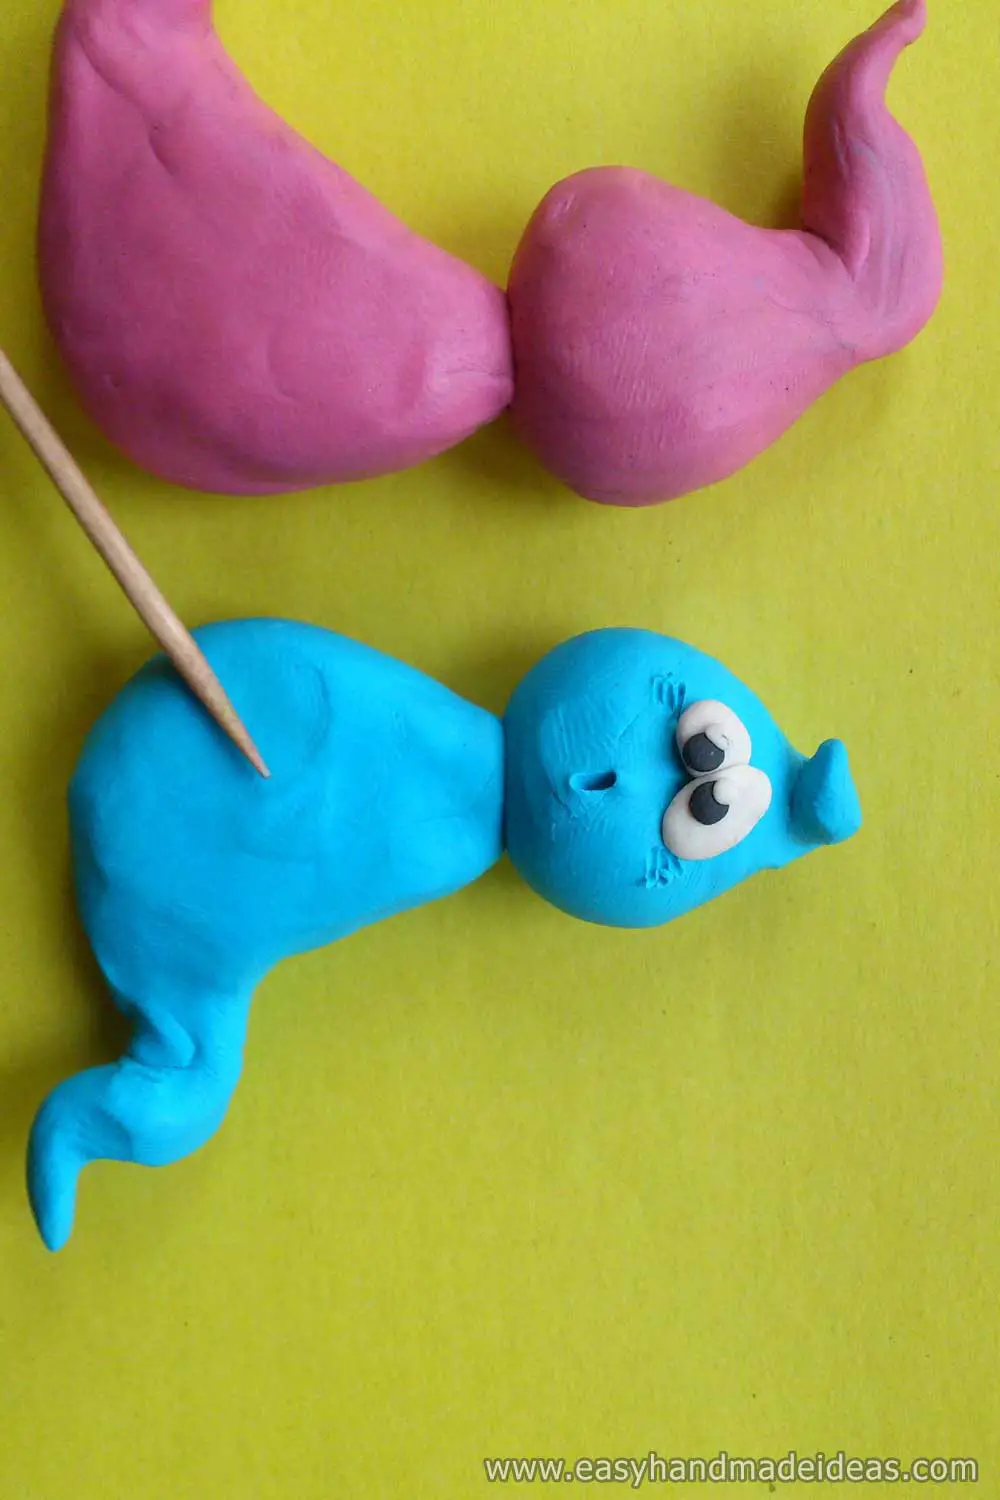
Glue on the eyes. Place the clay cakes on top of each other and push a strip from top to bottom into the mouth to create a funny look.
Step 5: Add eyelashes to the girl
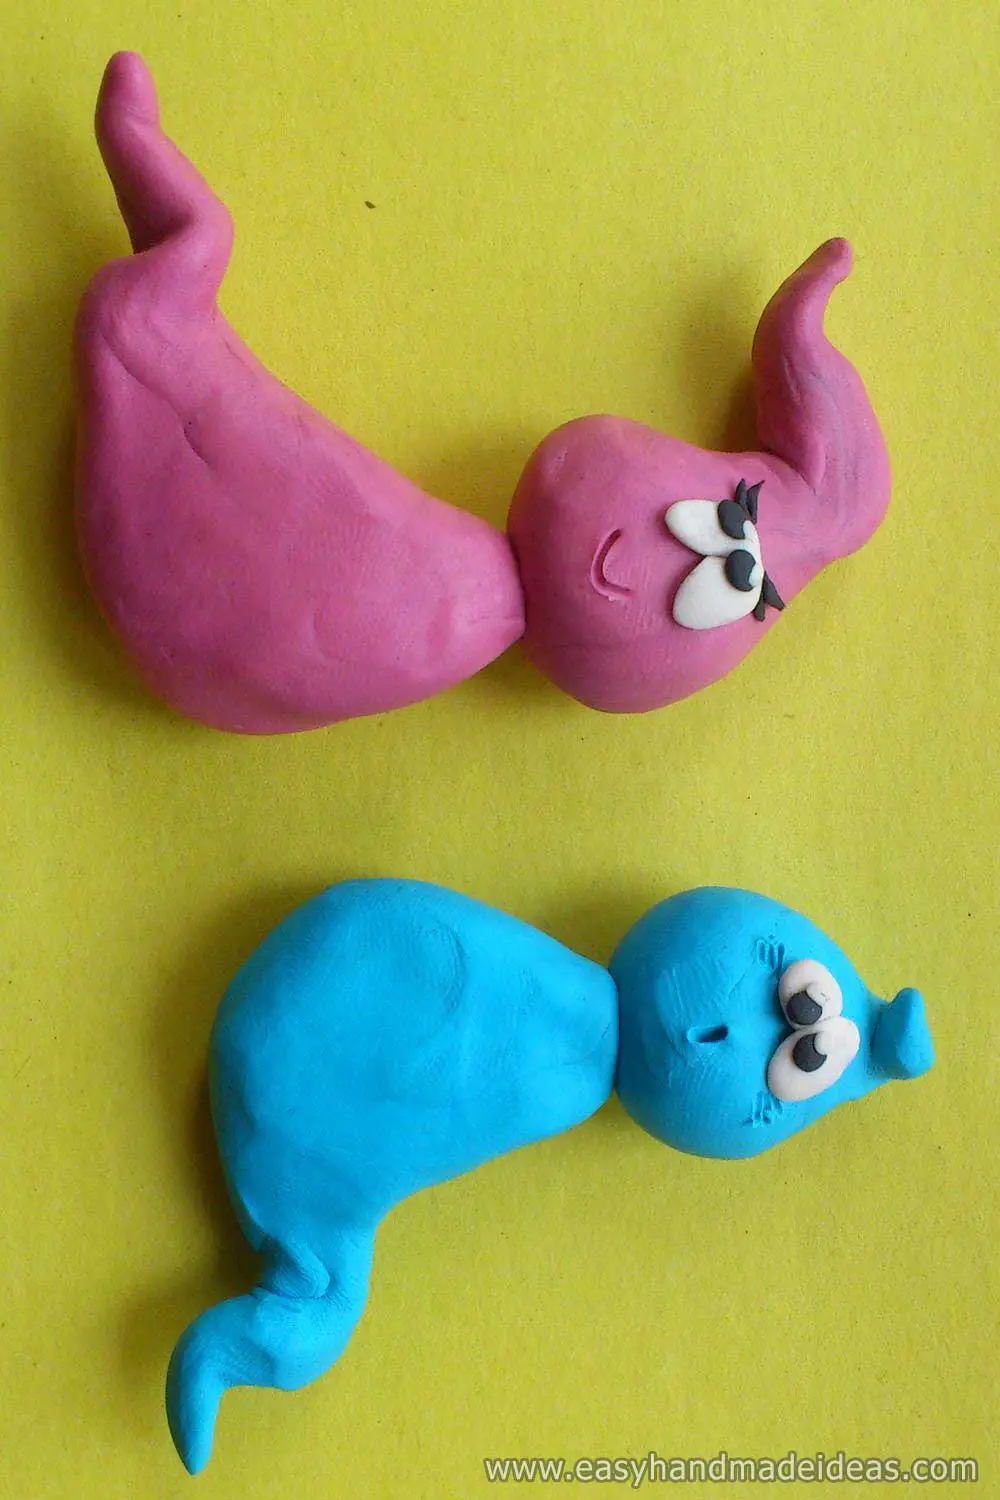
Create a girl with mesmerizing eyes, make her look out from under her long lashes and smile.
Step 6: Create an accessory
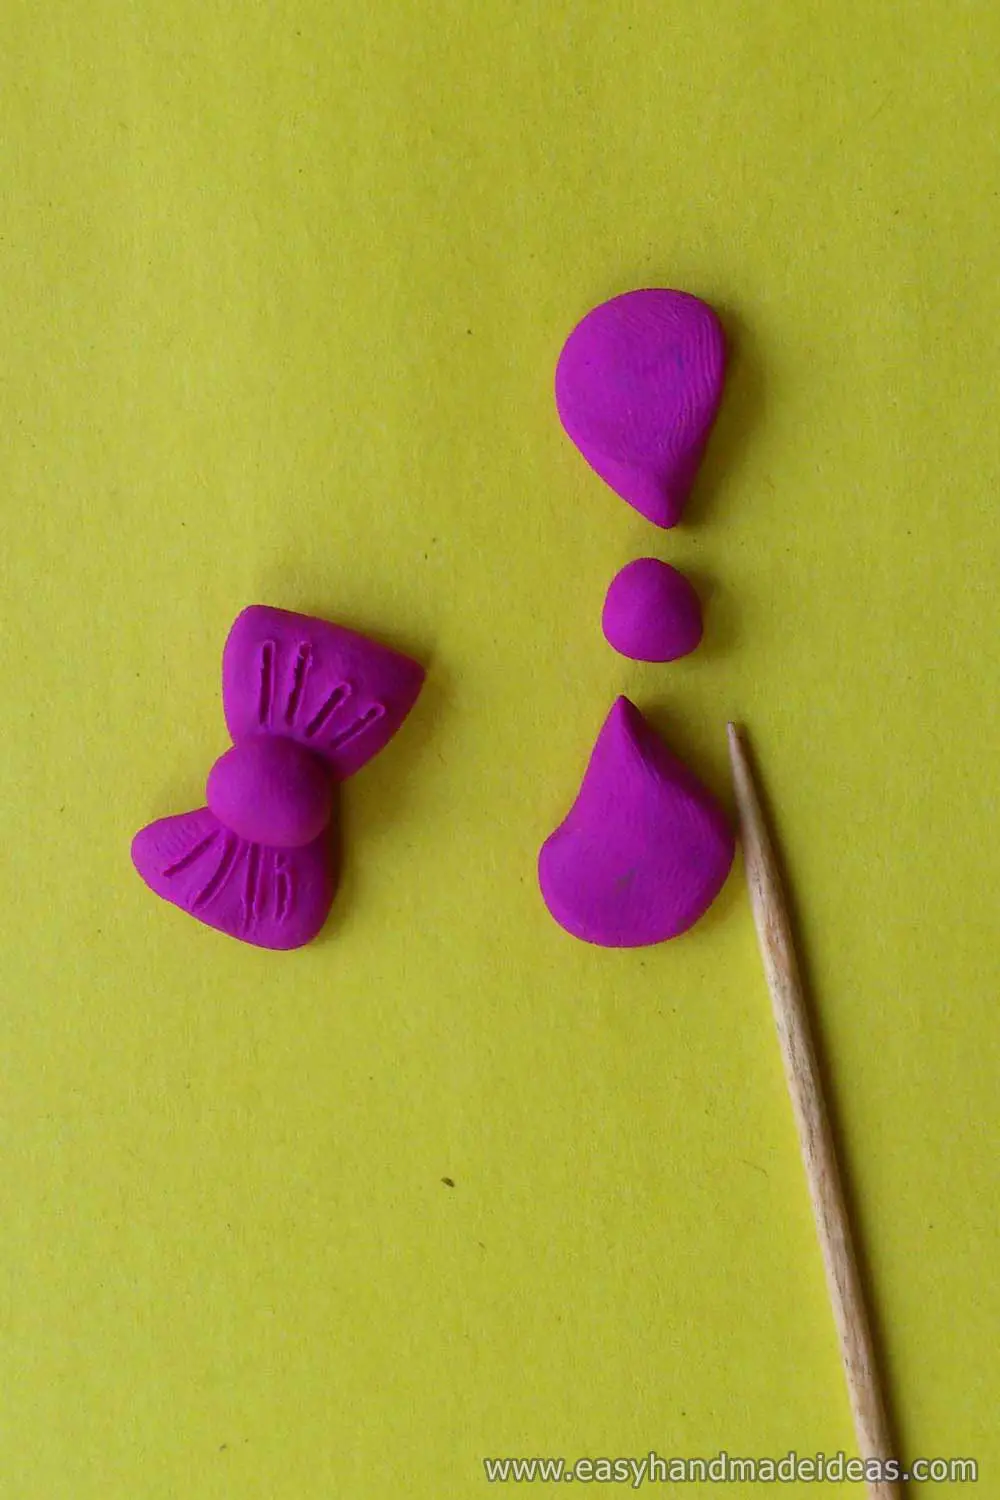
Prepare and assemble small flat pieces for the bow.
Step 7: Decorate the ghosts
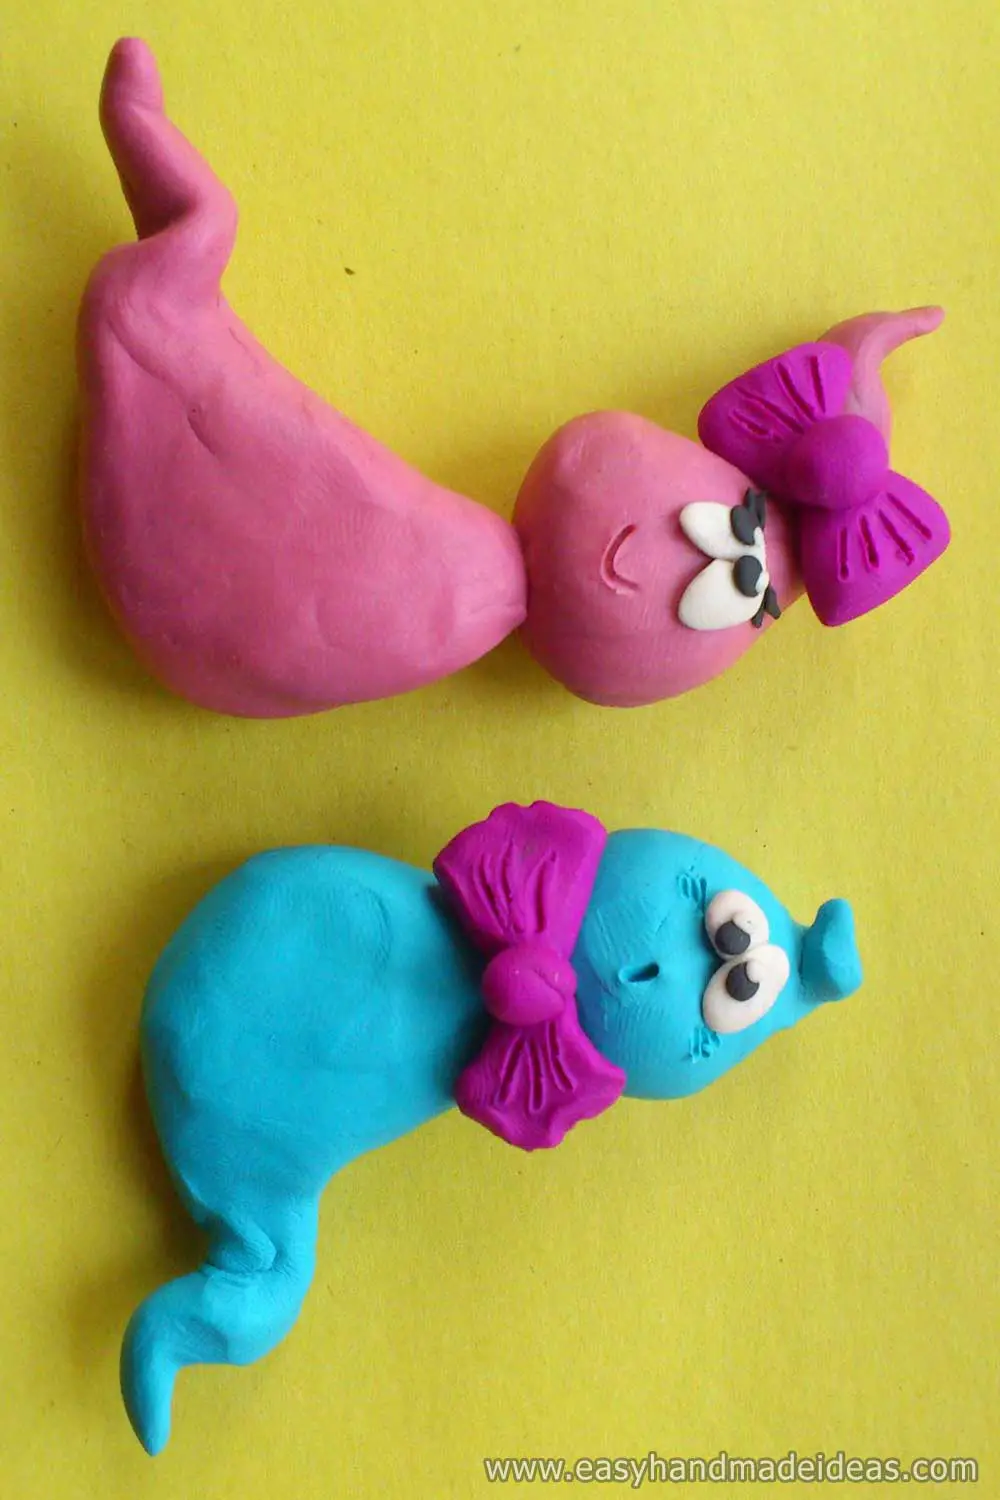
Glue the bows on the figures. Add accessories to the girl’s head and the boy’s neck. Now your clay ghosts are elegant and beautiful.
Supply:
- plasticine bars of pink and blue colors;
- bright plasticine for bows
- black and white plasticine for the eyes.
Tools:
- sharp toothpick or stack.
This is the version of the craft that will appeal to all members of the family. Such a cute craft is a great reason to spend time together for exciting work.


