Making a snowman with cardboard can be a fun and creative project, especially if you’re looking for a winter or holiday-themed decoration. Here’s a simple guide to help you create a cardboard snowman:
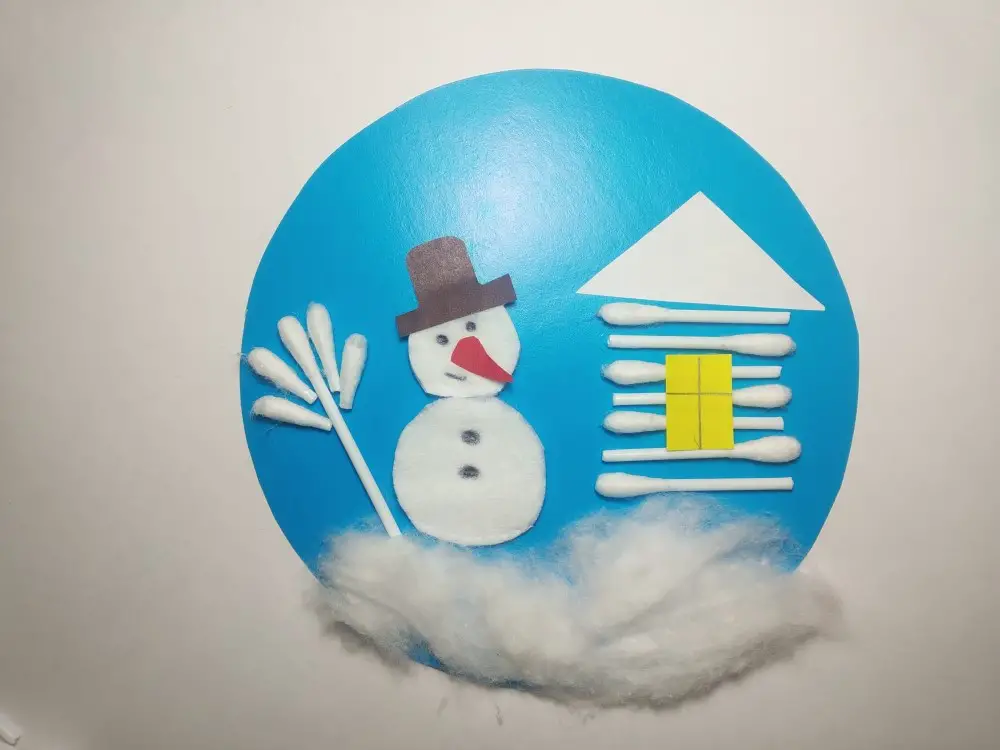
Snowman with cardboard
Total Time: 20 minutes
Step 1: Get the materials

Prepare the materials and tools necessary to create a craft from cardboard and absorbent cotton.
Step 2: Take the blue cardboard
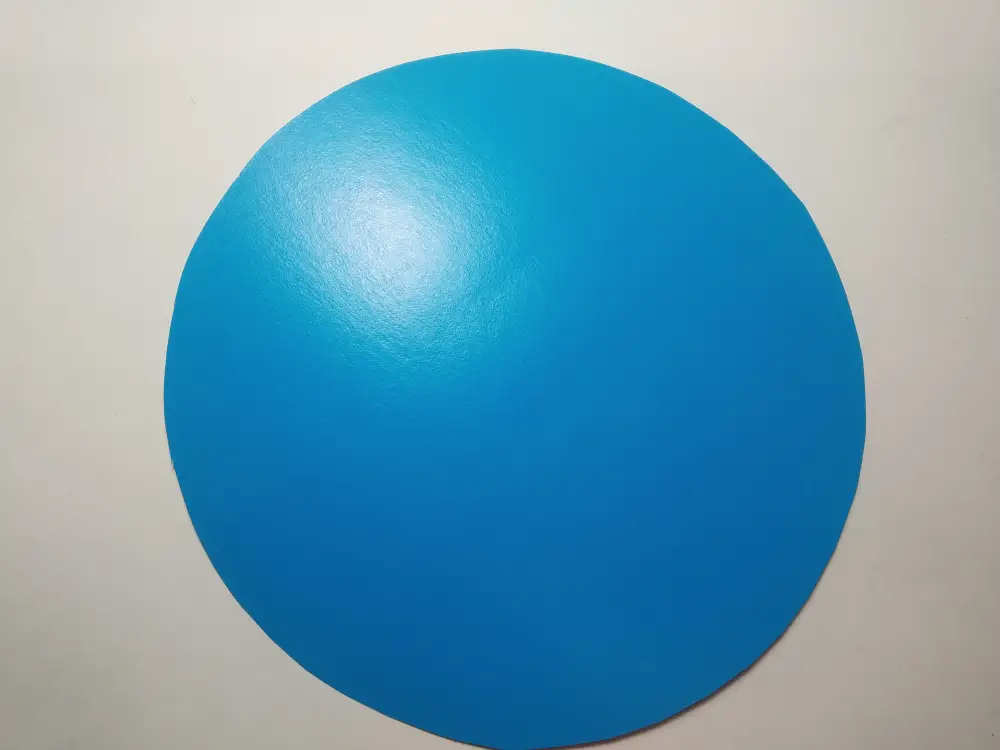
Cut out a circle from the cardboard to form the base of the craft. It’s okay if the circle is uneven.
Step 3: Make snow drifts
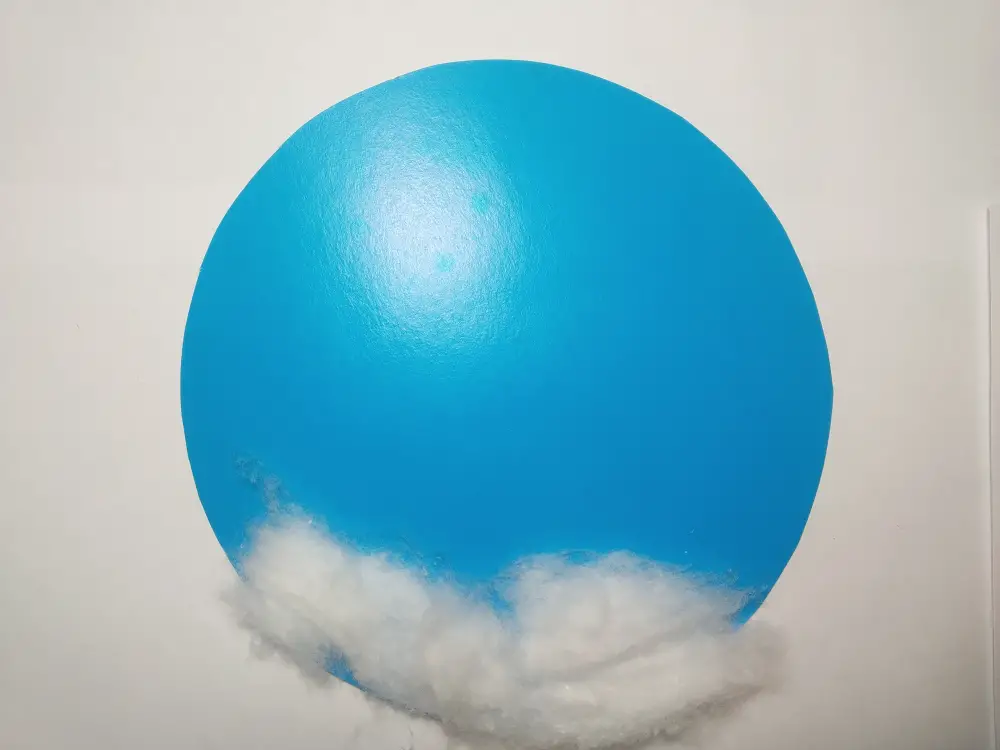
Glue some absorbent cotton to the bottom of the circle.
Step 4: Make a house from ear sticks
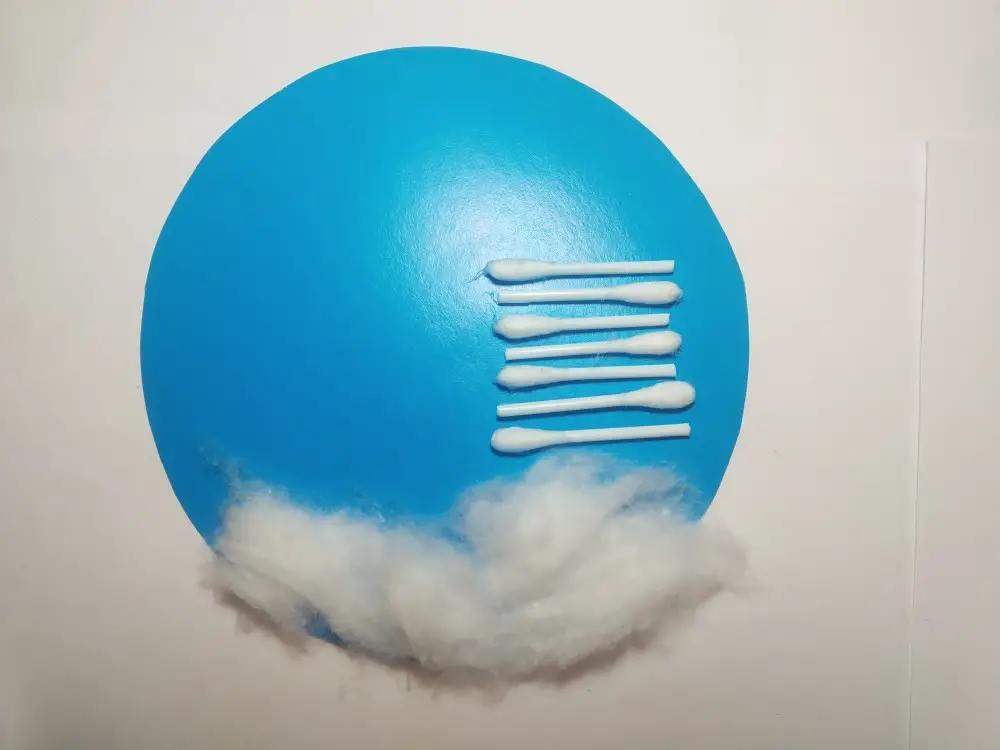
Cut some cotton balls in half and glue them on top of each other, alternating the direction of the cotton. You should end up with something that looks like a log cabin.
Step 5: Make the house roof and windows
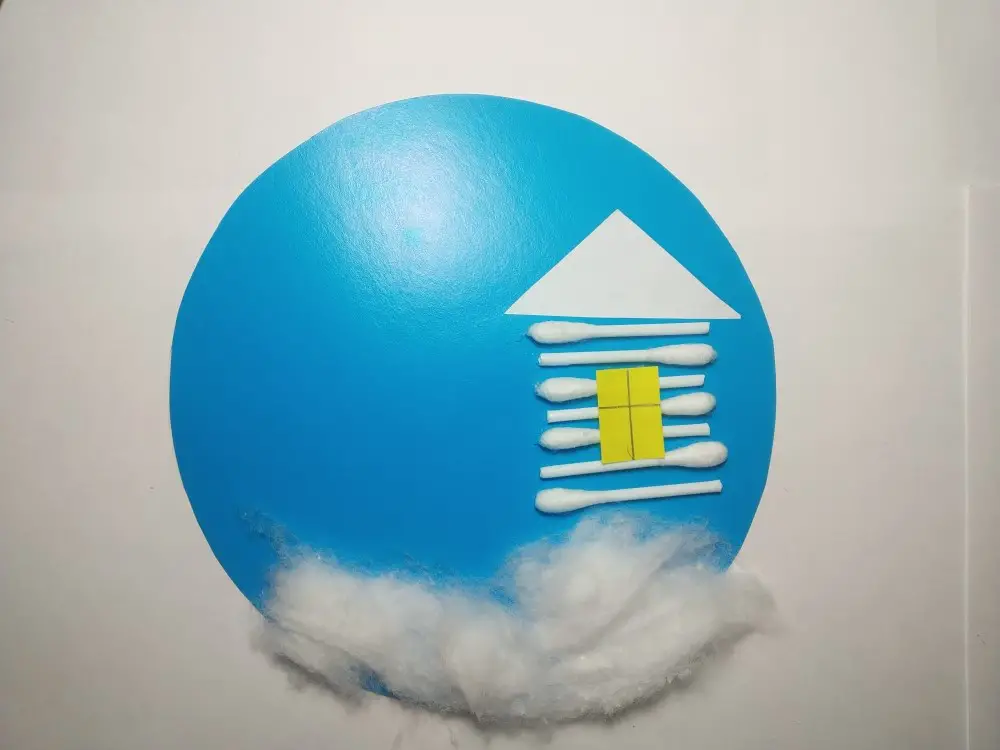
Cut a triangle from the white paper for the roof of the house. Cut a rectangle from the yellow paper and draw a cross on it to simulate a window. Fix them with glue.
Step 6: Make the snowman’s body
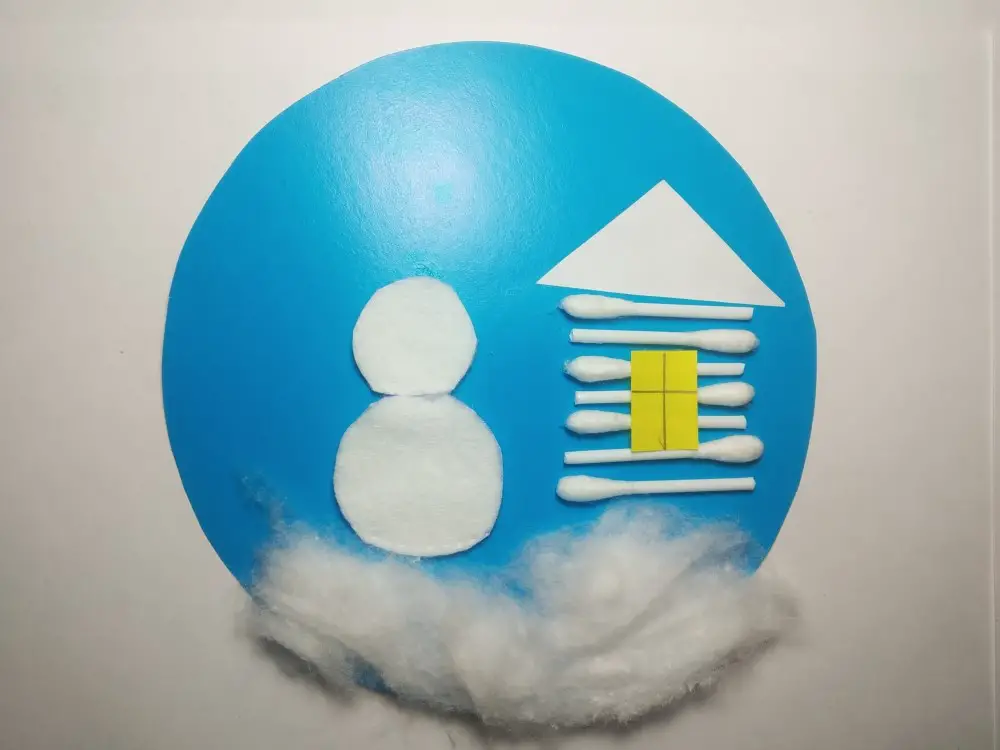
Take two cotton rounds. Cut one of them so that it is smaller in diameter than the other. Place them next to the house, with the smaller circle on top of the larger one.
Step 7: Finish the craft
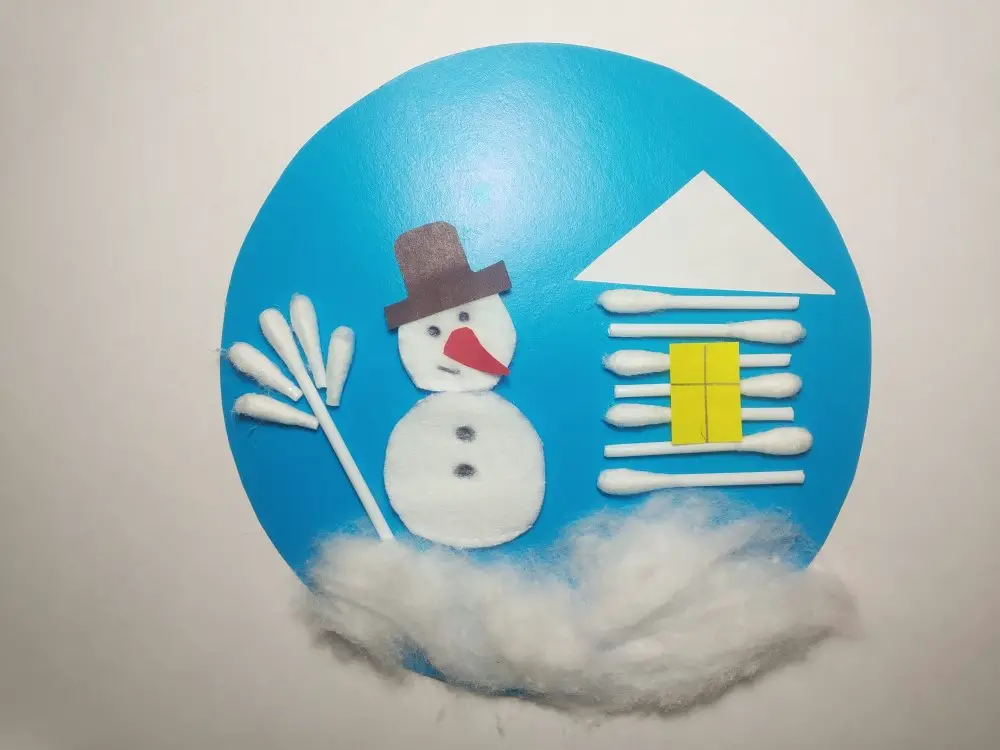
Cut out the snowman’s hat and carrot nose from colored paper. Draw eyes, a smile, and two buttons on the body. Cut off one edge of the ear sticks and glue them next to the snowman with the cotton head facing up. Four more cotton heads you’ll need to turn this into a snow broom. The composition is now complete.
Supply:
- absorbent cotton;
- ear sticks;
- cotton rounds;
- colored cardboard or paper.
Tools:
- scissors;
- pencil;
- ruler.
To create, imagine enough improvised means. Be inspired by winter landscapes and create new crafts with simple materials.


